
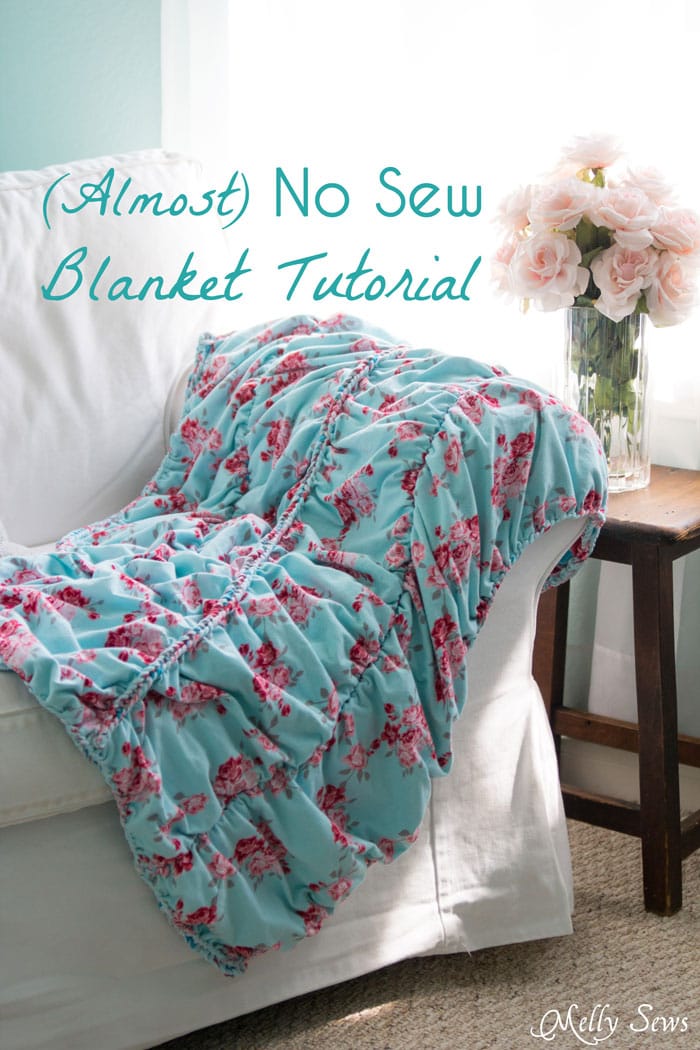
Hey y’all – today I’m sharing a blanket tutorial with you both as part of Luke’s Loves and to show off my fabric line with my Pattern Anthology girls – Idle Wild! These knits just started shipping to stores and I can’t wait to see what you make with them. I set up a little shop so you can get Idle Wild right below!
[iframe][/iframe]
A little more about the fabrics – I’ve long said that I LOVE the Riley Blake knits. They’re a great pretty light weight, with good stretch and recovery, and yet they’re not see through. Perfect for our usually warm Texas weather. So when we started talking about designing a fabric line, Riley Blake was my first choice, and I still can’t get over the whole, “Yeah, I’m a fabric designer, no biggie,” thing! I mean, pinch me.
I was already planning a tutorial for this blanket, which I made as a sample for Quilt Market, when Kimbo emailed me about Luke’s Loves. And who could say no to this story? I already talked about Project Linus in my charity sewing round up, so this just all fell into place, and I hope you will use this tutorial or another from the series to donate a blanket.

And this one is pretty easy, and virtually no sew. Want to see how to make it? You’ll need your fabric, a large crochet hook (I used a size Q), sharp scissors, a hand sewing needle and thread.
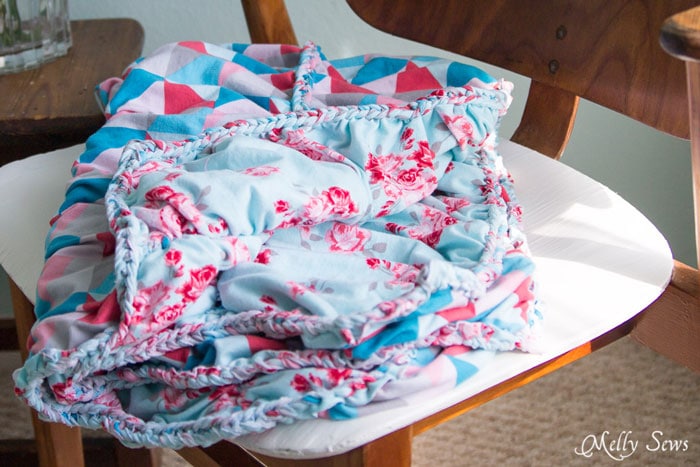
Start with 1 1/2 yards each of two knit fabrics. Place them wrong sides together. You may want to spray baste the layers together to keep them from wiggling.
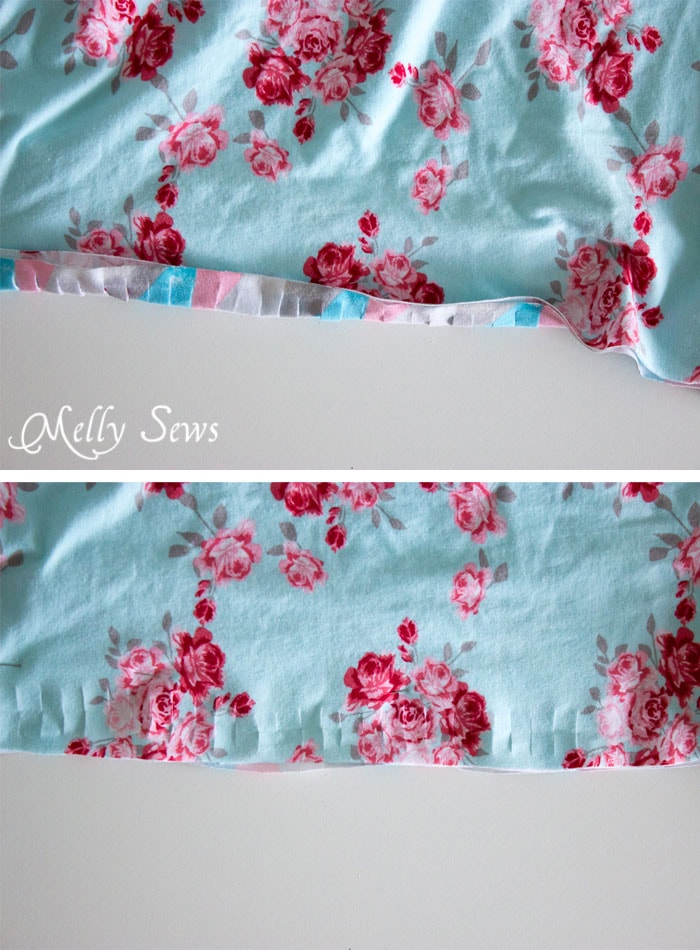
Fold over one edge, like shown below. Then start snipping cuts into the edge about 1/2″ apart and about 1″ wide. The geometric print of the triangles made this really easy for me to do on this blanket. You’ll also do cuts like this in straight lines running long ways down the blanket. The blanket is going to shrink longways more than it does sideways. I did 3 vertical lines of small slits, spaced evenly across the blanket.
Then, using your big crochet hook and starting at a corner, push the hook through BOTH layers of fabric through the first and third slit. You’ll see how the slits you cut made a series of “loops”. Use the hook to pull the second loop through the first one (the one closest to the corner is the first loop).
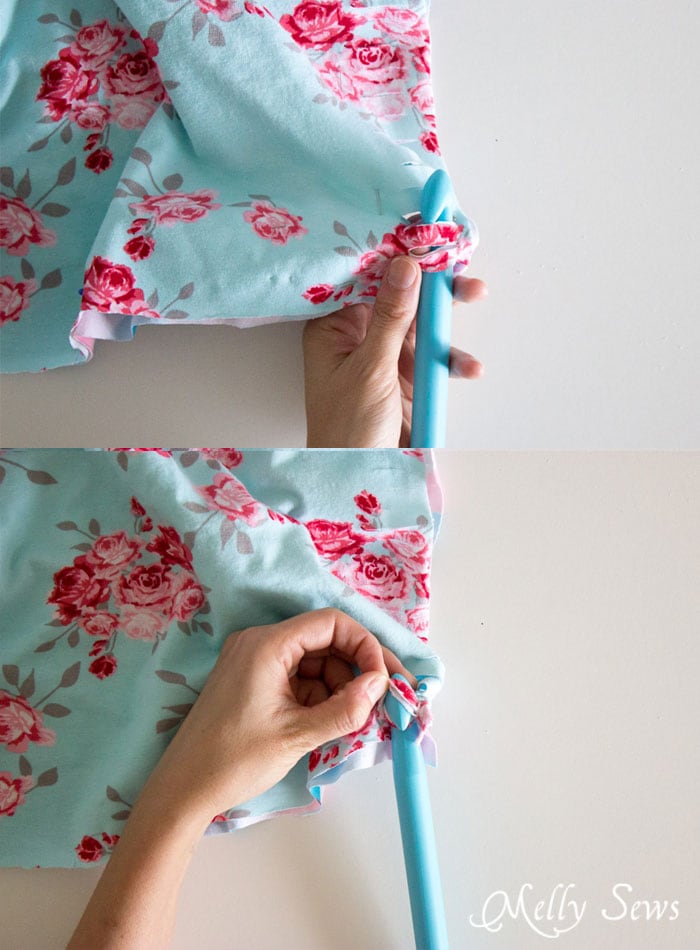
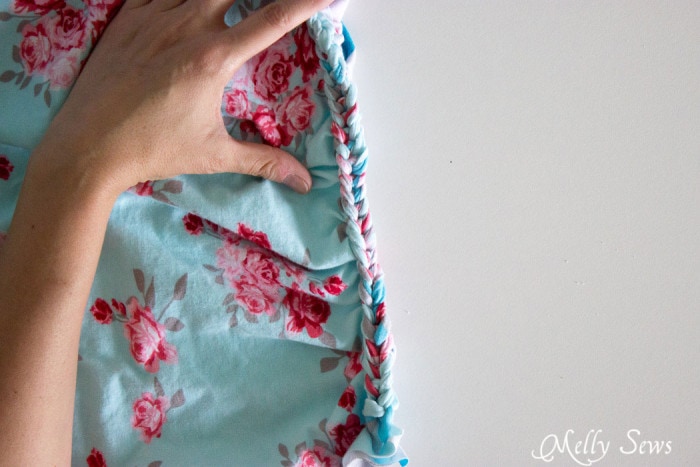
For me, it was easier to use my second hand to help pull the first loop over the second and off the hook. You’ll be left with one loop on the hook. Then insert your hook through both layers of fabric for the next loop and repeat. You’ll get what looks like a braided edge on the fabric.
When you get to a corner, just turn your hook and proceed with the first loop on the next side.
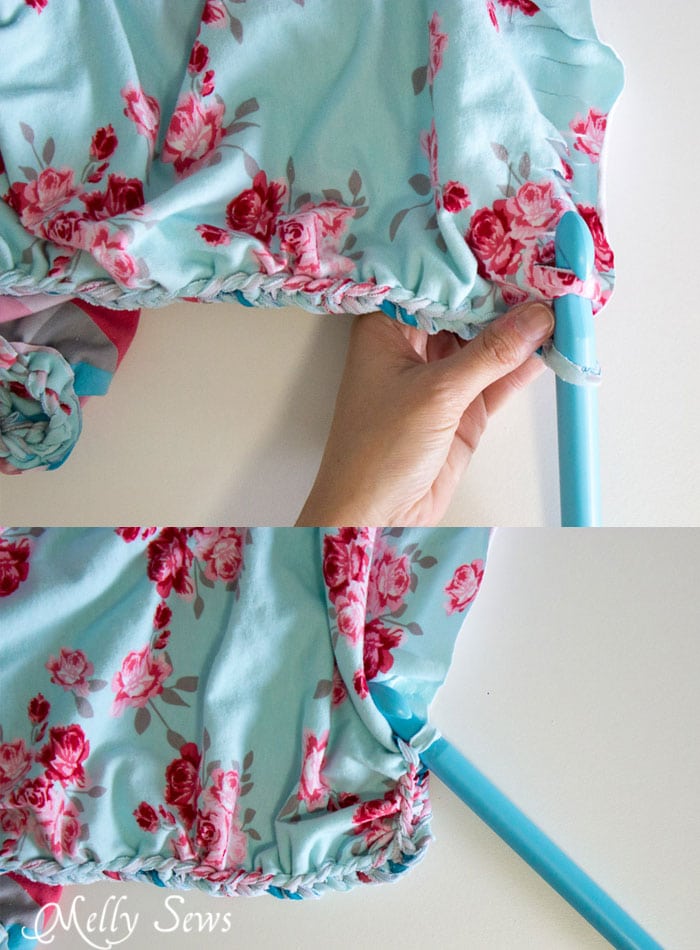
You’ll repeat this process along the lines down the center of the blanket too. I switched up which side I was crocheting from since this is a reversible blanket. You can see below that on the wrong side of those lines through the center, the braided trim looks more like a seam line, so switching it up makes ure each side has pretty visual detail.

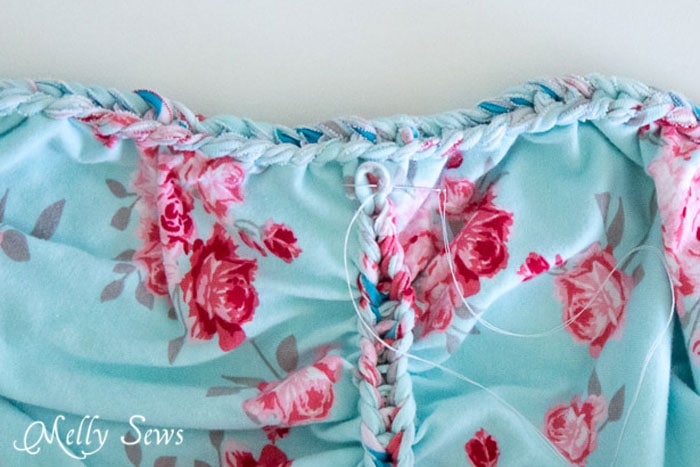
At the end of each crocheted braid, you’ll be left with one loop. Use your hand sewing needle and sew the loop to the surrounding fabric securely to finish.
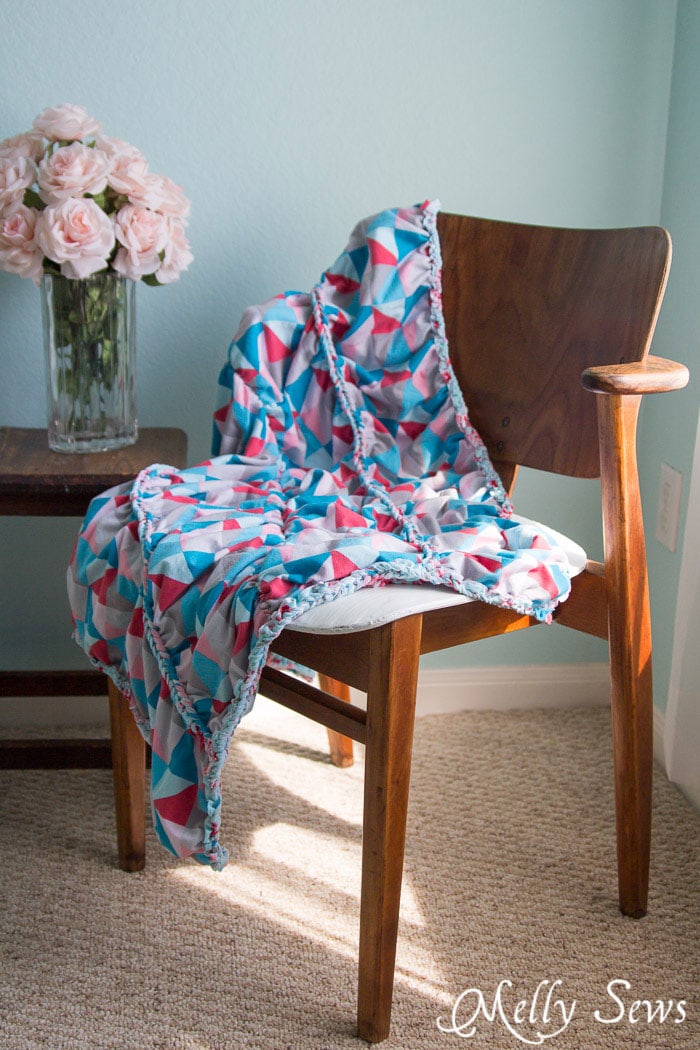
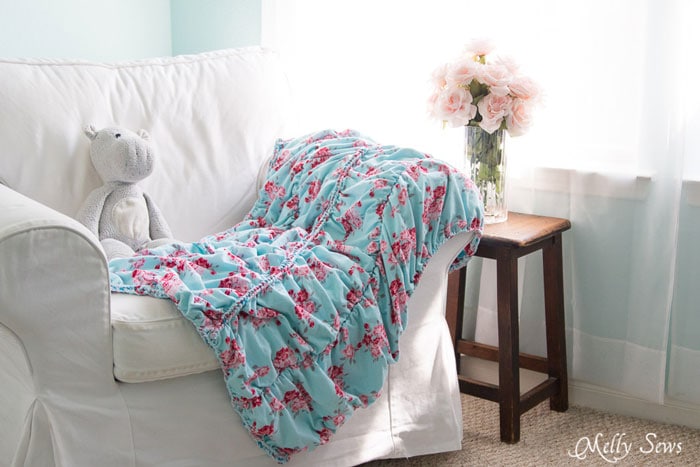
And enjoy your soft and pretty blanket! I think this would also be a great technique to use on throw pillows – could be just gorgeous, with less fabric.
Diane
Love it! My youngest grand daughter is about to move into a bigger bed. She would love something like this. Soft and comfy! Very clever! Thanks for sharing!
Anne
I love it!! I’ve got a Craft Gossip post scheduled for tomorrow morning that links to your tutorial: http://sewing.craftgossip.com/?p=85059 –Anne
kimbowest
This fabric is AMAZING! I love everything about this blanket! Thanks so much!
cupperd
Has this been tried with fleece, would fleece have enough stretch??
Melissa Mora
I’ve seen the border technique done on a single layer of fleece, but I’m not sure about 2 layers. I’d be worried both about the thickness and the stretch.
Sally
I love this! My granddaughter is getting new bedding for her new bed…and this blanket would look great too!
sarah
Wow! This is gorgeous and so easy! Do you think this could be done with fleece?
Melissa Mora
I’ve seen the border technique done on a single layer of fleece, but I’m not sure about 2 layers. I’d be worried both about the thickness and the stretch.
jyll Cradock
Lovely work and beautiful fabric getting hold of these fabrics in the U K isn’t always easy but supplies are getting better looking forward to giving the project a try Thankyou for the tutorial
Peggy R
I would love to give this blanket a try. Never having tackled a project like this before, I have a couple of questions for you. Would this be a child’s size blanket? I’m also trying to figure out total yardage I would need, and came up with 12 yds – 6yds for each side. Would that be correct? I was also wondering if you could put a layer of polyfil inside and still get the ruching effect. I live in the North, and need the extra warmth. Thank you so much for your help.
Meg Olhasque
This is just wonderful, definitely a keeper. I like Peggy’s idea of some polyfill in the baffled chambers the technique creates, although this would involve more sewing to make the chambers “leak-proof. What a very fun thing to do with kids as well. Thanks for posting. xxx