
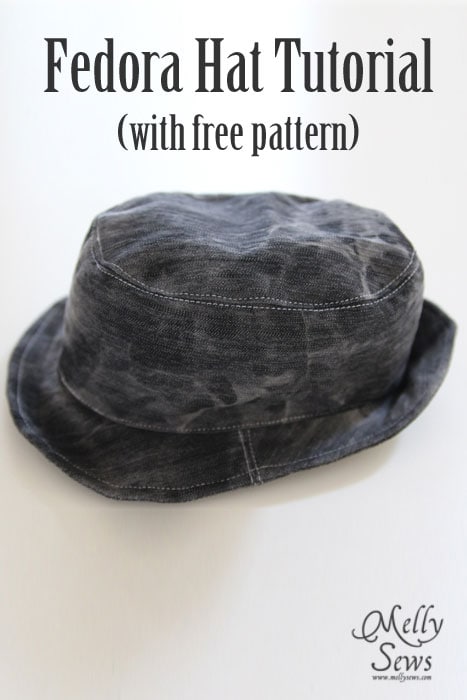
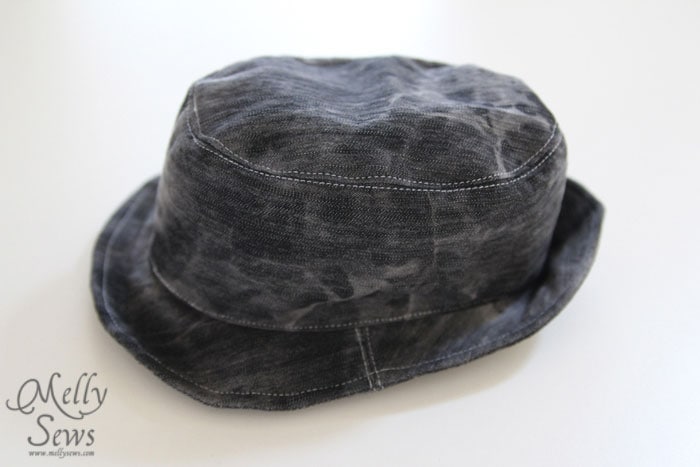
Here is the fedora hat tutorial and pattern for the hat I made Bean for the Lil Lumineer look. A few notes on this hat:
- This is made to fit a head circumference of 20.5″ (52cm) when sewn with 3/8″ (9mm) seams. You could probably make it around 21 1/4″ circumference if you reduce the seams to 1/4″. Any bigger than that and you’ll have to resize the pattern pieces. Be careful with this – circles and seam allowances are tricky, as evidenced by the fact that changing your seam allowance 1/8″ on this pattern results in a hat 3/4″ bigger around. If this size doesn’t work for you, there’s a nice and well tested pattern for fedora hats in several sizes from 16″-21″ that has come out since I wrote this post. You can find it in the Elegance and Elephants shop (affiliate link).
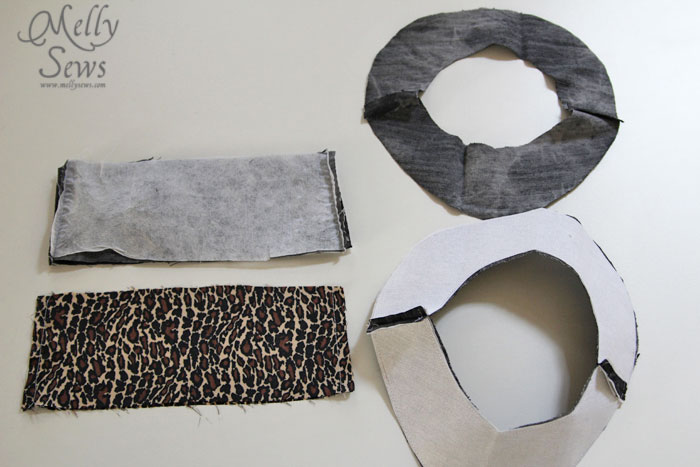
- I used lightweight denim (left over from these pants) to make my hat, so I chose to supplement with heavy interfacing and buckram to make sure the hat had some body and didn’t end up all floppy.
- Since I used scraps, I don’t have a great idea of how much fabric this hat needs. I know you can get away with 1/4 yd for the lining, but you probably need at least 1/3 yd for the main fabric and the interfacing, and only 1/6 yd or so of the buckram (scraps again, from this hat)
So, ready to get started on a hat? You’ll need:
- Fabric
- Interfacing – get the heavy duty stuff; mine was sew in because I didn’t have fusible, but either would work
- Buckram
- 22″ of 1″ wide grosgrain ribbon
- To download the pattern, subscribe to the Melly Sews Weekly Newsletter. AFTER you sign up, you’ll get a confirmation email – and you have to confirm or my email service can’t send you the free pattern. But once you do confirm, you’ll get instructions to access not just this but all my other free patterns. Woot!Please remember that all my patterns are licensed for personal use only, and that by downloading you are agreeing to this license. Thanks!
(PS – if you have trouble finding either your confirmation email or the email with the pattern link, try checking your spam, trash, junk, bulk, social and/or promotional email tabs or folders. Free pattern links are also included in every weekly newsletter; these go out on Friday afternoons. Due to the number of subscribers I can’t email pattern links to individuals.)
Buckram is usually near the canvas and/or interfacing. If you can’t find it at your local big box fabric store, ask. It’s a material stiffened with some kind of additive. Which also means you shouldn’t wash it. You can iron it a little, but not with very much steam.
Print the pattern according to the instructions within the pattern, and follow the cutting instructions on the pattern to cut out your pieces.
1. Start by sewing or ironing your interfacing to the wrong side of the crown tip, one front brim and one back brim, and the side pieces (not pictured). Then, sew your buckram pieces to the interfaced brim pieces.

2. Next, sew the all of these pieces right sides together:
- The sides, and the sides of lining. Pay careful attention to these pieces – if you are looking at the pattern with the text facing the right way, you will notice that the top is slightly narrower than the bottom. Mark this if you need to, but don’t confuse the top and bottom of this piece; it’s important later.
- The front brim to the back brim. Keep the interfaced/buckram pieces together and the other two pieces together.
3. For all the seams you sewed in step 2, press the seam allowances open and topstitch them down. I chose to use contrasting thread for this.

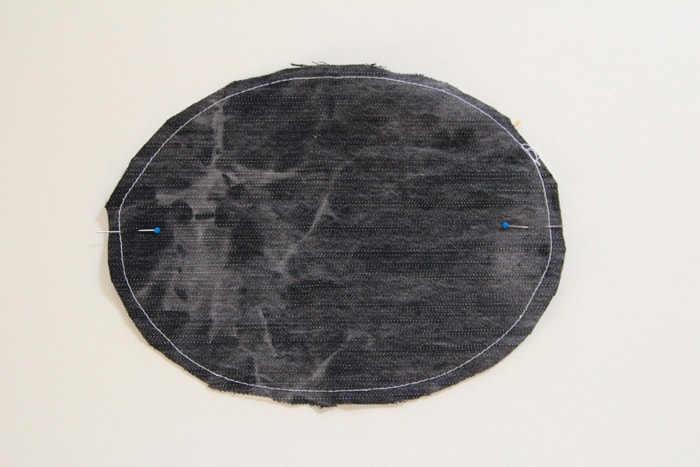
4. Using pins, mark the halfway points of the crown tip as show below.
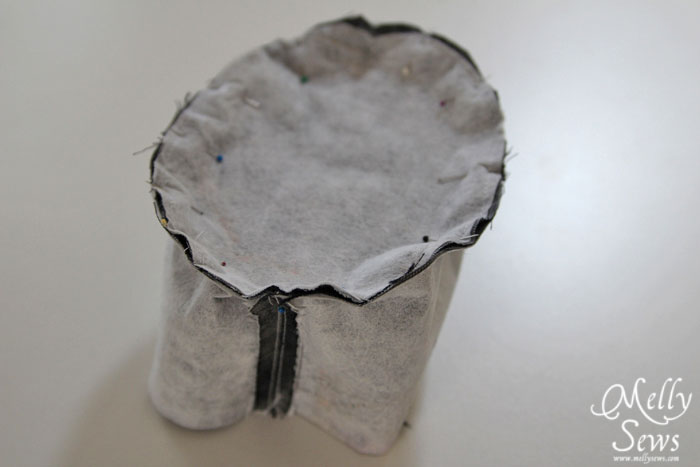
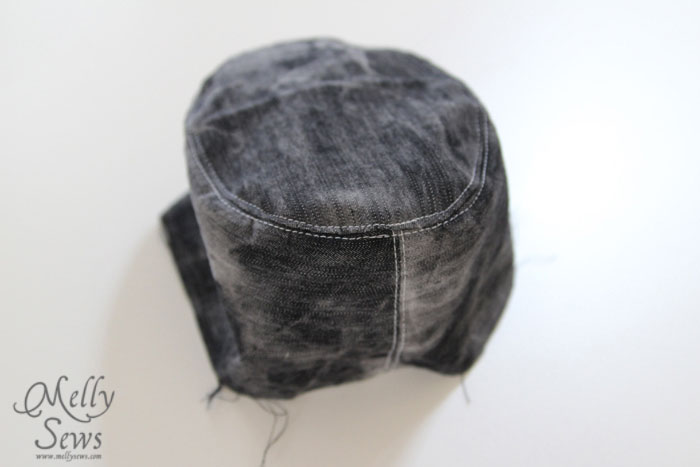
5. Pin the top of the side pieces to the crown tip, right sides together, lining your pins from step 4 up with the seams on the side pieces. Stitch. Repeat this step with the lining sides and crown tip.
6. Press the seam allowance flat against the crown tip, then topstitch on both sides of the seam.
7. Pin the unlined brim piece over the interfaced/buckram brim piece, right side together, and stitch the outside edge.
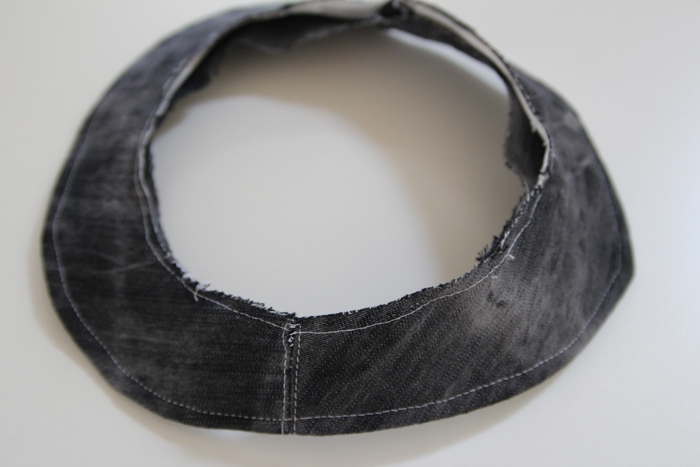
8. Turn right sides out, and topstitch around the outside edge of the brim, about 1/4″ (6mm) from the edge. This will be tricky because of the buckram; I recommend not pinning (you’ll just bend your pins) and stitching with the buckram lined side up, rolling the unlined piece under with your hands as you go. Go slowly.
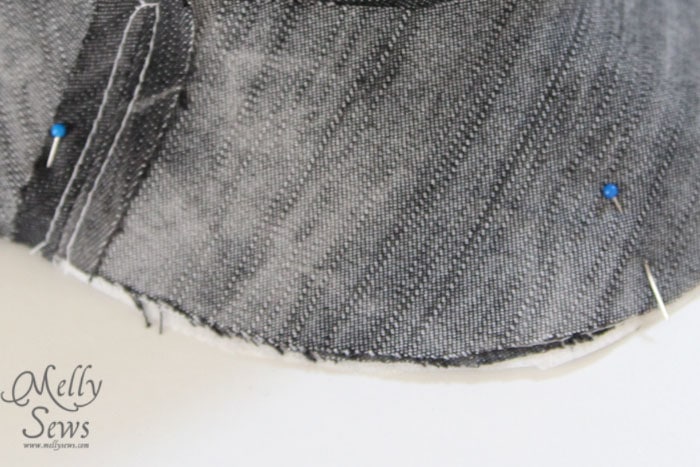
9. Mark the midpoints of each side of the hat with pins (do this by folding the crown so the side seams touch – the outer edges are now the midpoints).
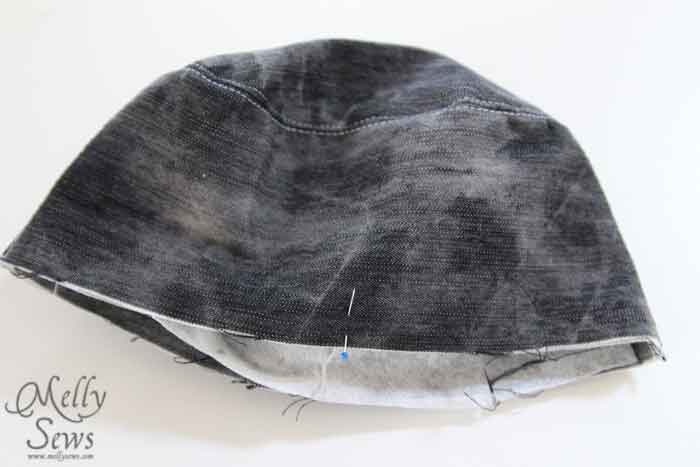
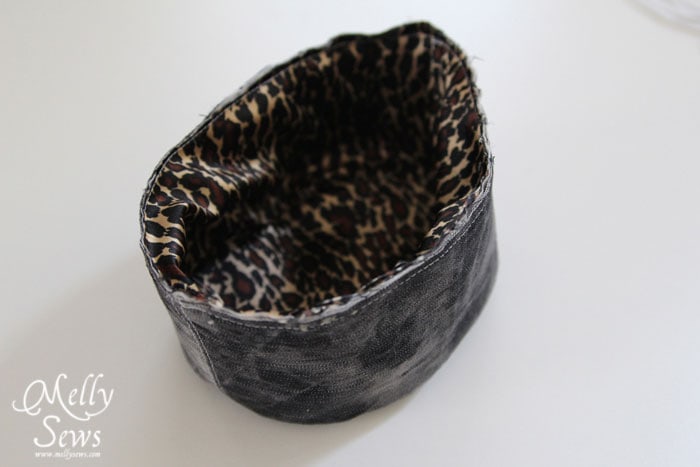
10. Place the crown lining inside the crown, wrong sides together. You may wish to baste the lining to the crown at the edge.
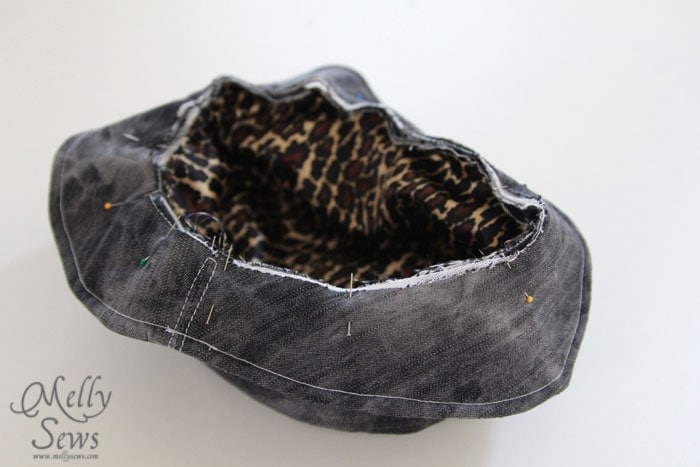
11. Line the side seams of the brim up with the midpoint pins on the crown, and pin the brim into place. In the picture below, the unlined side of the brim is facing up. Stitch.
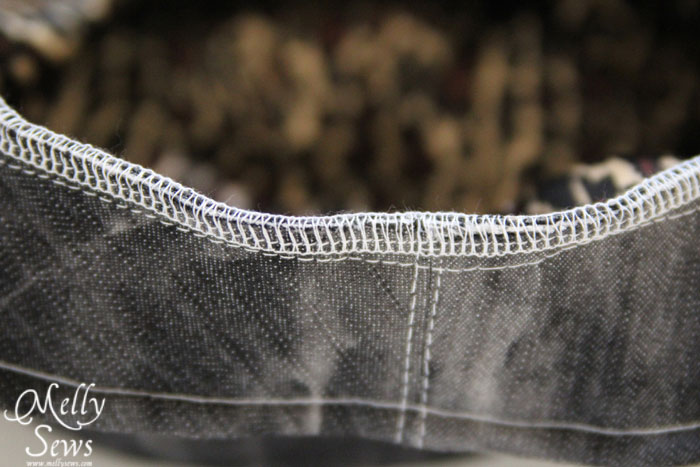
12. Finish this edge with an overlock seam or by zig-zagging over the edge if you don’t have a serger.
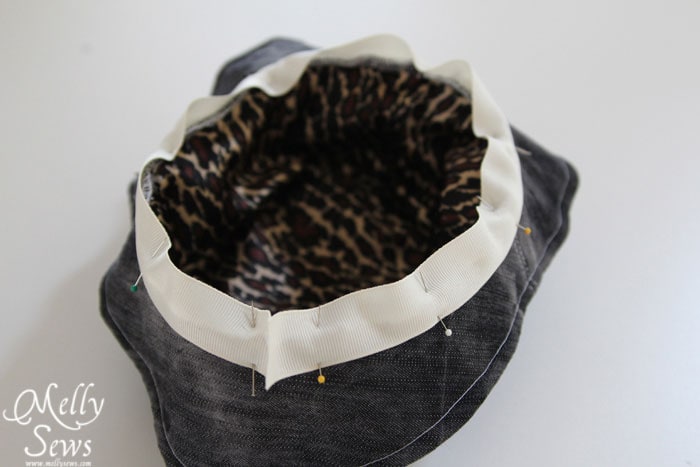
13. Pin grosgrain ribbon over the seam. Stitch this in place from the wrong side, so you’re stitch on the seam allowance. Also, you should probably use grosgrain ribbon that is a color that closely matches your hat. I didn’t, and you can see the ivory peeking out sometimes when Bean wears this.
14. You can just fold the edges of the ribbon under where they meet.
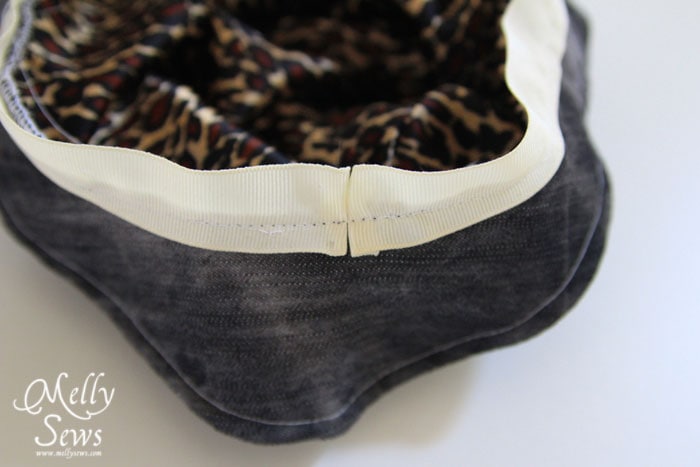
15. Turn the ribbon to the inside of the hat and topstitch around the crown just above the brim to keep in it place. If you want to be really fantastic, you could slipstitch the grosgrain to the hat lining. I chose to be lazy because I wasn’t sure how much Bean would like this hat.
16. Shape the brim by bending up the back and sides; you can steam this a little to help set it.
And you’re done!
Ajaire
This hat came out great. Thanks for the tutorial and pattern. I love the lining you used 🙂
Nell
So super cute! I make hats too from left over materials. Will def try this, thanks for sharing!
Lino
Finally! Tutes on how to make a fedora!! Thank you very much. Will try to make one.
Tiffany S.
Thanks for this pattern!!!! Quick question….. is there an easy way to scale this up for an adult head? I have lots of denim scraps to use up.
Tiffany S.
Thanks…. I kind of figured that. I will have to put that on my to-do list.
MammaNene
OMG this hat is amazing!
I want one NOW 🙂
Tx for sharing,
MammaNene from
SergerPepper.blogspot.it
Trish
Thank you for the pattern and the tutorial. Have been looking for a hat pattern to make a cool chemo hat for my hubby out of fleece.
Thank you very much
Peter
I have one half of a pattern, just needed to acquire the other and now that I have both I am very grateful. Thank you.
GaterGirl
I simply adore hats and thank you for this free pattern. will be making it in many different colors and materials. Luv it!