
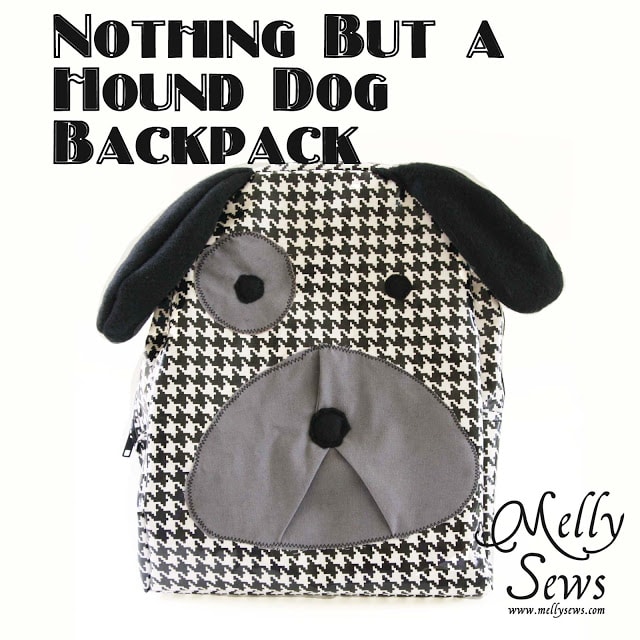
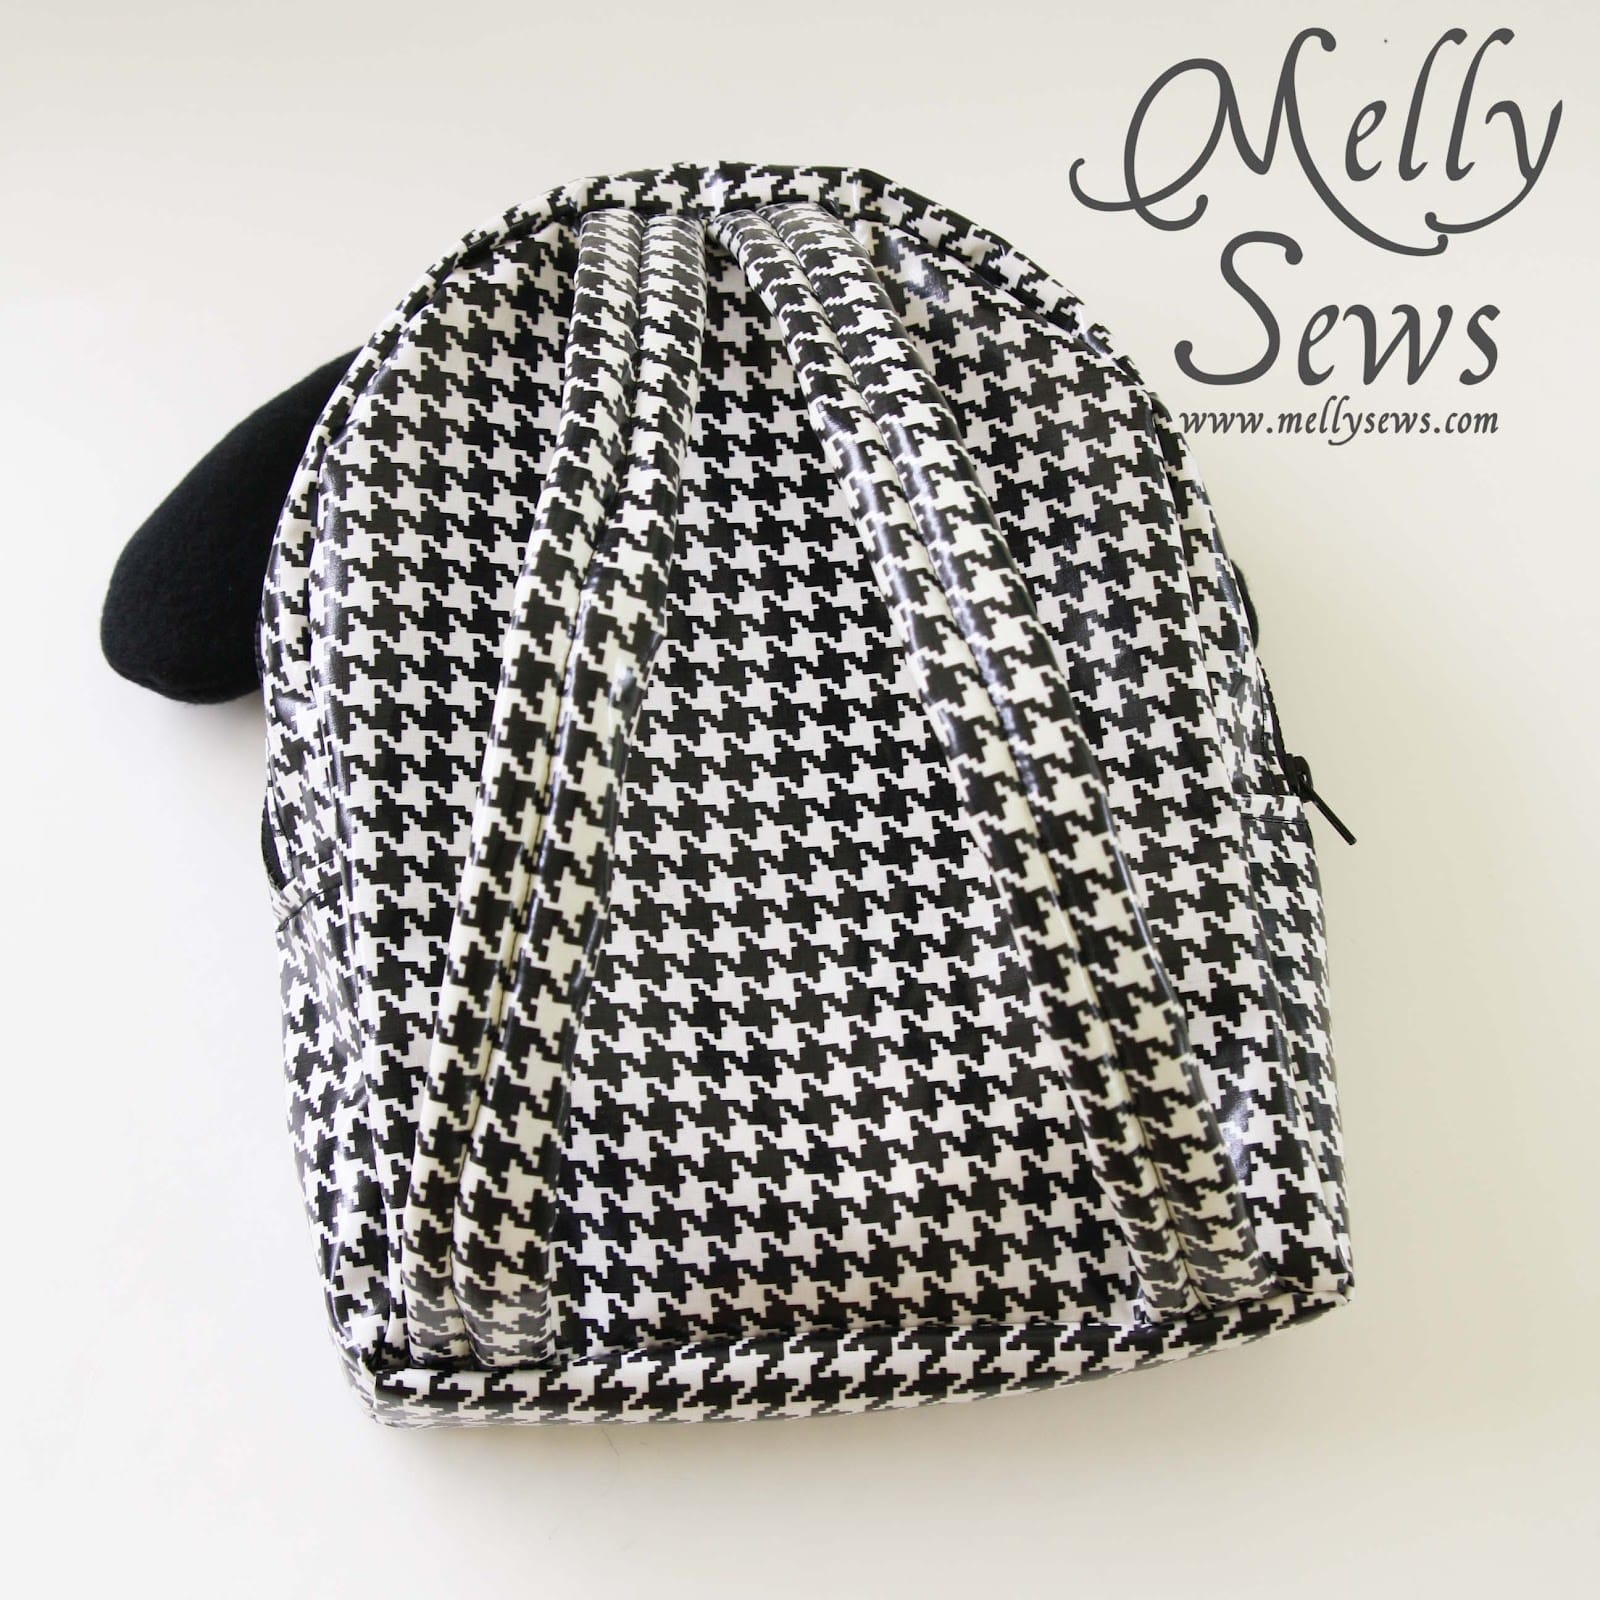
We’re doing some traveling this summer and I decided Bean needed his own little piece of luggage. I went into a local independent fabric store, and found this laminated cotton houndstooth, and the Nothing But a Hound Dog Backpack idea popped into my head.
I’m not going into all the details of how I made the backpack – for that, there is a free pattern here from Sew Much Ado – just replace her bunny with the dog face I’l show you below.
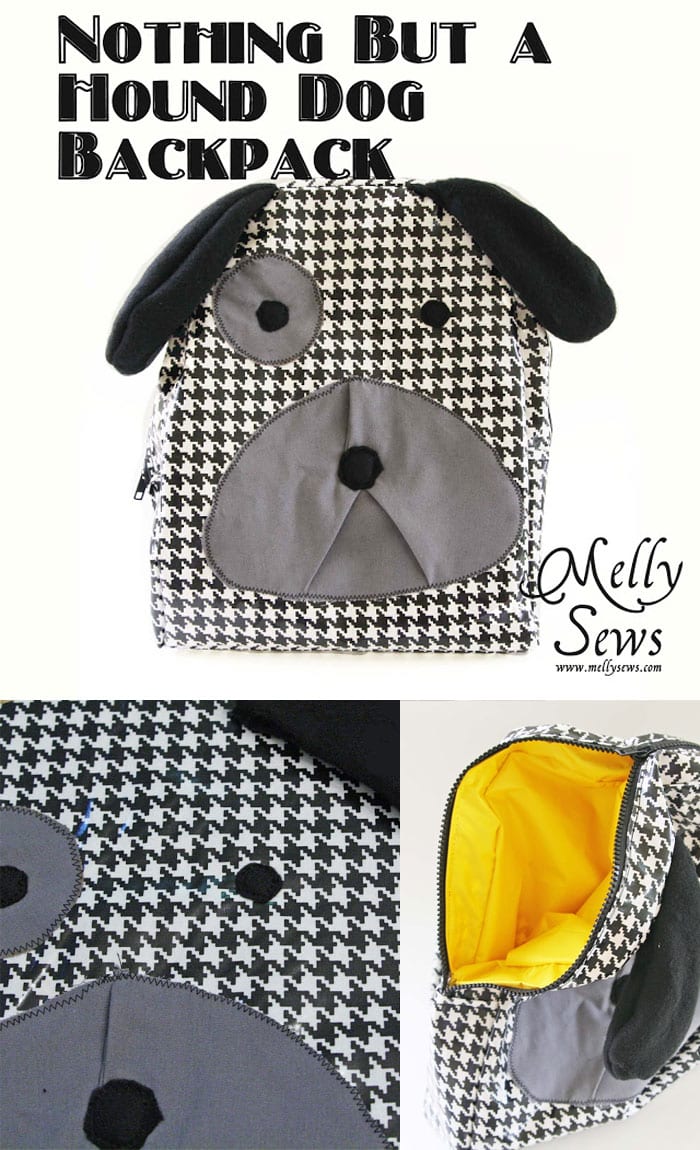
What I do have for you is the tutorial about how I made the dog face, and free printable pattern pieces for the dimensional muzzle and ears. You can use this to make your own hound dog with either of the backpack options I mentioned above.
I used:
These pattern pieces – Click HERE to download
Gray scraps for the muzzle and eye ring
Black fleece scraps for the ears, nose and eyes
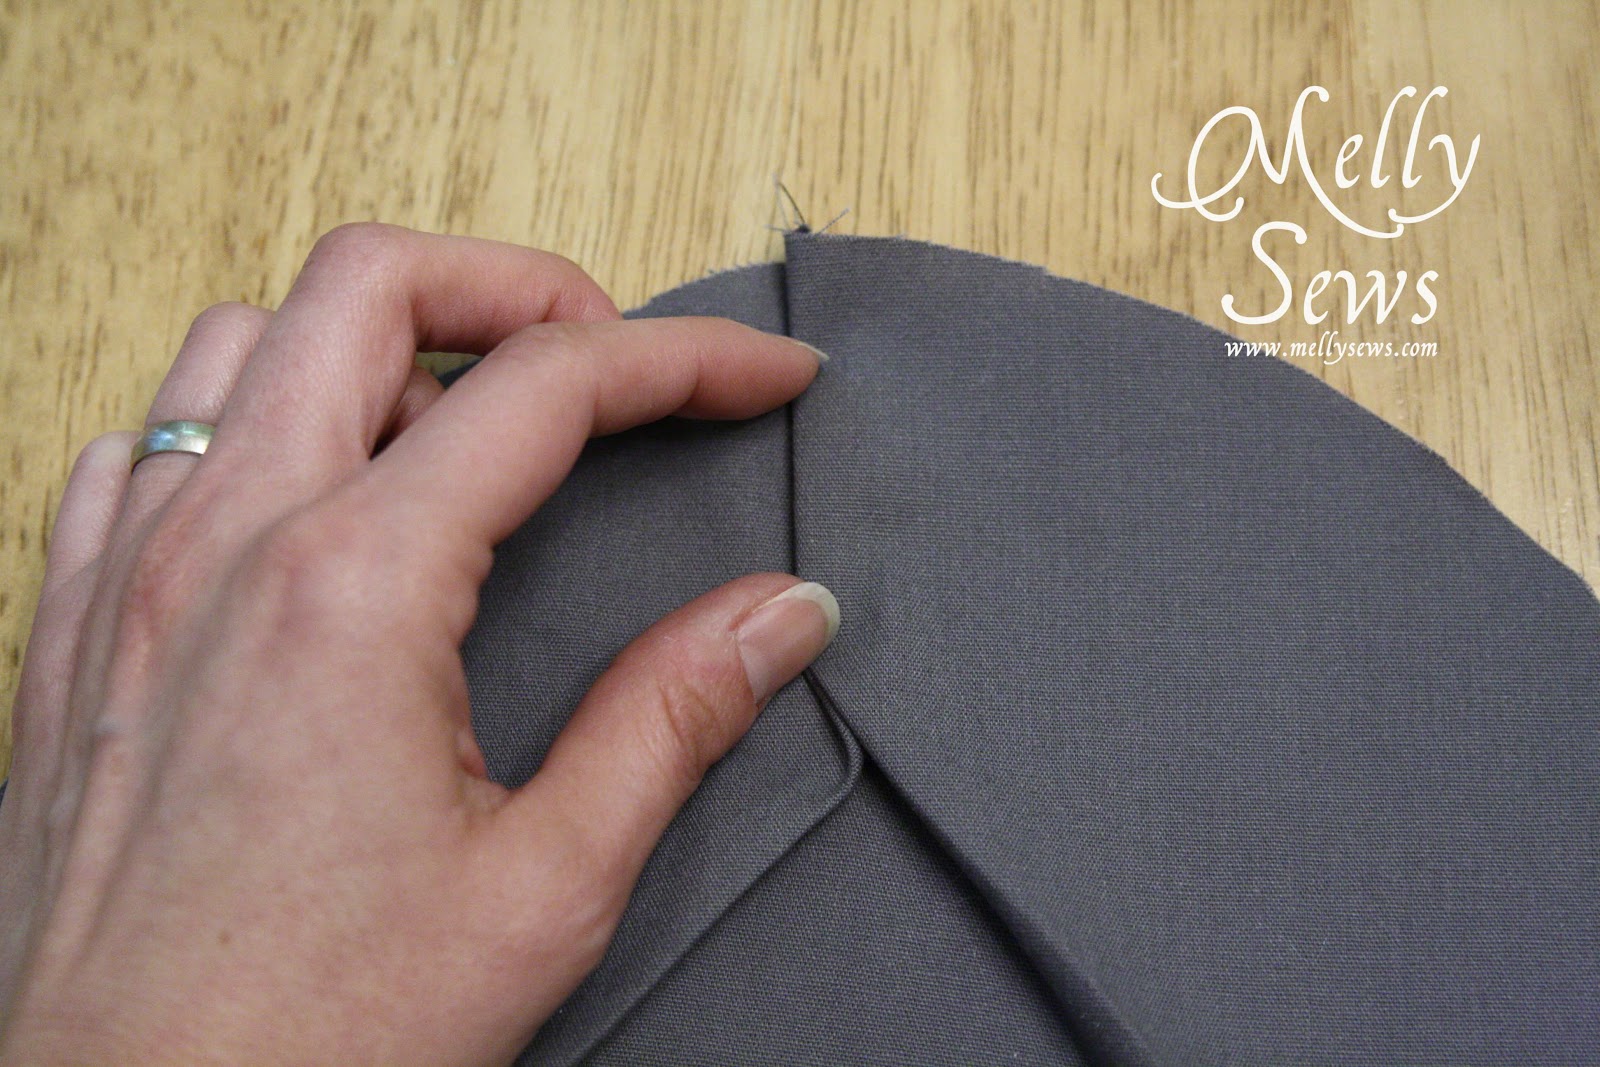
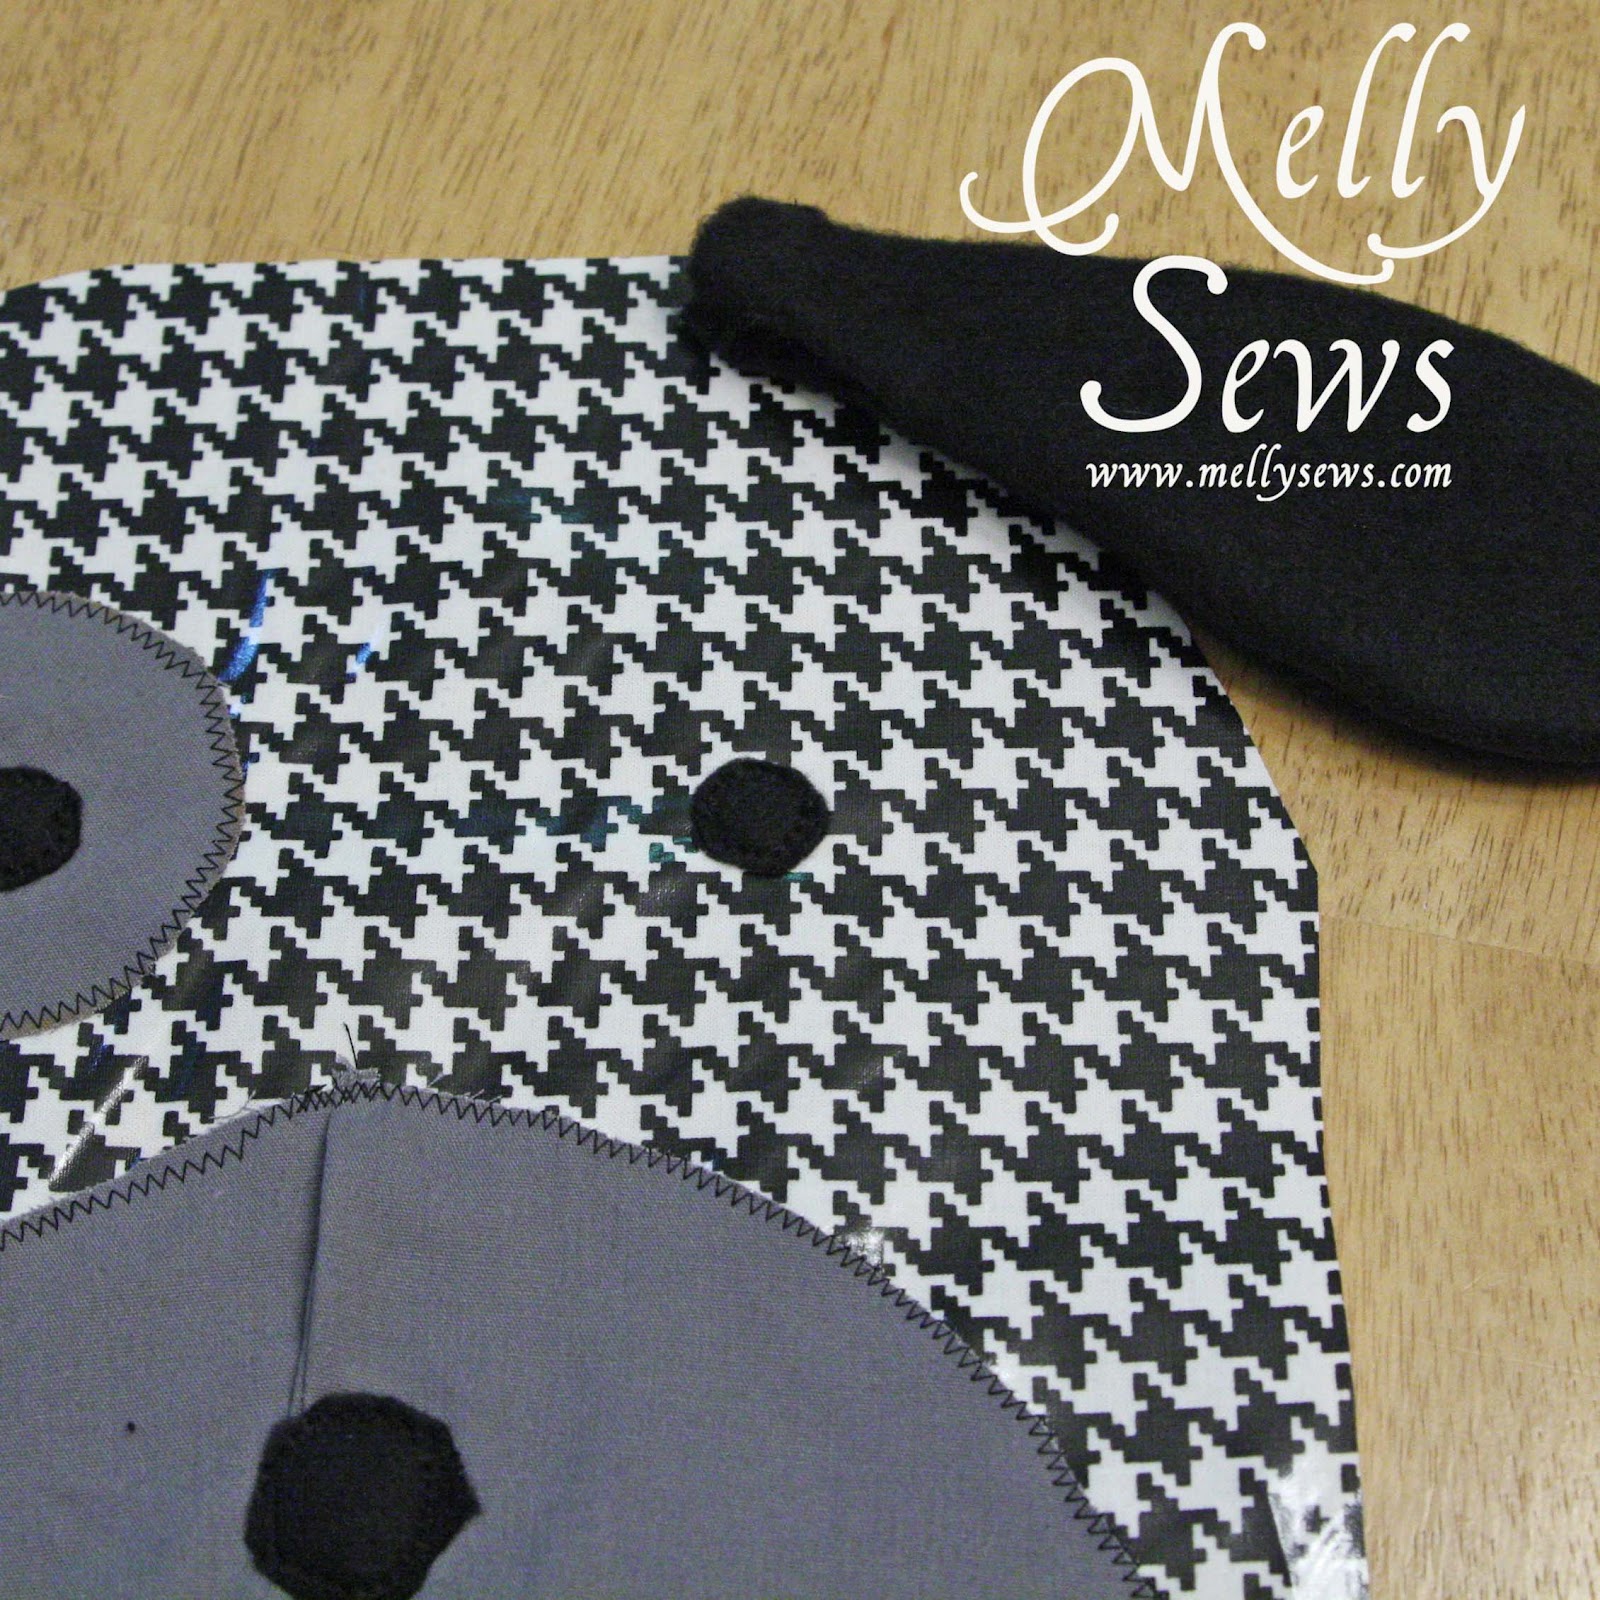
Starting with the muzzle – cut 1 on the fold and mark the darts. Then, pin the darts and press but DON”T SEW them.

Now press the dart shape towards the outside of the muzzle while you’re looking at the wrong side of the fabric.

When you turn this right side up, it will give you the mouth shape. You’ll also notice the top part of the muzzle kind of bubbling up because of the darts. Press this to one side to create the nose shape.
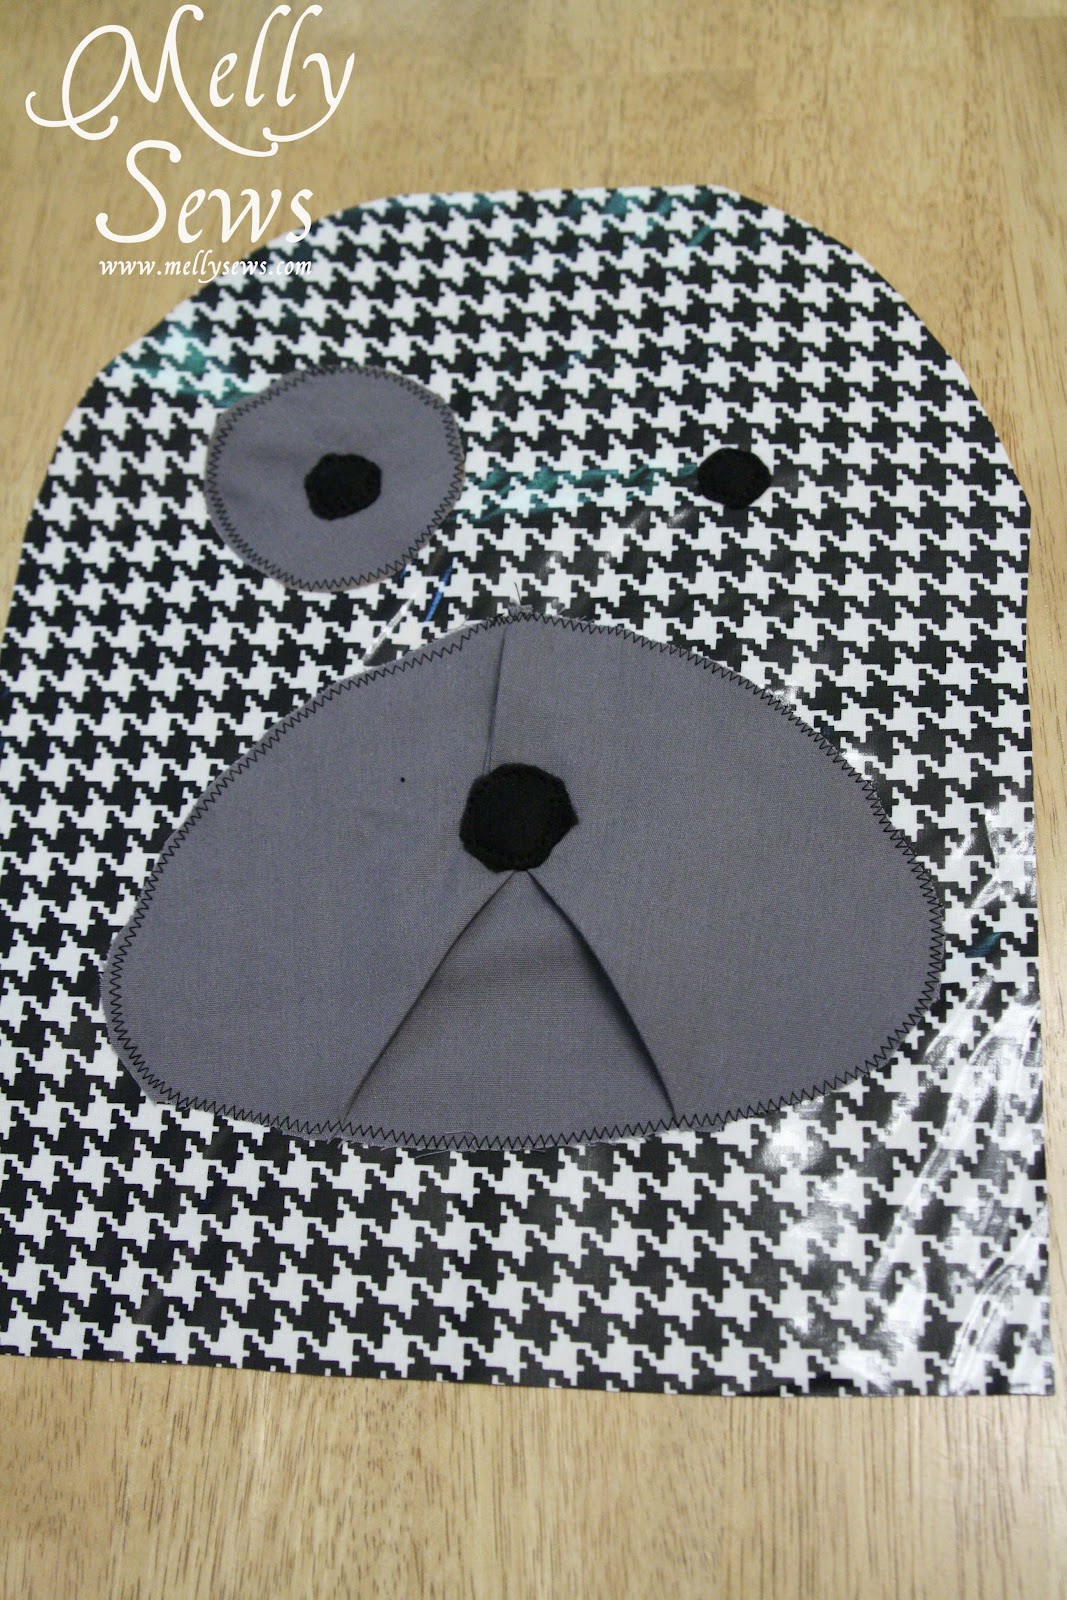
Now place the muzzle on the backpack front and zig-zag stitch around the edges to secure it in place. Go slow near the darts to make sure you sew them down the same way you ironed them. FYI – I often use heat ‘n bond to hold applique pieces in place while I sew. DON’T do that on laminate fabric!

Now cut a circle about the size of a quarter and zig-zag stitch it on for the nose. The eye ring was my camera lens cap, and the eyes are the size of a penny. Zig-zag stitch each into place.
Sew two ears together with narrow seams, right sides facing. Leave the square-ish end open and turn the ear right side out. Repeat with the other two ears.
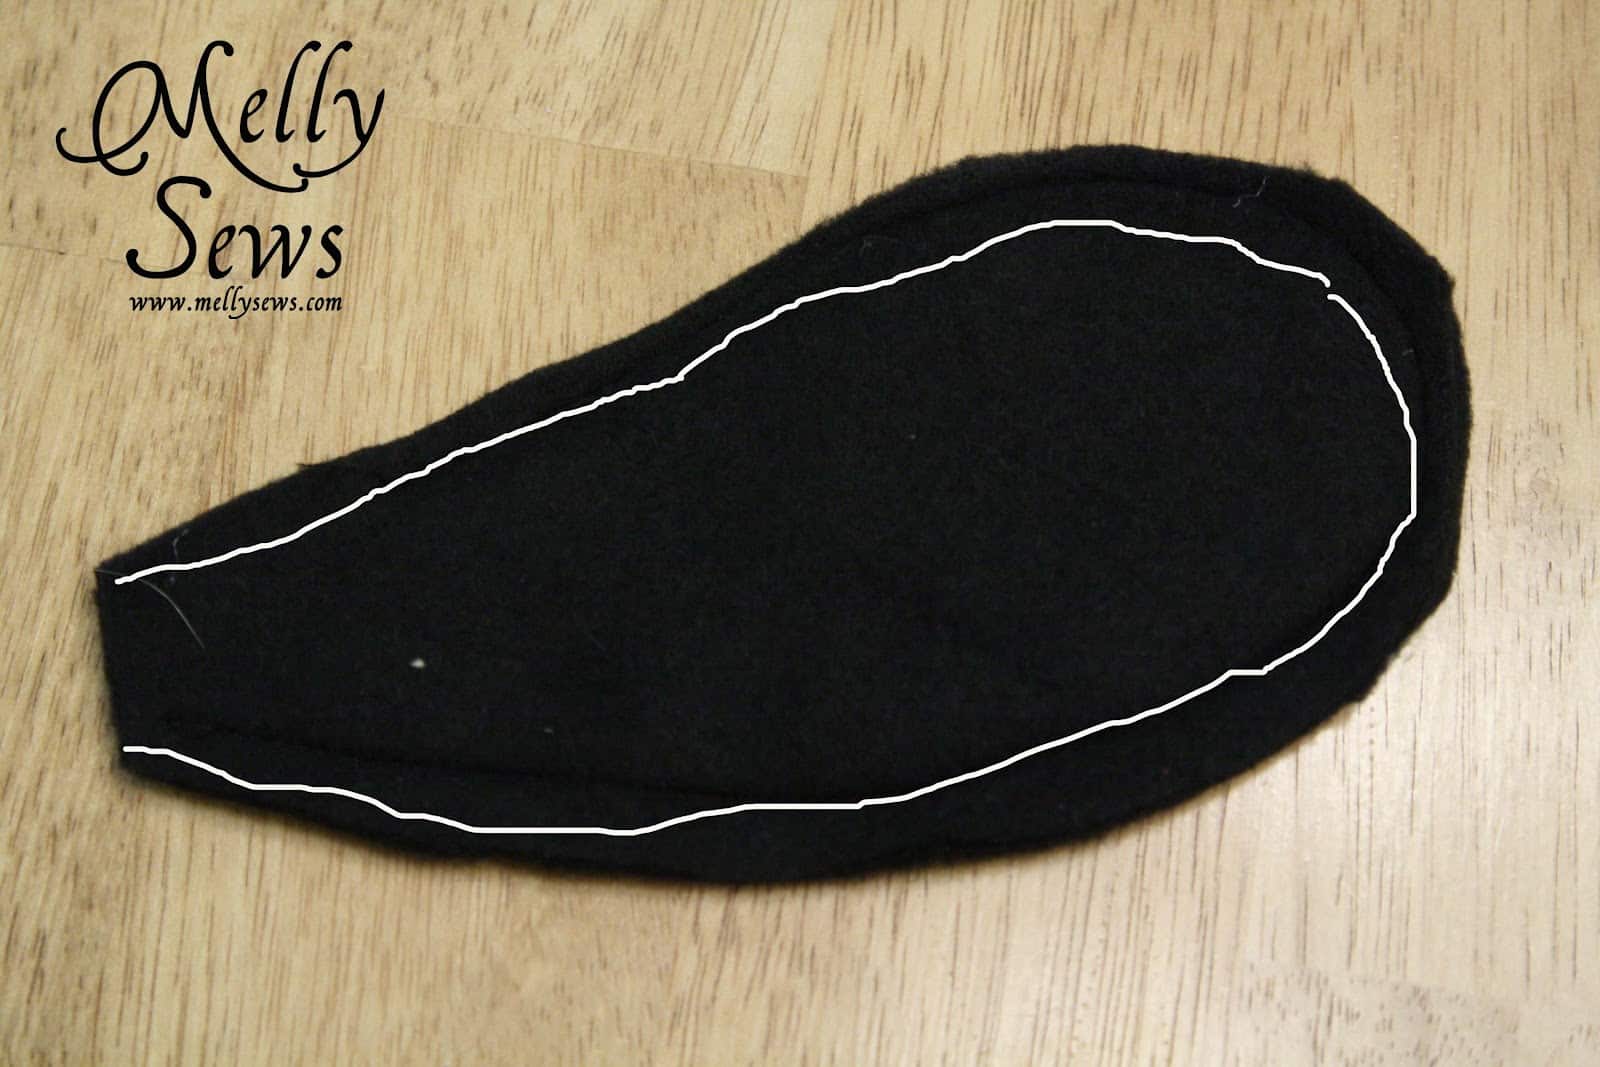
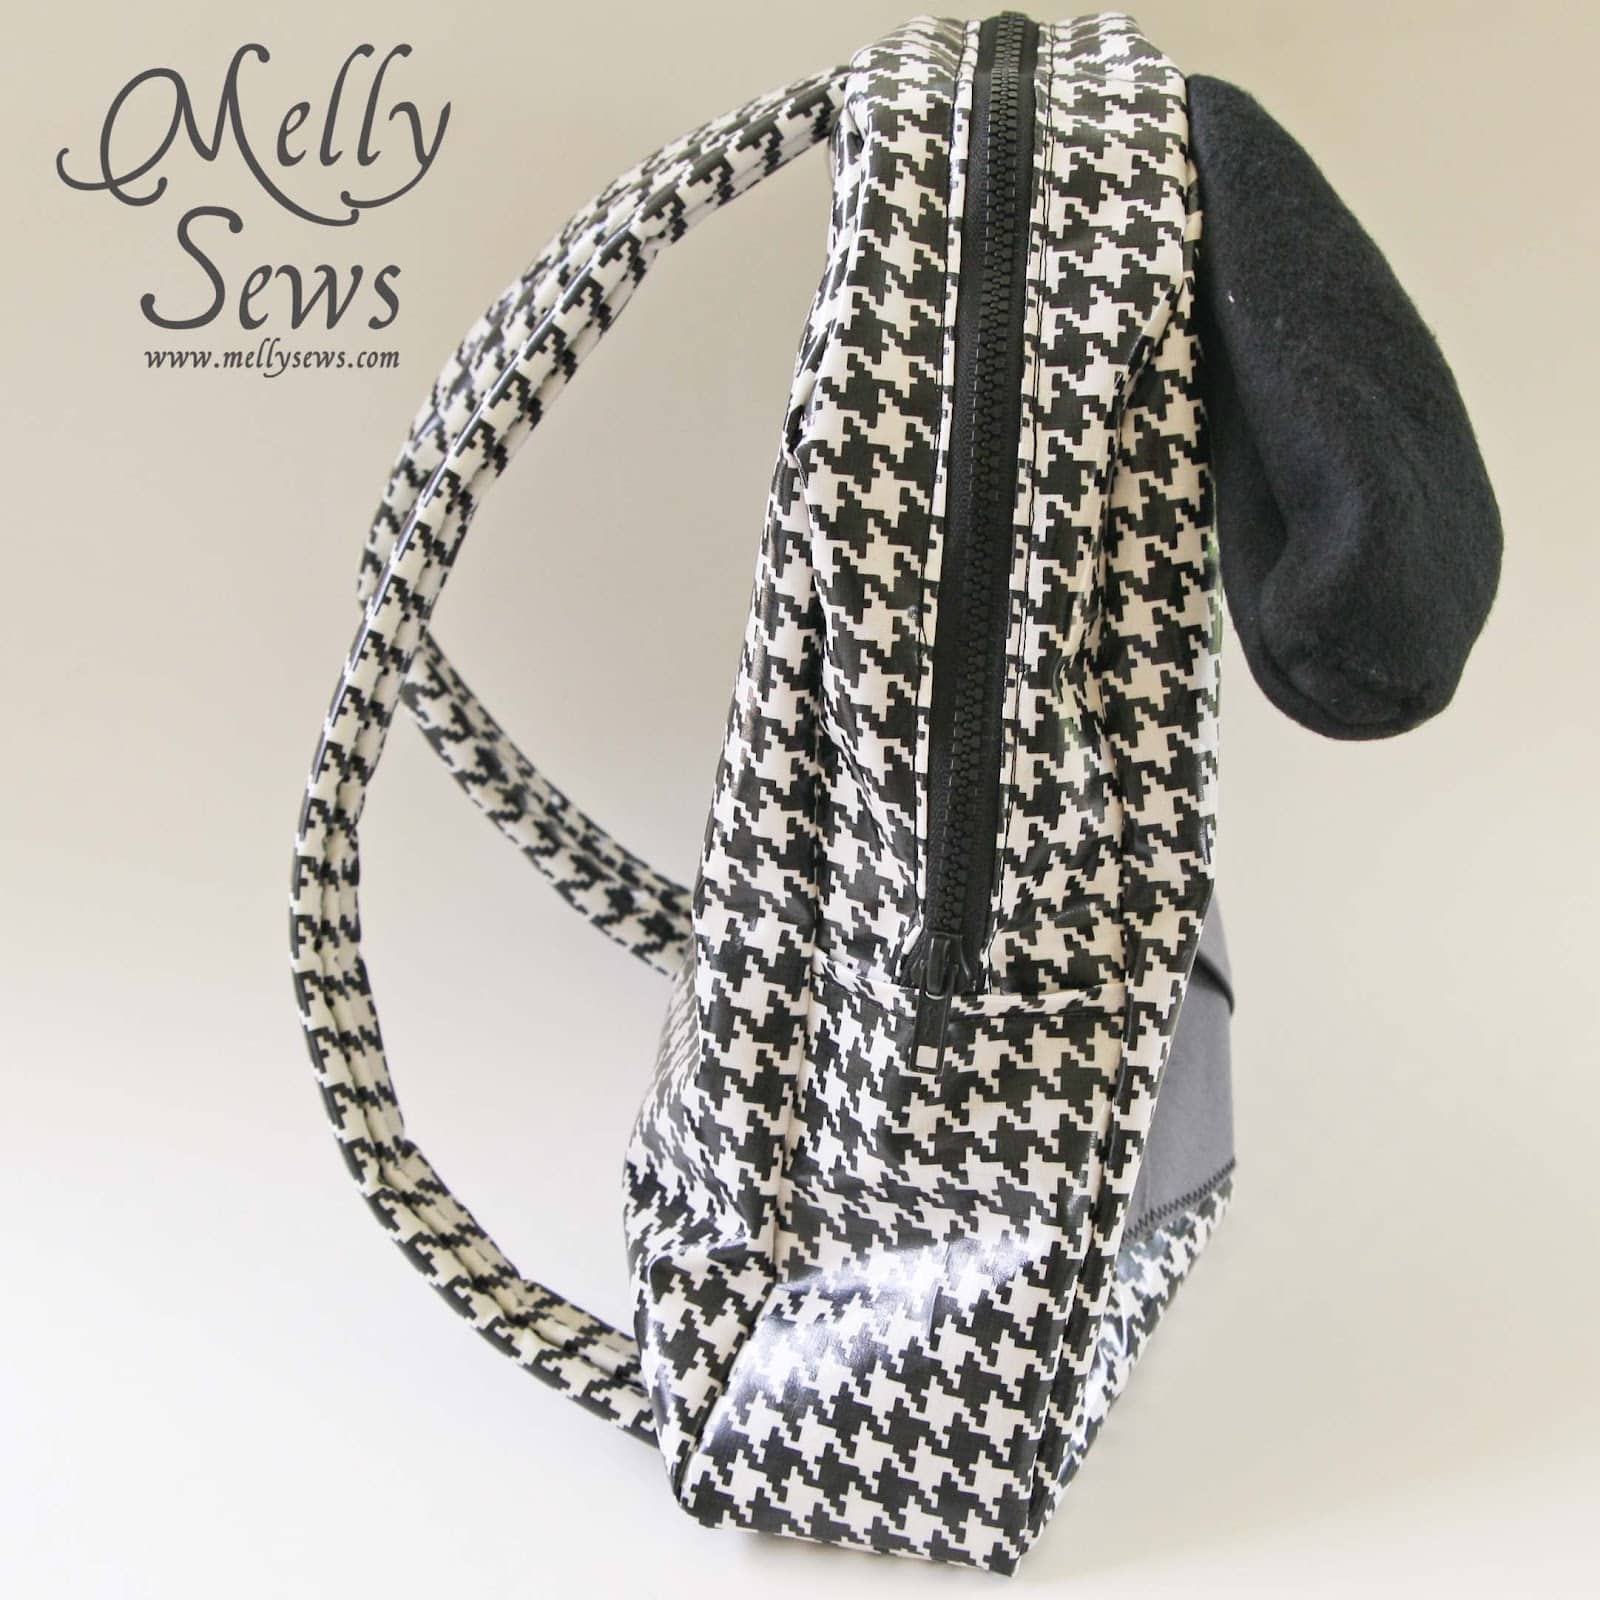
Sew the ears onto the top edge of the backpack. When you sew the zipper band onto the backpack, make sure the ears can still flap freely, but that they are caught in the seam.
And that’s it!

I made my straps on this extra cushy
And added a pop of yellow to the inside

And because I used laminated cotton for the outside and laminate backed nylon for the inside, this bag is water resistant. It might be the one to carry our wet swimsuits.
Vanessa @ See Vanessa Craft
OHMYGOSH, sooo cute!! Thanks for linking up, I featured this project on my fb page: http://www.facebook.com/seevanessacraft
Cocalores
That looks so cute! And starting with your ideas, you could come up with a plethora of different kinds of dogs and other animals as well =)
maarnietvangrijs
This is so cute, love it!!
Danielle Wagasky
I just wanted to let you know that I featured you today on Blissful and Domestic. Stop by and Check it out!
Danielle @ Blissful and Domestic
http://www.blissfulanddomestic.com
Tami
So cute!
I’d love it if you shared this with the Fun Family Crafts audience.
FFC is similar to Craftgawker but it only features kid friendly tutorials.
Looking forward to seeing what fun crafts you submit!
http://funfamilycrafts.com
Amy @ RockPaperScissorsInvitations
Wow, that is so cute. I wish my kids were still young enough for this. Great idea.
Cuscini
Thanks so charming, Melissa! My New Year’s goal is to contribute 12 pieces to the Million Pillowcase Project, and I think that with a couple of modifications this would translate beautifully into a pillowcase. Thanks for the pdf help!
Miss Judith from Cape Cod
Reecea Henderson
Thank you so much for posting this backpack tutorial. I love it so much!! Shared it here:
http://freshjuniper.blogspot.com/2012/09/kids-backpack-tutorials-adorable-diy.html
with link back to your post.
Arf, arf!!