
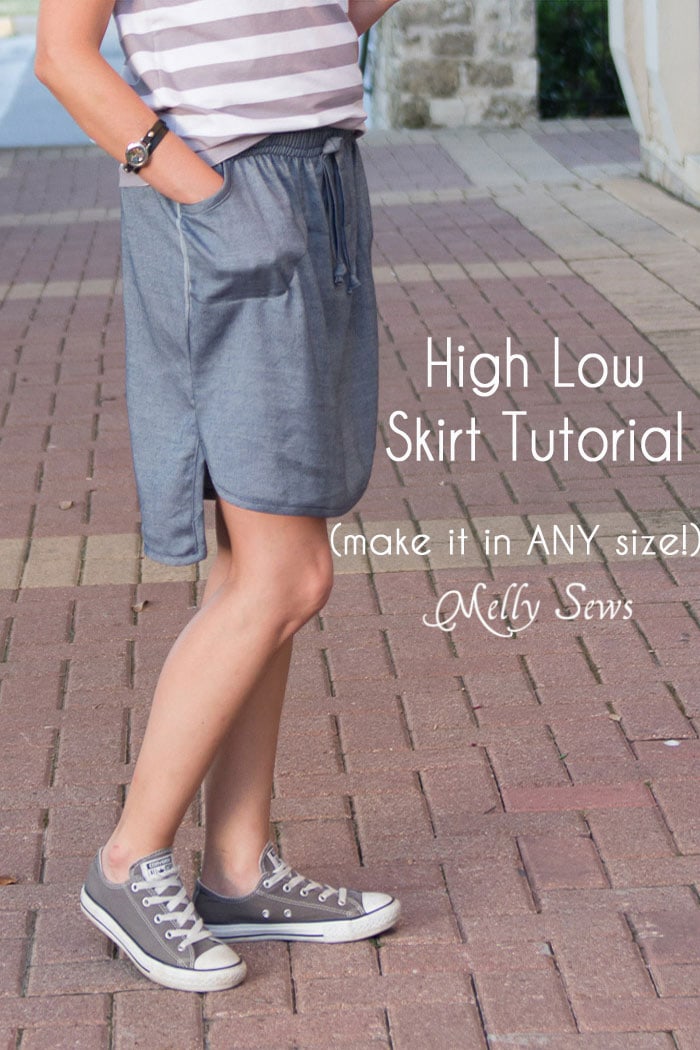
Hey y’all – I am so excited to be participating in Skirting the Issue again this year. This year I riffed on last year’s Drawstring Skirt and made a sporty chambray high low skirt.
Skirting the Issue is a charity event that my friends Liz and Elizabeth run every July; you can read more about it here. Since the skirts are for girls in foster care, I made sure that this tutorial could be made in any size, from little girls to tweens, teens and even plus sizes! So make one to donate and one to keep for yourself if you’d like!
To make your own, you’ll need:
- Fabric. Amount will vary based on what size you’re making, so use the instructions from the Drawstring Skirt tutorial to calculate. Add in 1/4 yard for the pockets.
- A package (3 yards) of 1/2 inch wide double fold bias tape. I made my own using this method.
- 1 1/2 inch wide elastic
Start with the basics from the Drawstring Skirt tutorial. You’re going to cut front and back rectangles just like that skirt EXCEPT add 3 inches to the skirt back AND don’t cut out the pockets from that skirt. We’ll be using the pocket pattern piece from the Shoreline Boatneck Hack – you can get that pattern piece here. Cut 2 of those pockets.
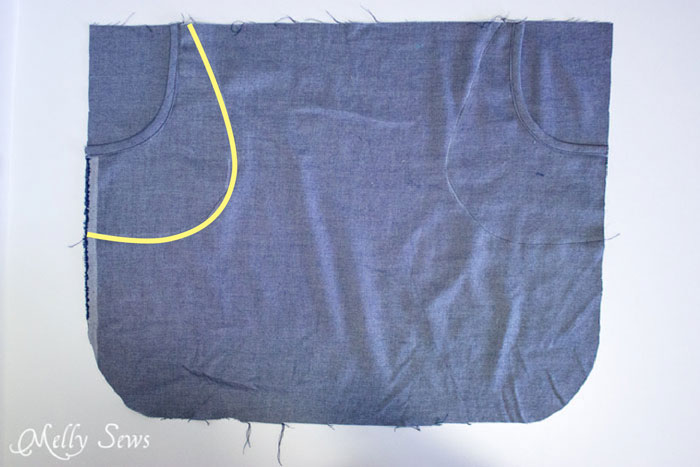
Once your pieces are cut, you’ll need to modify the front pattern piece. First, fold in half with the side seams matching. Then cut out a curve for the pockets. Use the pocket pattern piece as a guide – meaning the piece you cut out of the skirt should be about 2 inches narrower and 4 or so inches shorter than the actual pocket piece.
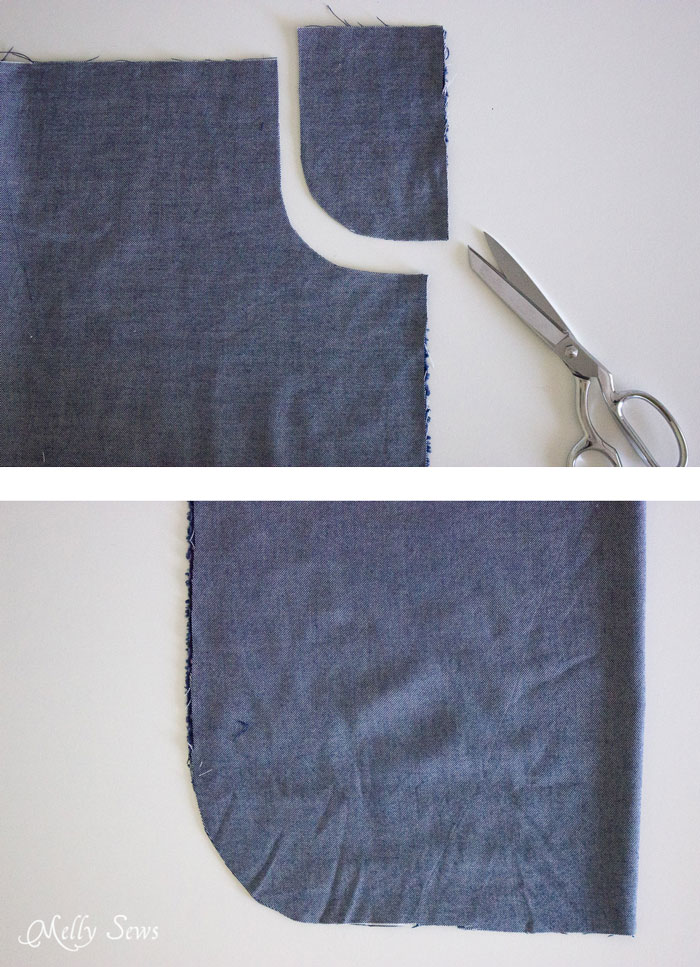
With the front skirt still folded, also cut a curve on the bottom corner as shown above. Keep the skirt front folded.
For the pockets, we’ll be attaching them all along the side seam. Which means you should cut even with the widest part of the pattern piece, don’t cut out the indent on the side seam.
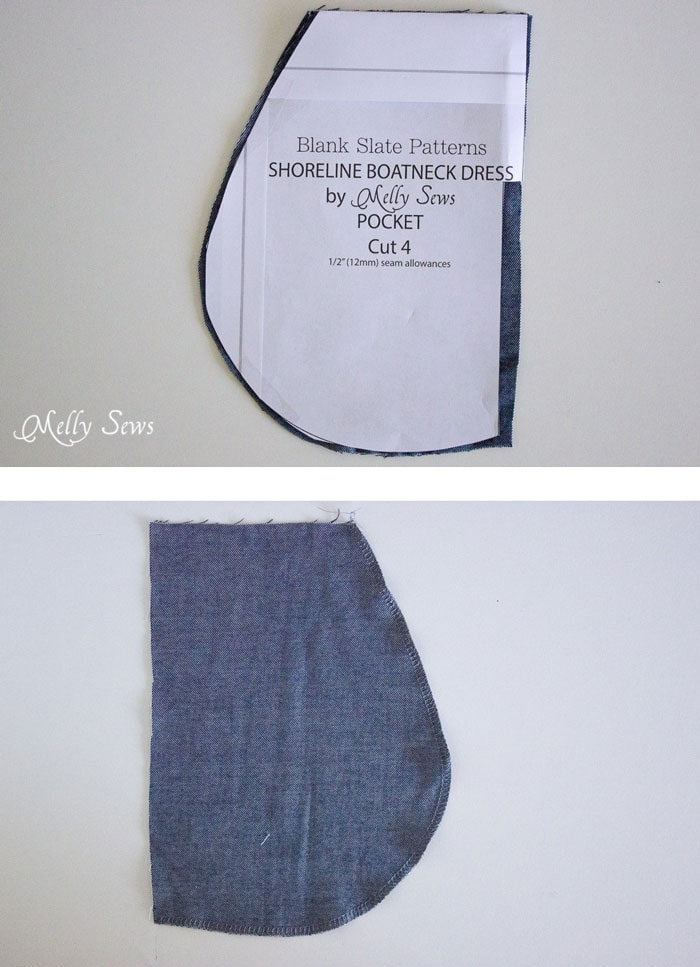
Finish the curved edge of the pocket with an overlock or faux overlock stitch as shown above.
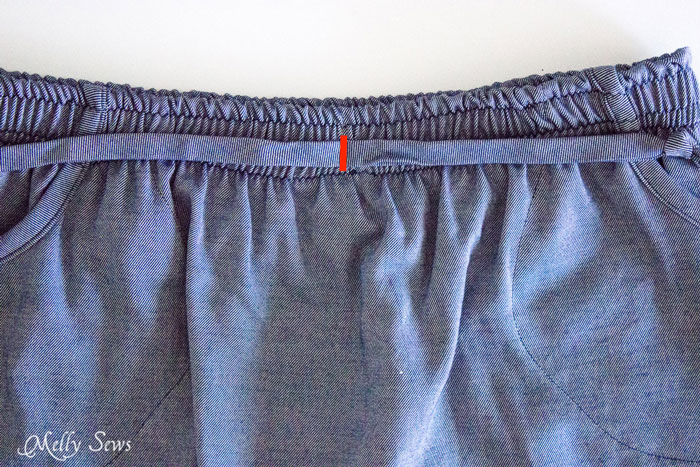
Match one pocket right side to the folded skirt wrong side; make sure the top and side seams are even with the skirt top and side edges. Using tracing paper and a wheel, trace just inside the pocket edge (red line) to create a stitching line mark on the right sides of the skirt. You’ll need to press hard, since you’ve got 3 layers of fabric here.
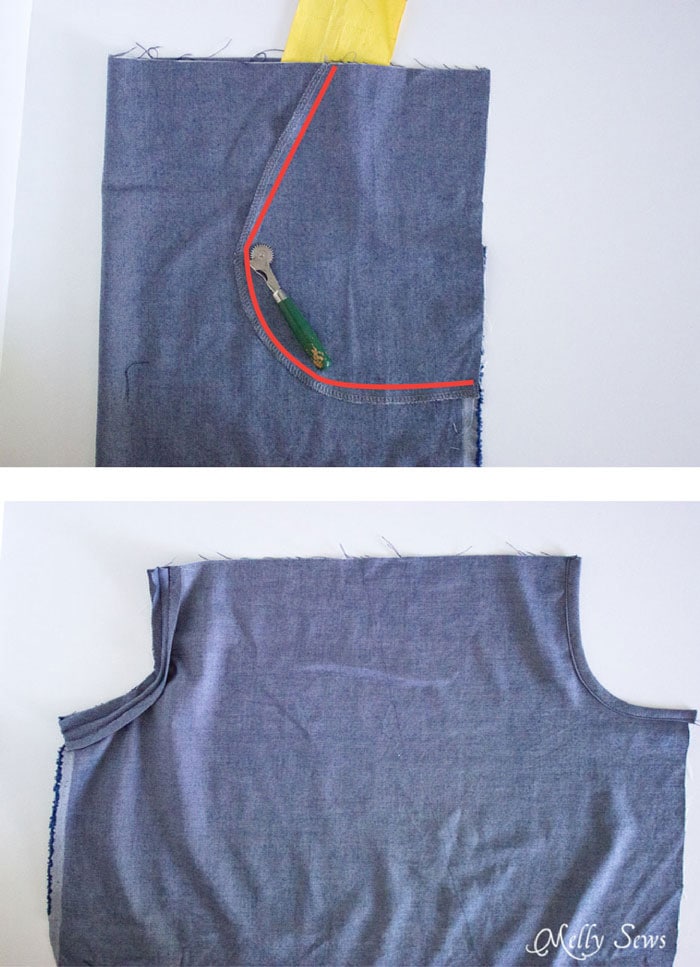
Unfold your skirt front and put the pockets aside. With the skirt right side up, unfold and stitch bias tape along the pocket cutout as shown on the left above. Fold the bias tape around the raw edge and stitch in place as shown on the right side above. Need help with sewing bias tape? See this post.
Place both pockets right side to the skirt wrong side; making sure the top and side seams are even with the skirt top and side edges. Pin in place and on the right side, stitch along the stitching line you traced earlier. You may also want to baste the top and sides of the pockets to the skirt.
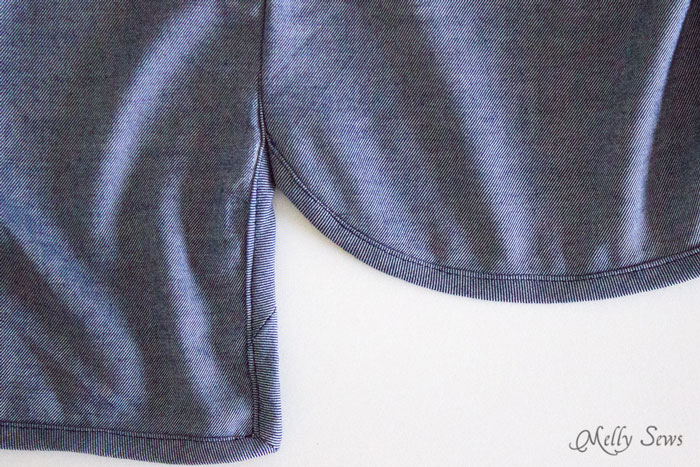
Apply bias tape around the skirt front hem and 1/4 of the way up the front sides. A steam iron can help ease the bias tape around the curves.
Also apply bias tape to the bottom and 1/3 of the way up the side seams of the back skirt. You’ll need to miter the corners; for help see this post.
Place the skirt front and back right sides together and stitch the side seams, tapering onto the bias tape at the hem.
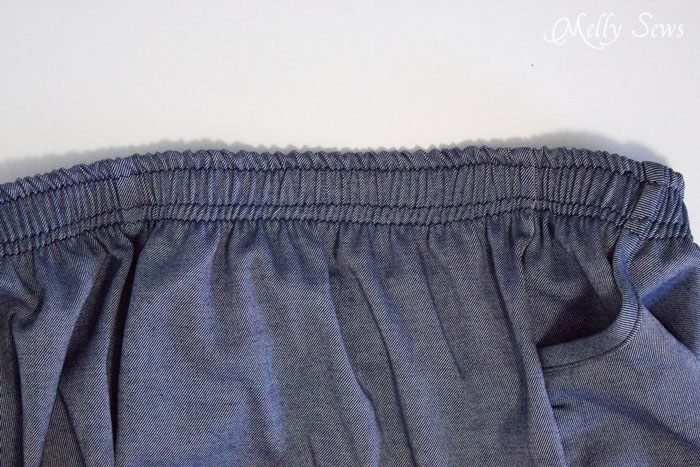
Fold the top edge of the skirt 1/4 to the wrong side and press. Fold again 1 3/4 inch to the wrong side and press to form the waist casing. Stitch the waist casing, leaving an opening to insert the elastic. Insert elastic that is the same length as the waist measurement. Overlap the ends of the elastic and zigzag them together, then sew the opening in the casing closed. (If you need pictures to visualize how to sew a waist casing, see this post. It’s the same method, though I used narrower elastic that time.)
Once the waist casing was sewn, I added topstitching 3/8 inch from the top of the waistband and 3/8 inch from the bottom. This is optional, but I liked the way it looks. To do this, set your machine to a narrow zig zag stitch (I used 1.5 mm) and a long stitch length (I used 4mm). Then stretch the waistband as you sew, just so that the fabric is flat. This requires a hand in front and one behind the presser foot stretching; make sure to stop with the needle down each time you need to stop and readjust the fabric.
Finally I added a faux drawstring detail – this is just another piece of bias tape sewn closed and then stitched flat to the center front of the skirt. Also totally optional.
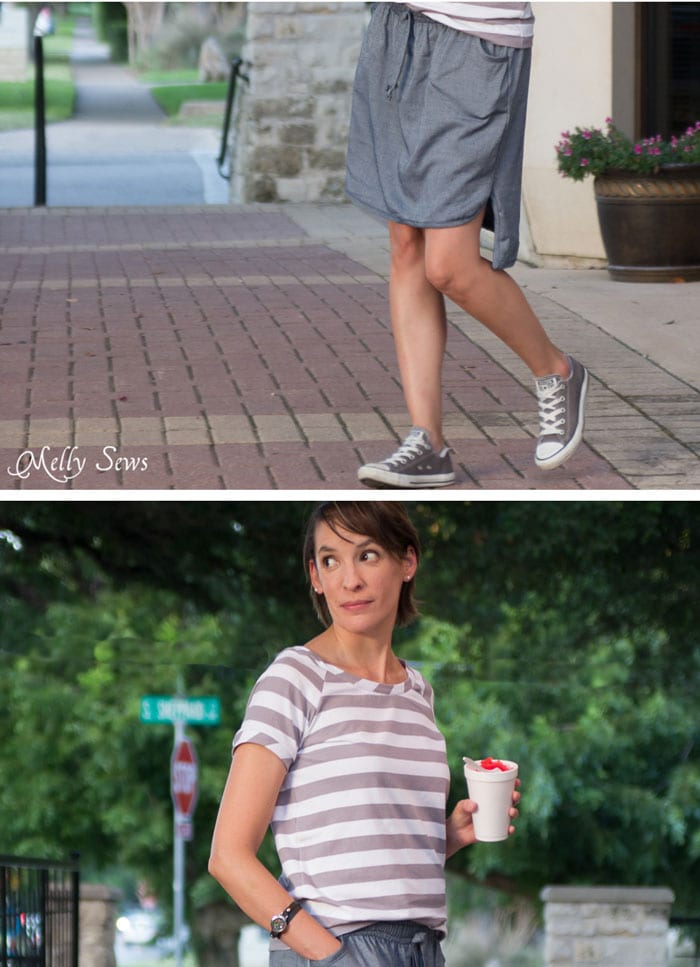
And you’re done!
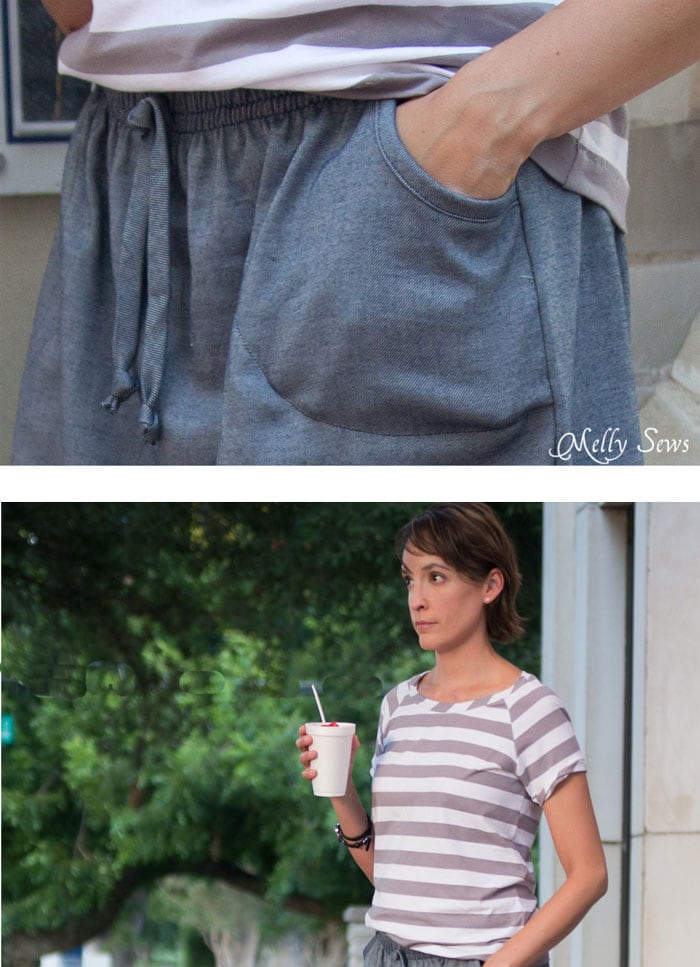
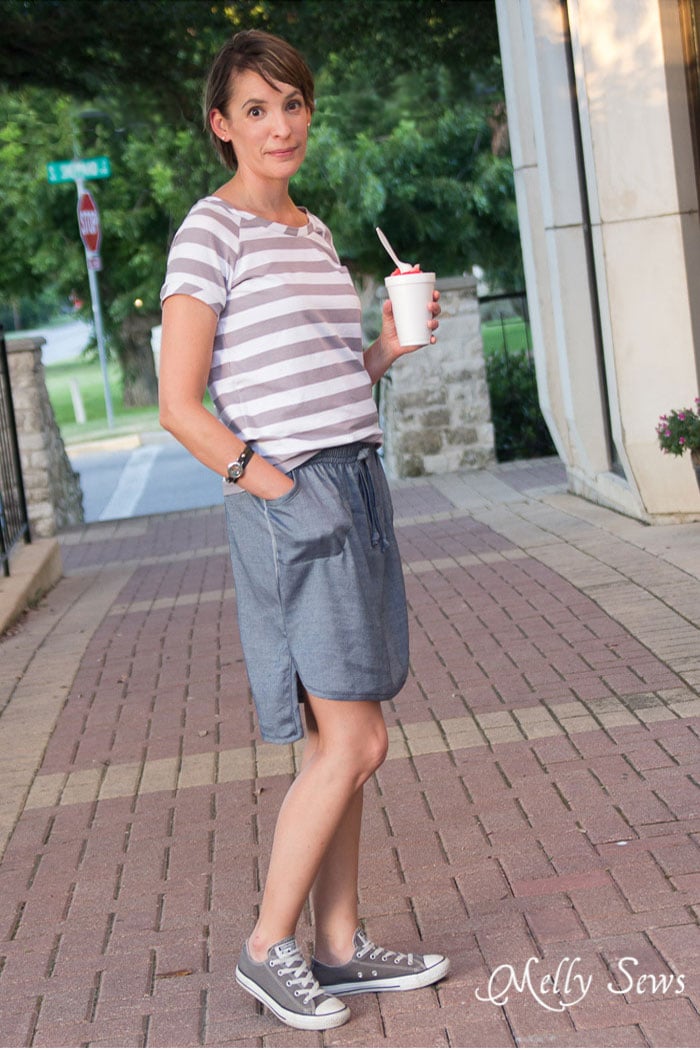
The top I’m wearing is a self drafted slouchy raglan t-shirt made with Riley Blake knit basics. I cut bias knit strips for the neckline and sleeve bands. I’ve played with this pattern a few times; maybe at some point I’ll finish it up as a pattern for sale. In the meantime, if you must have it, you could get a very similar effect with modifications to the Tulip Top – you’d want to not do a front overlap and widen and lower the neckline.
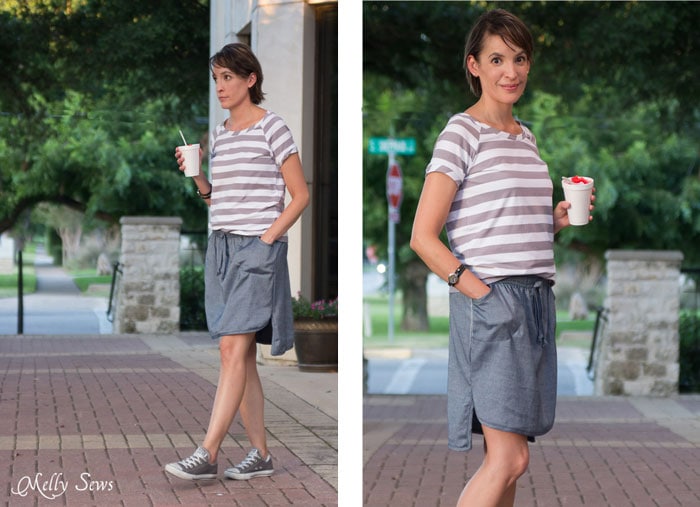
Outfit Details:
Skirt: sewn from this tutorial using cotton chambray fabric
T-shirt: Self drafted and sewn from Riley Blake Knit 1″ Stripe in Gray
Shoes: Converse Shoes (affiliate link)
Bracelet: Origami Owl
Elizabeth
The bias tape looks great on the pocket edges, and what another great sewing charity!
Rachel
I like this waistband style and you can’t hardly go wrong with a Chambray!
Kristie
Love this skirt. I especially like the details on the waist band that make it look store bought. And your shirt! I love the pictures of it and hope that someday it will be a pattern!
Sharon
Thank you so much Melisssa for sharing your ideas with us. I appreciate your great instructions.
Sharon
Emily
SUPER CUTE! I can’t wait to make this!! Adorable! Love the fabric too!
Jae
I shared you on my blog! It started as a place for me to organize my “oh I want to make that…” stuff. Love your stuff!