

Hey y’all – today I’m going to explain how I took the twinkle light photos of my boys for the holidays this year. I’m not a pro photographer, and I’m always looking to improve, but I did like how these came out for our holiday cards.
I started with this tutorial. But I didn’t have any white wired lights without going to the store. And then it occurred to me that I have a dark gray backdrop and that the green wired lights I did have might blend into that. If you’re interested in how I hang my backdrop paper, I have a setup in my garage. You can see more about it here – it didn’t cost me much more than buying the backdrop paper.
So, with that determined, my wonderful hubby set about hanging lights in front of my gray paper. These are a couple of test shots I did – I’m using my Tamron 28-75mm lens (affiliate link) here, zoomed to about 70mm and opened to 2.8. The camera is about 20ish feet away from the backdrop, and I focused on my husband about 10 feet away from the camera before having him step out of the frame and taking the pictures. As you can see, the wires blended in better when I slightly underexposed the backdrop.
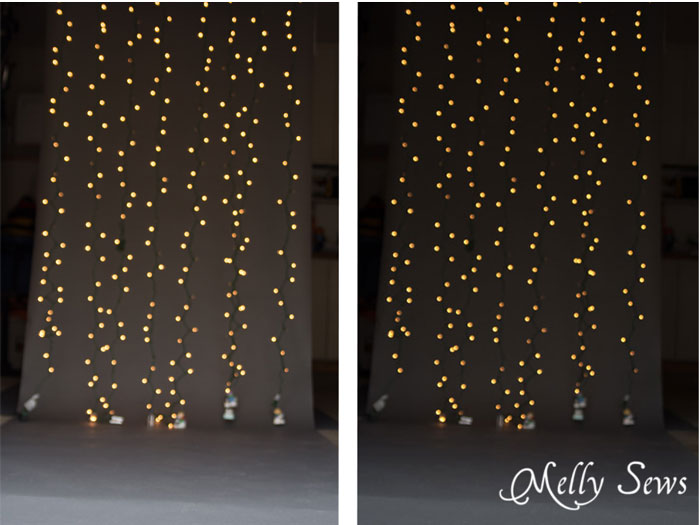
You can also see at the bottom of the frame that I weighted down the light wire loops to get them to hang to the floor – I hung heavier Christmas ornaments on them, ha!
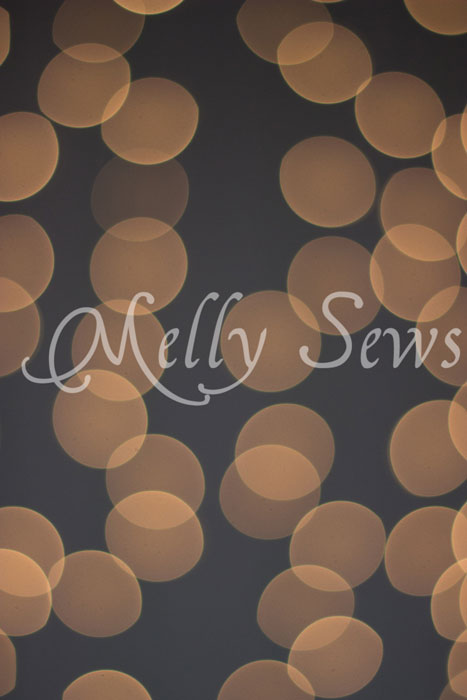
If you read the original tutorial, you saw that she had a tangle of lights near the camera that she shot through. I tried that, but I could see the green wires pretty obviously. But I wanted the bigger light bokeh (that’s what the pretty blown out of focus light spots are) so I took a photo about 3 feet away from the background with my 50mm 1.8 (affiliate link) lens opened up to 1.8. I focused on my hand as close to the lens as I could, then moved my hand and shot the background. That resulted in the image below.
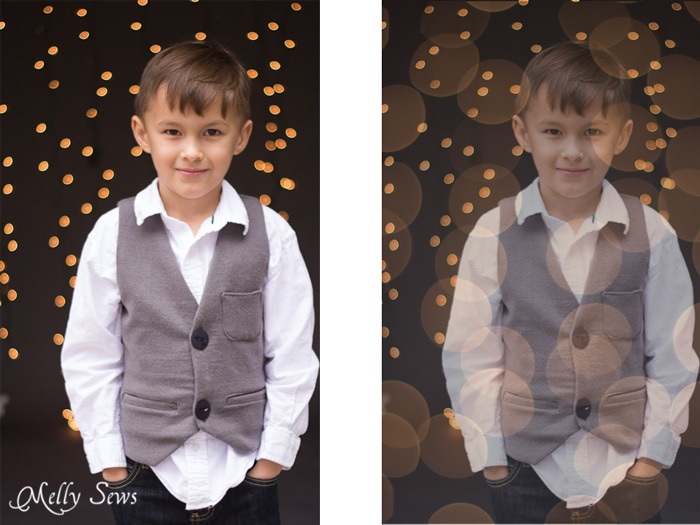
So to get the final images I used, I combined the two images in Photoshop Elements. Any photo program that lets you work with layers will work to do this.
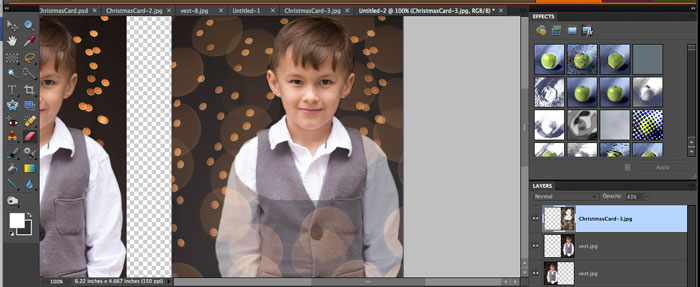
On the bottom layer, I put the image I wanted to use of my boy(s). And then I dragged the blurred bokeh layer over it. I set the opacity of the bokeh layer to about 25% so I could still see my son.
Then it was just a matter of using the eraser tool to erase the bokeh layer on top of my son.
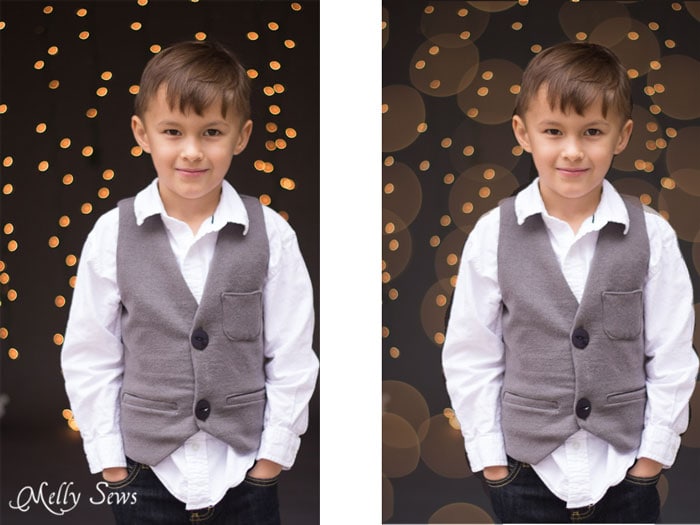
You can see the before and after of this image below. I actually like them both. If you look closely you can see where I wasn’t as careful with the eraser tool as I could have been, but hey, it was late at night when I was putting this tutorial together. I’d definitely clean that up if I was going to print these images instead of saving at web size and resolution.
So there you go – one way to get twinkle light photos.

Diane
Awesome idea. And beautiful effect. Must take a lot of patience and a good camera. Would love to try this with the grand kids.
Melissa Evans
Thanks Melissa. I always findmyour tech tips helpful. This one is beyong where I am right now, but you link back to how you set up your backdrop was helpful to see again. I need some major improvement on my photos.
Het Machien
Amazing how you did it! The results are really beautiful and professional. I wish I could understand Photoshop better, when I see what you can do with it… Awesome!