
 Disclaimer: This post is sponsored by Leather Hide Store. I received goods in exchange for this review, but all opinions are my own.
When I was a little girl, my two younger brothers were obsessed with Star Wars. Especially my middle brother, who made us watch it over. And over. And over. I have to admit I liked the movie too. Especially Leia’s hair. Which I may or may not have had my mother do to my waist length hair. Until I chopped off a pigtail. But that’s neither here nor there.

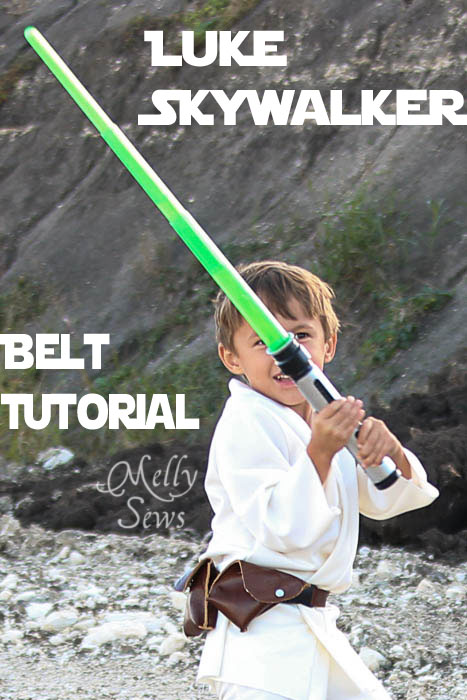
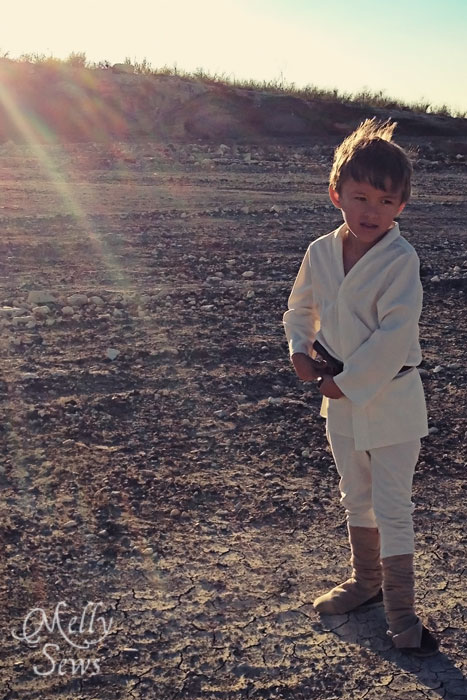
Tater decided quite a while ago that he was bound and determined to be Luke Skywalker this Halloween. And then he convinced Bean to be a Star Wars character as well – though Bean kept vacillating between Yoda and Hans Solo and Obi Wan Kenobi. Now mind you, neither of the boys has actually seen the movies. Tater is maybe getting close to old enough to see A New Hope, but Bean is far from ready. But it doesn’t matter, I swear boys learn these things by osmosis or something – because they tell me about Star Wars all.the.time.
So when Leather Hide Store approached me about doing a giveaway (see the end of the post) and review, I had Halloween and Star Wars on the brain and thought it would be a perfect opportunity to make a Luke Skywalker belt. So today I’m going through the tutorial on how to make the belt, and if you come back Thursday and I’ll show you more about how I made the rest of the costumes.
Oh, and one more thing – these are definitely “inspired by” costumes – they are not accurate down to the last detail. Because #aintnobodygottimeforthat with a kids Halloween costume, right? (Please? I hope so.)
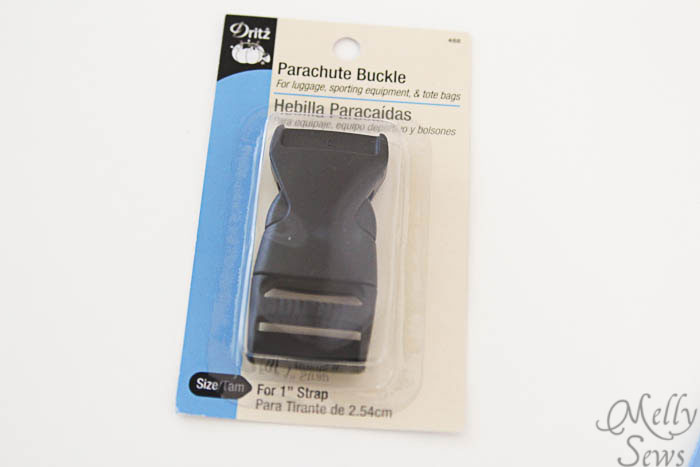
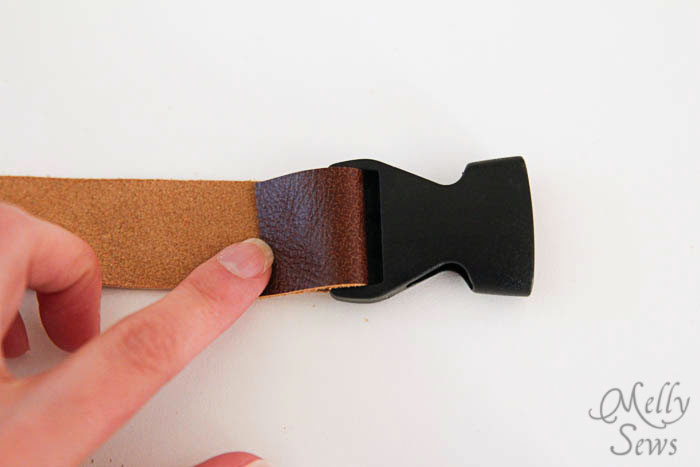
To start with, I bought this Parachute Buckle for the belt buckle.
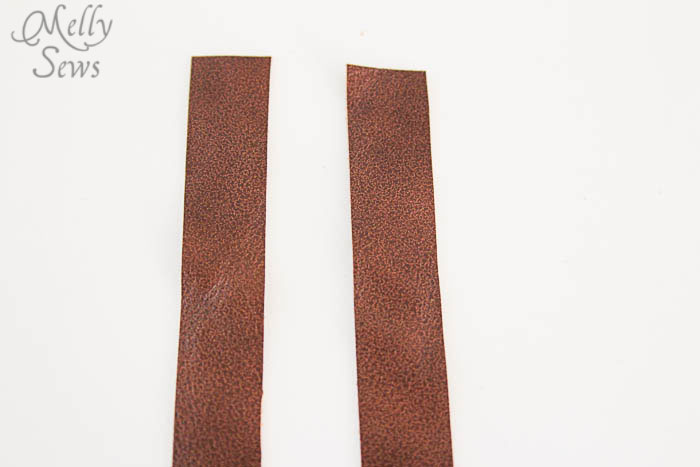
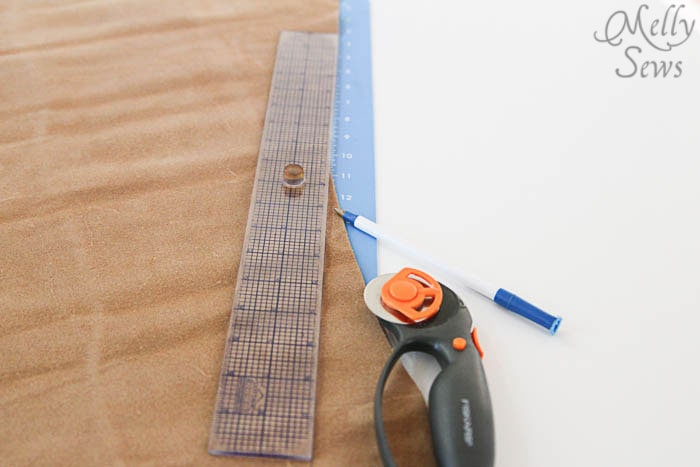
I cut a strip of leather 1″ wide and the exact length I wanted my belt to be when finished. You can see in the photo below the hide I was working with – it is quite a bit of leather, even though it is only a remnant piece from the store and not a full hide. I found the leather pricing to be very affordable for the amount of leather you get. And it is nice quality, too. In fact, you’ll be seeing another post from me with this leather next month, because I have plenty left over and I want to use very bit.
A few tips on working with leather.
- One, since you will probably be leaving your edges unfinished, it is important to cut smoothly. Use sharp scissors and long strokes, or better yet a rotary cutter.
- Don’t pin. Pin marks will be permanent. Use clips to hold pieces together if necessary,
- Mark pattern pieces with pen or marker on the wrong side of the hide.
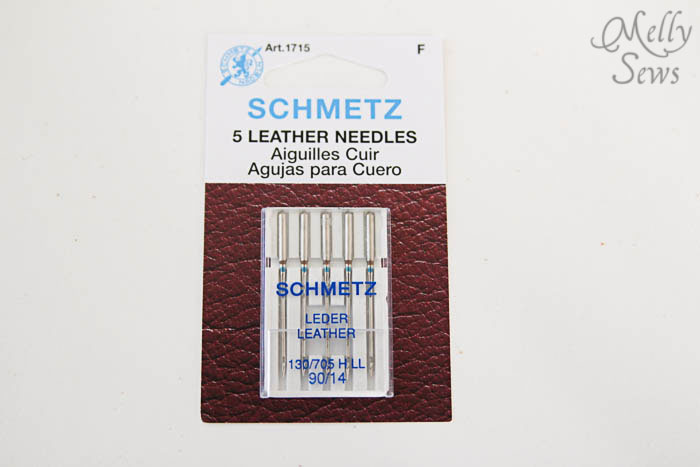
- Use leather needles and heavy duty thread
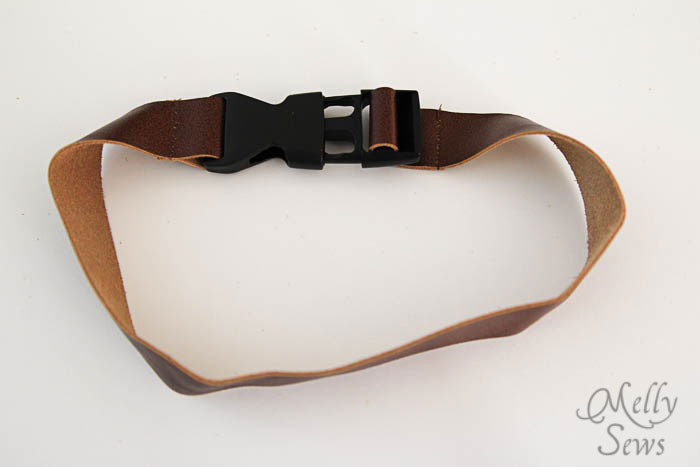
Start by unbuckling the parachute buckle. Thread one end of your leather through the female side, fold back, and stitch in place.
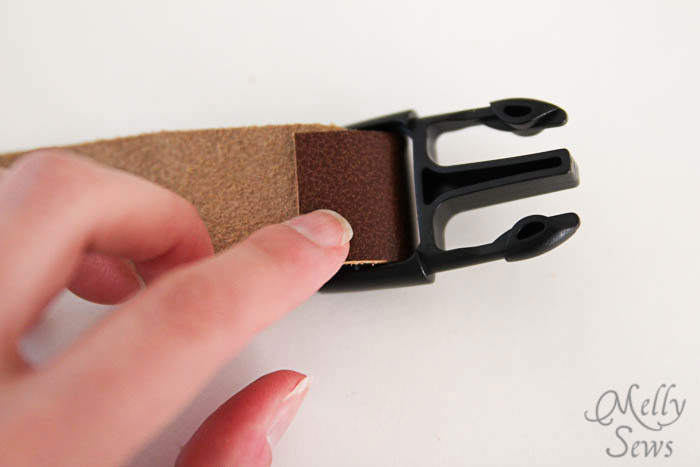
Parachute buckles are designed for you to run the belting through the male end and tighten, but that didn’t suit my purpose. So I just ran the leather through on that side and stitched as well.
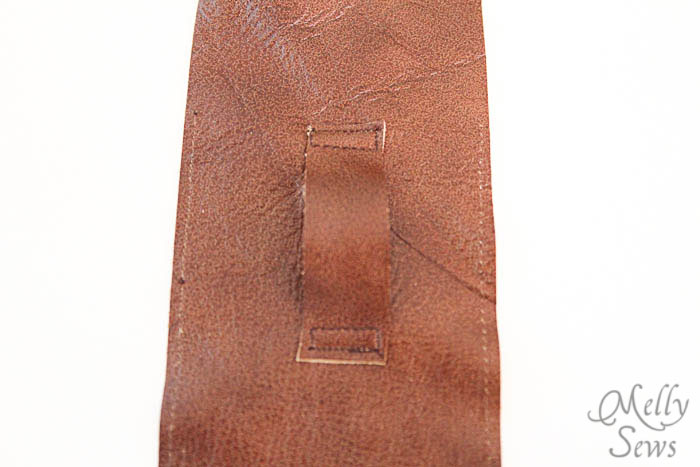
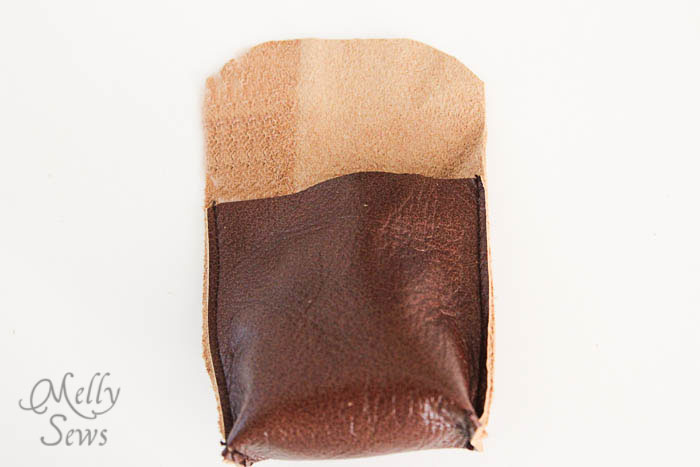
For the pouches, I cut rectangles that were 11″ long by 4″ wide. Slightly below the midpoint of the leather, I stitched a 1″ wide strip with a square at the top. Then I pushed it up just a bit so it wouldn’t lie flat and stitched the bottom end with a square.
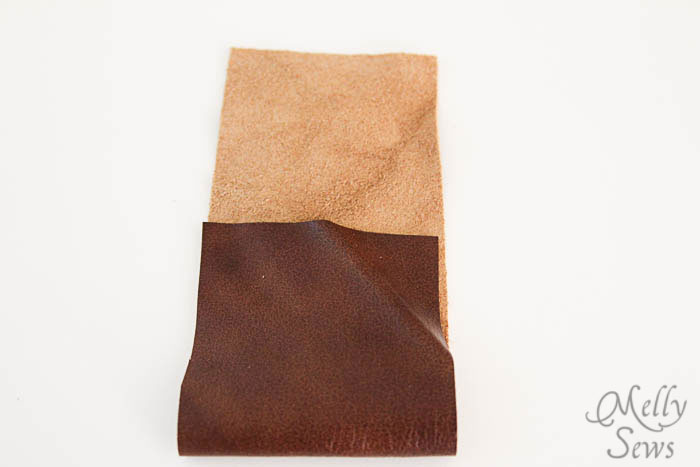
Then I folded up the pouch and sewed down the two side seams.
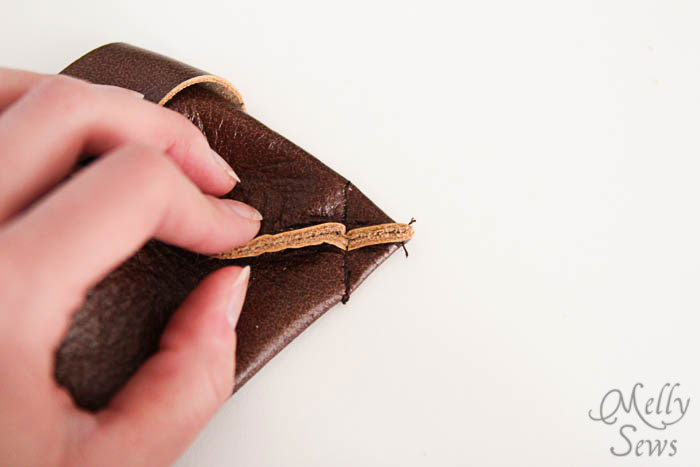
To give them dimension, fold the corners as shown and stitch across. Trim off the excess.
Then I trimmed the top edge of the pouch in a curve
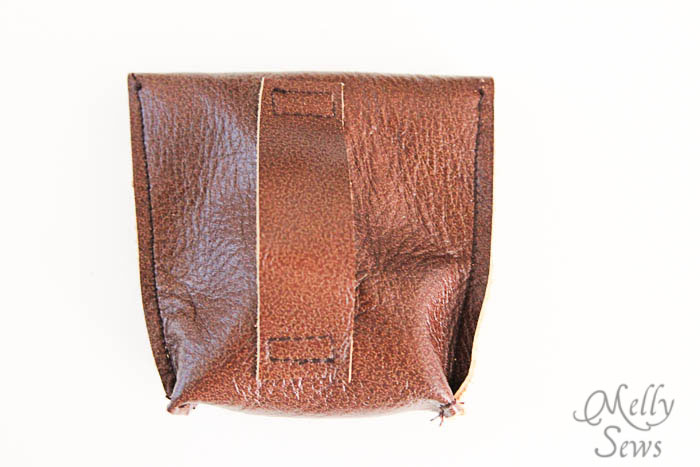
This is what the back looks like
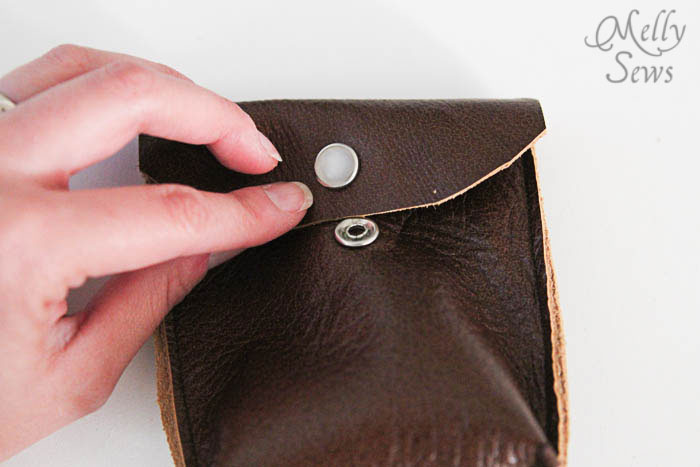
And the front after I installed a pearl snap.
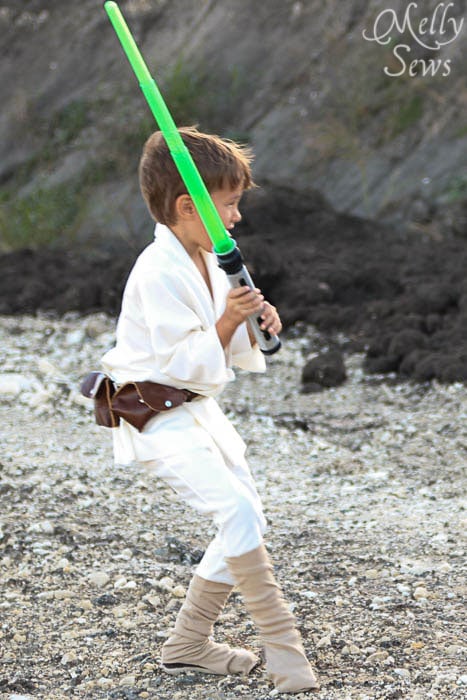
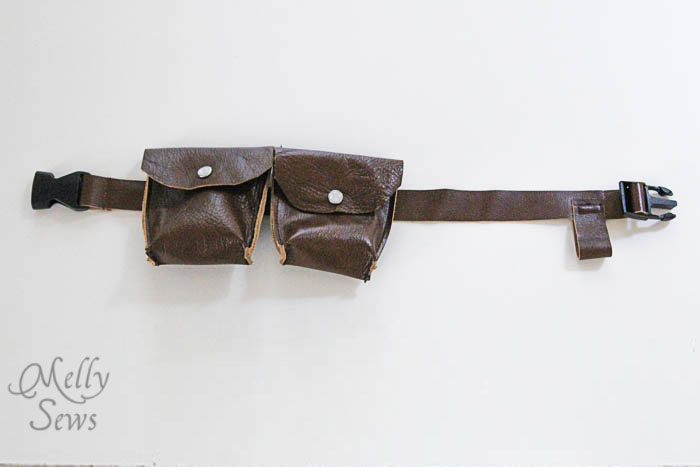
I made two pouches and threaded them onto the belt. I also sewed on a tab of leather – presumably as a light saber holder, though it won’t work with the boys’ toy light sabers.
And those light sabers are obviously needed for battle…
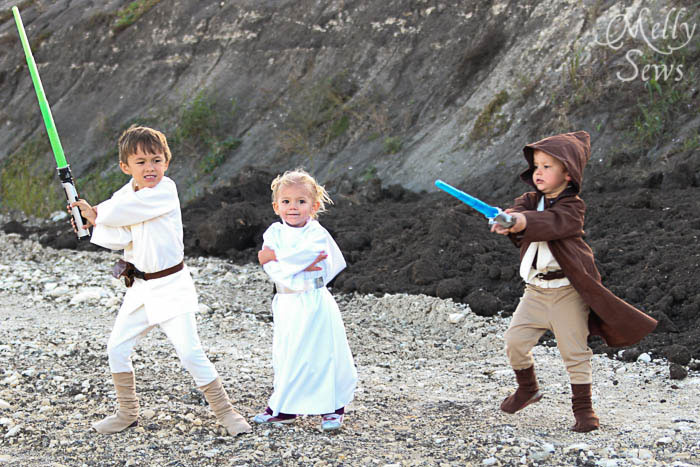
We drove out to a recent construction site to get these great photos. Although the Hubs kept reminding me that Princess Leia never went to Tatooine. Such a stickler for details of plot, but not so much about the costumes. Boys. Everyone knows the costumes are the important stuff.
Remember to come back Thursday to get more costume details!
Oh, and Leather Hide Store is sponsoring a giveaway this week. The giveaway is for a $50 gift card to their site, open to U.S. and Canadian residents. Use the Rafflecopter widget below to enter. Contest runs now through October 26. If you already entered in the Saturday post, this is the same contest, I’m just reposting the widget, so no need to enter again.
Anne
I won’t admit to the number of Star Wars boxed sets that are in my house! They’re not mine, they’re my husband’s. I swear, when he watches the movies his mouth is moving the whole time silently reciting the dialogue with the characters. It’s so wrong! Anyway, wanted to let you know that I linked out to your tutorial over at Craft Gossip:
http://sewing.craftgossip.com/tutorial-luke-skywalker-leather-belt/2013/10/22/
–Anne
Karly Nelson
Those are awesome costumes!
Andrea
This is super cute!! Naomi was taping your pattern together so we had to check out your blog because she wondered if “Sews” was your last name. =)
heather
So cool! I hope that you’ll have a post about the boots. I’m trying to think of a practical way to make some for my little Luke.
Beth
Got my costume done in time, thanks to you! The belt and boot cover tutorials were just what I needed.
http://bethbeingcrafty.blogspot.com/2013/10/luke-skywalker-and-chewbacca-halloween.html
Angela Judd
I’m going to make the belt for my grandson, 6 years old. I made him an Obi Wan Kenobi outfit for book week. It looks fantastic, I made it from a YouTube tutorial for the robe, I cut a pattern for the vest and bought a kids karate jacket. His pants were from Target. He wears it every weekend, so cute. Thanks for your ideas, I’m enjoying sewing again after a break from sewing for my own kids.