
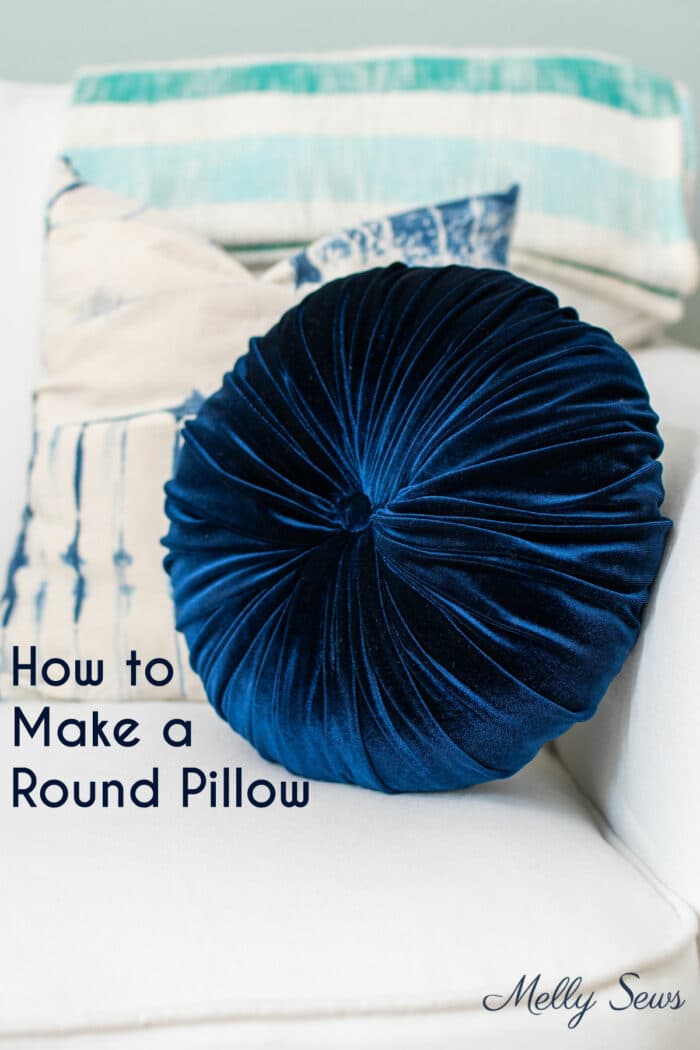
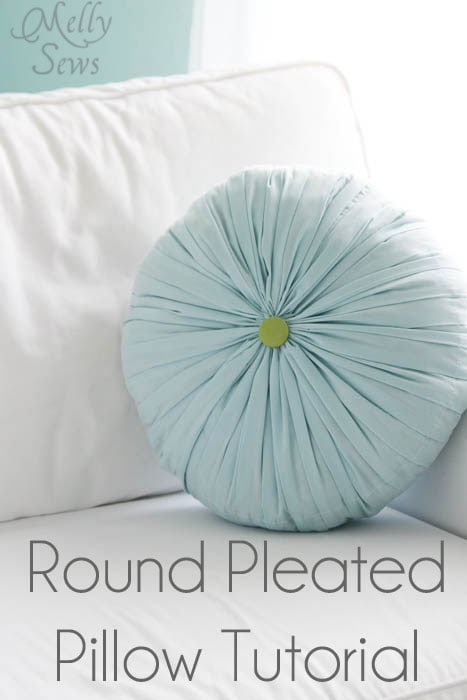
Make a gorgeous accessory in an afternoon with this round pleated pillow tutorial
Introduction To The Project
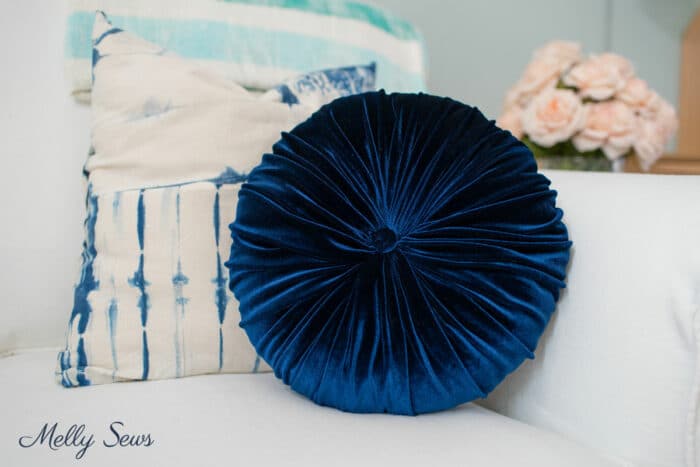
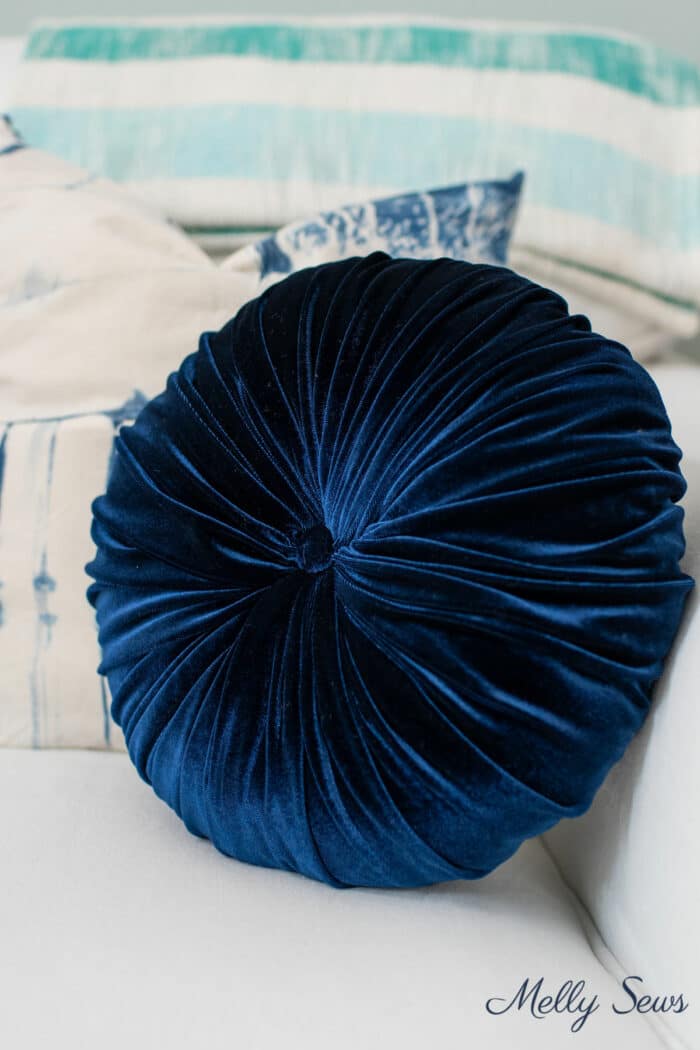
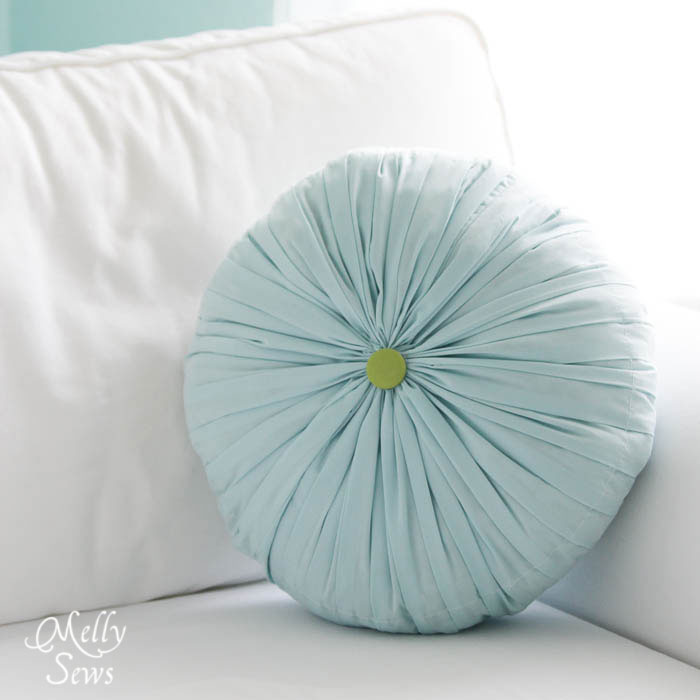
Hey y’all, today I’m going to show you two ways to make a round pillow. The first doesn’t even require a sewing machine, the second uses pleats to help create a dimensional look. In my decades of sewing experience, I almost always sew my own throw pillows because they’re so easy to make and I can often use fabric I already have. So I’ll show you how to make a tufted cushion as shown above, and pleated pillow as shown below.
Key Takeaways
- Round pillows are easy to sew and there are two different methods shared in this post
- You can make a circle cushion from velvet, quilting cotton, or many other fabrics
- One method of making a round cushion does not require a sewing machine
- Round throw pillows are a great way to add visual interest to your seating
Materials Needed to Sew a Circle Cushion
This post contains affiliate links. As an Amazon Associate I earn from qualifying purchases. All affiliate links are identified with (affiliate link) after the link or a commissions earned statement above the link(s).
To make your own round pillow, you don’t need a sewing machine if you use the first method I’ll show. For the pleated second method you do need a sewing machine to stitch down the pleats. In addition, you’ll need:
- Fabric. For the velvet cushion I used 1 yard, for the pleated cotton cushion I used 1 1/2 yards
- Measuring tape or ruler. The tape I have is out of print but here’s a similar one (affiliate link)
- Marking tool – I used this chalk pencil (affiliate link)
- Fabric scissors
- Upholstery or heavy duty thread (affiliate link)
- Hand sewing needle and upholstery sewing needle (affiliate link) the set I bought has both
- Button at least 1 1/4″ in diameter. For the velvet one you use one button, for the pleated quilting cotton. I made custom covered buttons as shown in this post using this covered button kit (affiliate link)
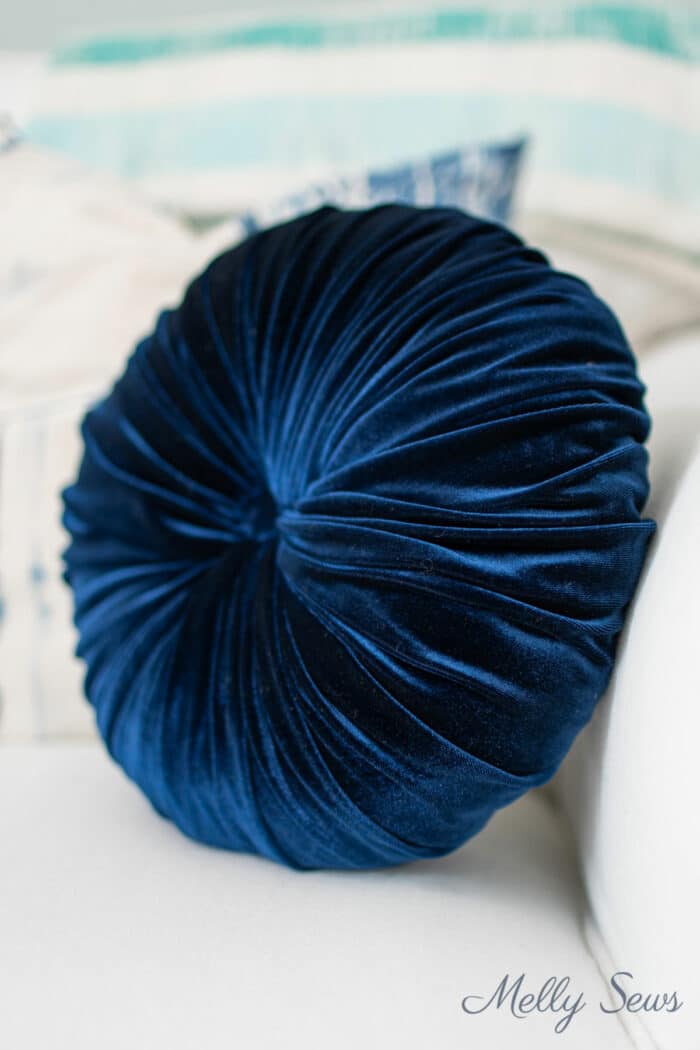
- Fiberfill or a round pillow form insert. I made my own pillow form for the velvet cushion out of muslin and polyester fill.
DIY Velvet Pillow Video Tutorial Demonstration – Method One
You can watch the video below or on YouTube here for an explanation of how I sewed my pillow form and how to make the round velvet pillow pictured in this post.
Techniques mentioned in the video
- How to make covered buttons
- How to sew a running stitch and knot thread
- How to finish the raw edge of the fabric
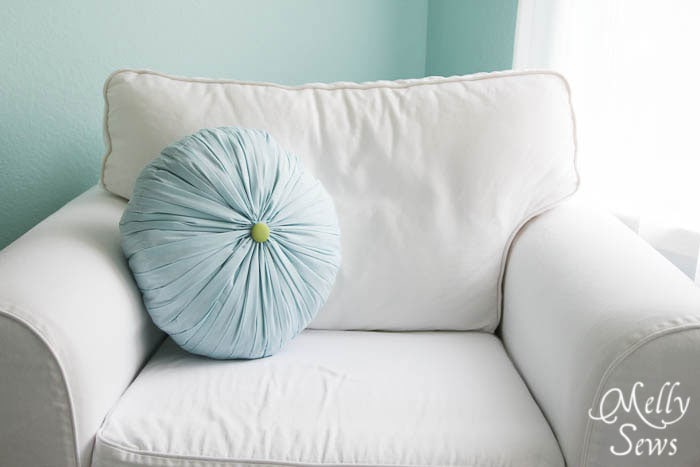
How to Make a Round Pleated Pillow – Method Two
Here is the second method to make a round pillow. For this one I used quilting cotton, a thinner fabric. Originally I thought about smocking one like this one, but I didn’t really want to spend the time hand smocking this. So I came up with an easier way that has kind of the same effect.
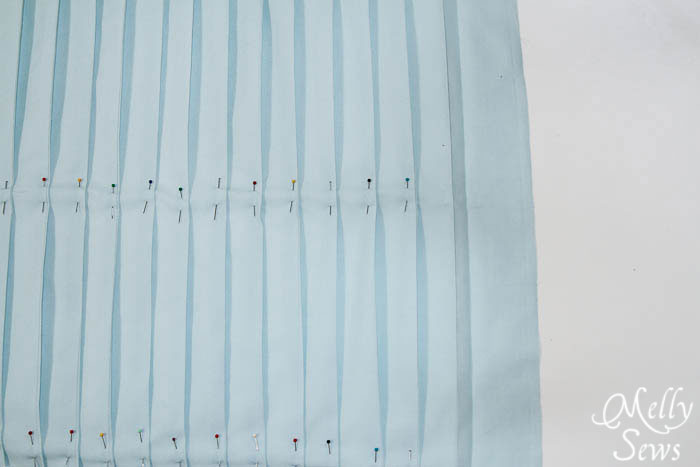
To make one, start with a rectangle of fabric that is 96″ long by 19″ wide. I had to sew two pieces of fabric together to get a piece this long, but that worked fine.
Mark lines on the wrong side every two inches parallel to the short edge of the fabric. At every line, make a 1/2″ wide pleat. Pin the pleat on each edge and down the center.
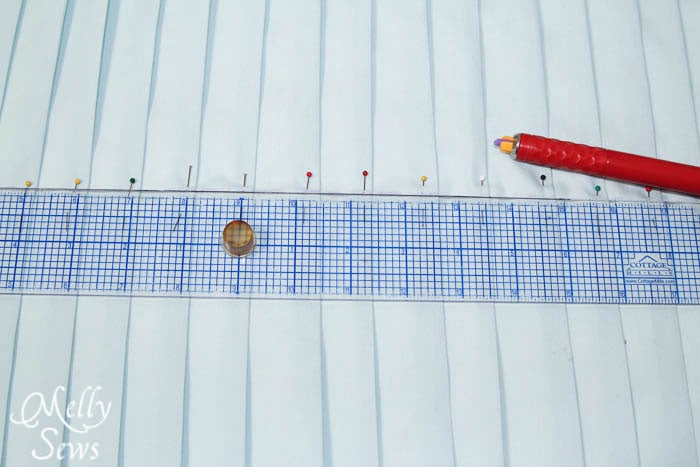
Mark a line down the center of the fabric, then measure 2 inches to each side of the center and mark stitching lines there. Sew down the pleats on these two stitching lines with your machine – this forms the “sides” of your pillow. You’ll also sew the pleats down 1/4″ from each edge of the fabric.
Sew the two short ends of fabric right sides together, so you have a long pleated loop.
With a hand sewing needle and heavy duty or upholstery thread, make a running stitch along one long edge. Gather the stitching as much as you can to create one side of the pillow. Take a few stitches to keep the gathers in place and knot your thread.
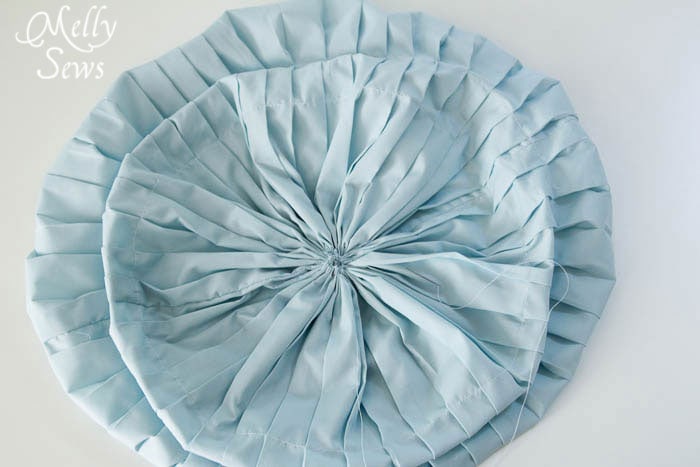
Sew one of your buttons over the gathered area to cover the raw edges.

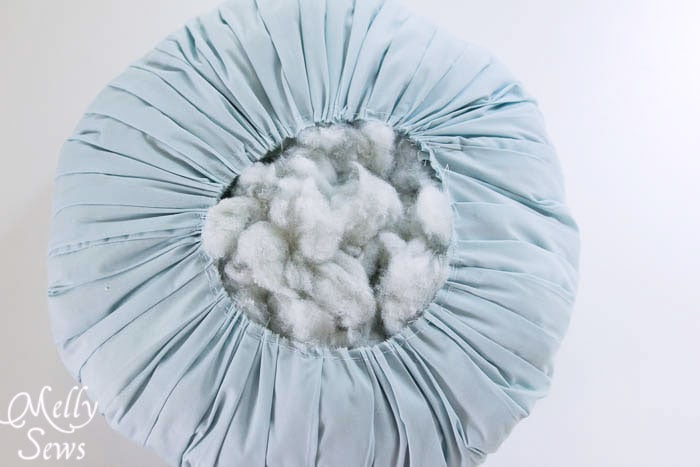
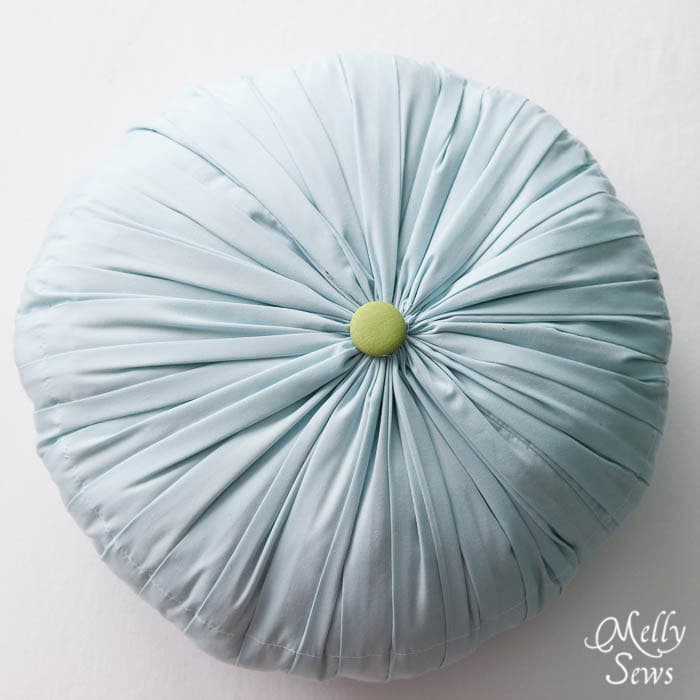
Partially gather the other edge of your fabric. Fill the inside of the pillow with polyfill, leaving enough slack to finish gathering the edge. Gather and sew a button in the center of the pillow as you did on the other side.
And you’re done! Much faster than hand smocking, I say.
What to Avoid When Sewing a Pleated Or Gathered Round Pillow
There are a few pitfalls you’ll want to avoid when sewing a round pillow. The first one is choosing the right fabric. I used velvet fabric for my circle pillow, but that fabric would be way too thick for the pleated pillow method. For the pleated method, quilting cottons is almost too thick; silk would probably work great.
The next thing to avoid is choosing a button that is too small. I used a 1 1/2 inch button for my velvet pillow and I wish I had chosen a slightly bigger one.
Finally, make sure to use heavy duty thread for the gathering. The regular all purpose thread will break. I found that out the hard way.
FAQs for Making Round Cushions
Here are some frequently asked questions and answers about making a round pillow:
- How do you put piping or cording on a round pillow?
This would work with the pleated pillow method – you’d cut the pleated fabric in the center and sew it back together with piping in the seam as shown in this tutorial - What is the measurement for a round pillow?
With method one, you measure across your pillow form and use that as the radius of your circle pattern. So for my 15 inch pillow I made a circle with a 30 inch diameter. - How do you make a round bolster cushion?
That’s a different tutorial, which you can see here. It even has pompoms!
Nicole
Ooooh, that’s quite lovely.
Anne Weaver
It’s gorgeous!! I’ve got a post on Craft Gossip scheduled for later this evening that links to your tutorial. When it goes live, you can find it here:
http://sewing.craftgossip.com/tutorial-round-pleated-and-tufted-accent-pillow/2013/09/03/
–Anne
Delia
This is so cute! I love it! Pinning…
Emily
Beautiful!!!!!!
Tracy
This is stunning! I would love to have this on my living room couch. We would love to have you share this at our Saturday Link Party. Each link will be shown on two blogs, Made From Pinterest and Bakerette! It starts Fridays at 3pm, hope we see you there!
Please remember to put a link back to Made From Pinterest at the bottom of your post(s).
Sarah
Beautiful! I love the detail on your pillows and the tutotial. Thanks for sharing.
Sarah
Abbey
Love this pillow! Definitely trying this!
Jeni
That looks so effective, yet fairly simple to do. Thanks for sharing your tutorial, i’m on the case now with making one for my lounge!
Jeni
x
Sierra
How big is this one? I was going to try it using a pillow for, but I wanted to see if I had to adjust the measurements for the diameter. Thanks!
Melissa Mora
About 18″ diameter
Sheryl
Thanks!! Making for my daughter!!
Kim Gaynor
Thanks for the detailed instructions! I am teaching myself how to sew again after 30+ years! I thought you might like to know that I pinned your blog post. (I just love the old-fashioned look of the pillow.)
Oh, you also might like to know about a vintage fabric giveaway I’m hosting on my blog: http://livingvintageco.com/2015/02/sewing-ideas-using-vintage-linens-giveaway/.
Jessica Brown
Great job. Its beautiful.
Teri
Your pillow looks great! I’ve been trying to figure out how to make a round pleated pillow and this tutorial sure helps! My pillow form is 16″ diameter. Do you have any clue on how much I would need to adjust the measurements? Thanks again!
Melissa Mora
I haven’t tried that, if you do, let us know how it goes!
B .VIJAYALAKSHMI
beautiful design