

Welcome to Day 3 of the Coastal Cargos sew along. Today we’re tackling bias tape and outseams. If you’re an overachiever, you can go ahead and put your cargo pockets on. But first, a bias tape tutorial.
I think the bias tape is my favorite detail on this pattern. So I wanted to show you, with the fabric I’m using, how I make my bias tape.
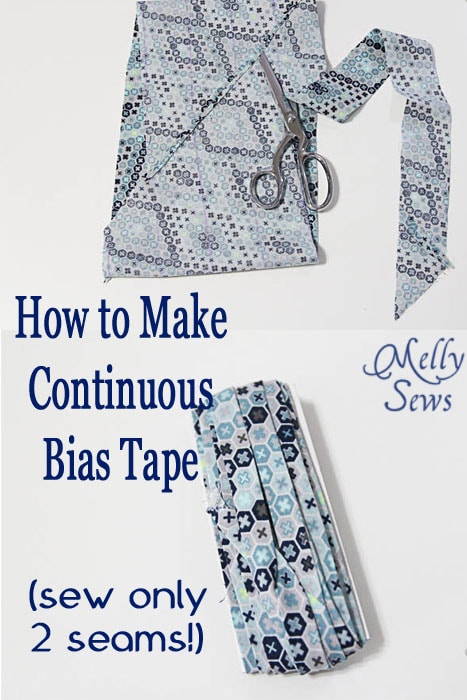
This is much easier than it appears. I usually use a fat quarter of fabric, and from that I can get 4 yards of 1/2″ double fold tape or 8 yards of 1/2″ single fold.
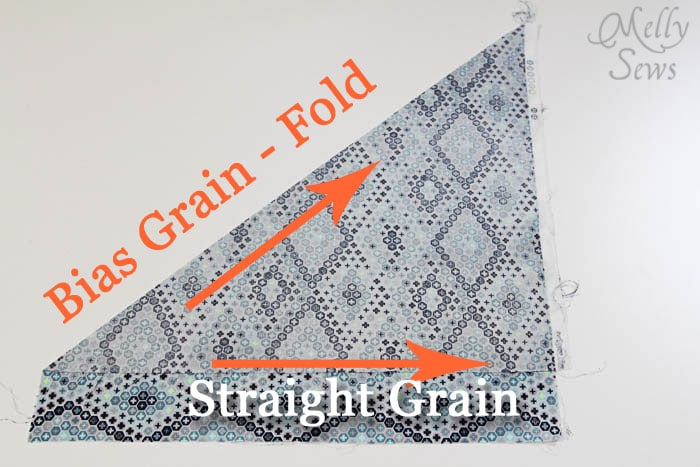
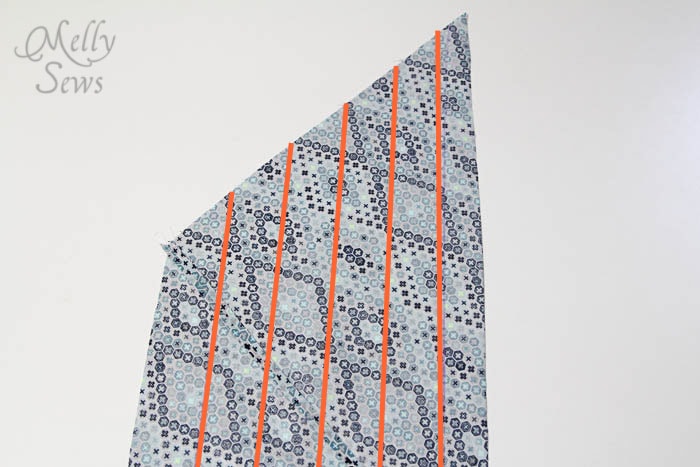
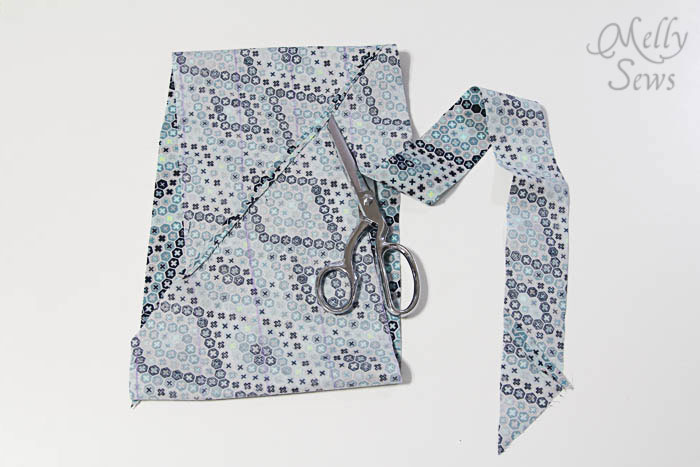
Start by folding your fabric on the bias – this is the same method I was taught to make a square out of a rectangular piece of paper. I always iron my fabric on the fold to mark it. Then, cut along the bias fold.
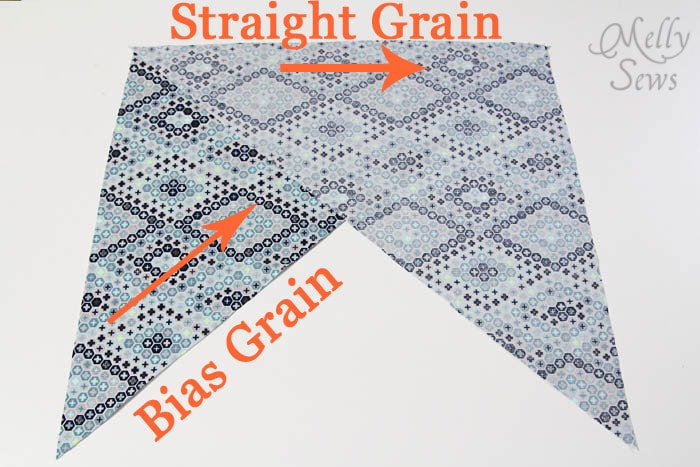
Match two straight grain edges right sides together like this and sew. I use a 1/4″ seam when I do this.
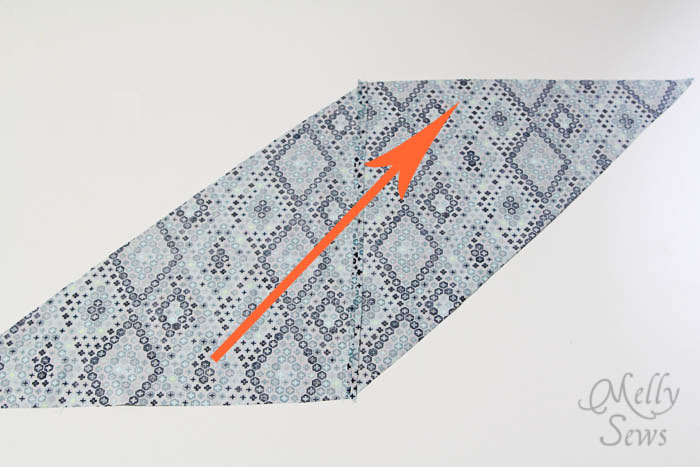
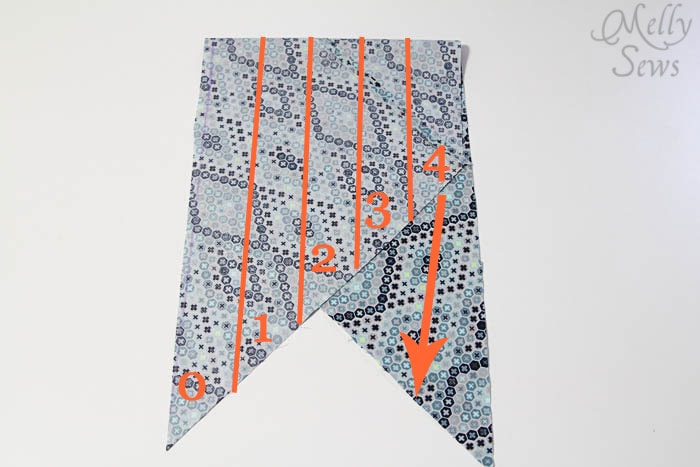
Press the seam open. Your piece will look like this now, with the seam in the middle and the arrow marking the bias grain.
Using a ruler, mark lines on the bias grain of the fabric on the wrong side. If you are doing double fold tape, your lines should be 4 x the final width apart (ie if you want 1/2″ tape at the end, your lines need to be 1/2″ x 4 = 2″ apart). If you want single fold tape, your lines should be double the width of the final tape width apart (ie if you want 1/2″ single fold tape you do 1/2″ x 2 = 1″ apart).
Fold your fabric, imagining that the spaces are numbered like this on one side. On the other side, imagine the numbers start with 1 instead of 0. You’ll match the edges, so you’re pinning the #1 space on one edge to the #1 space on the other side. The arrow shows where the #4’s would line up. Stitch this seam with a 1/4″ seam allowance, and press open.
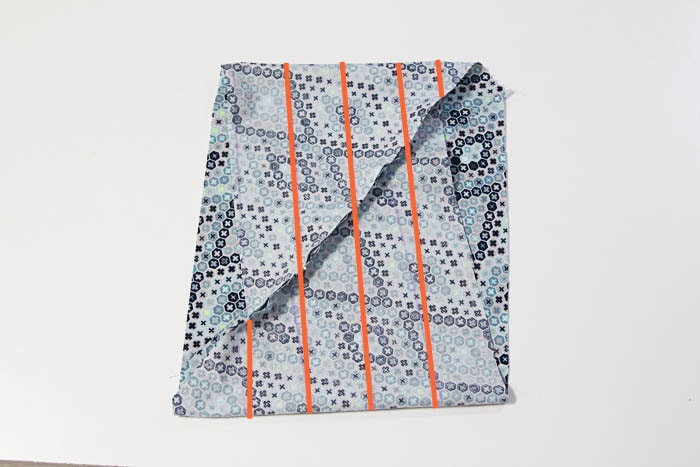
Your sewn tube will look like this – one each side is offset a little.
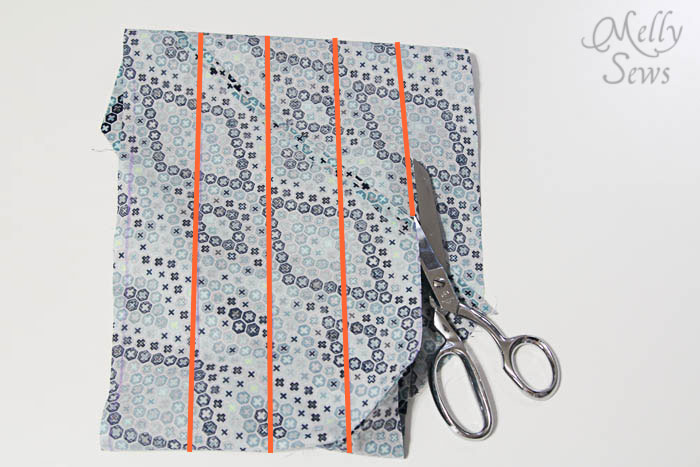
Now start cutting on your lines. I use scissors and go slowly. You could try a rotary cutter, just be careful not to cut through the bottom layer.
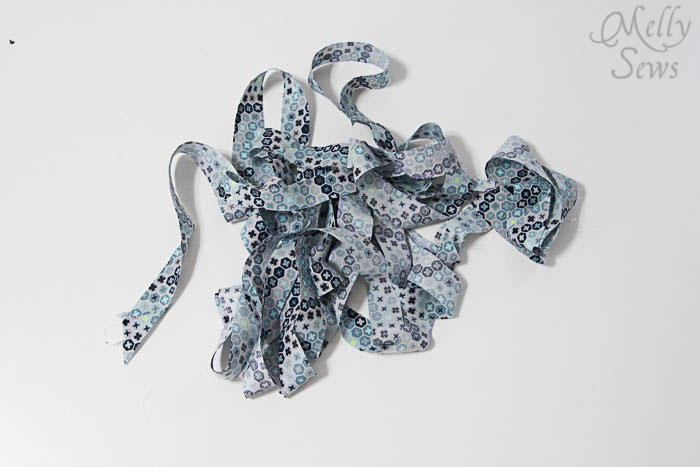
Continue cutting until you have a pile of unfolded bias tape.
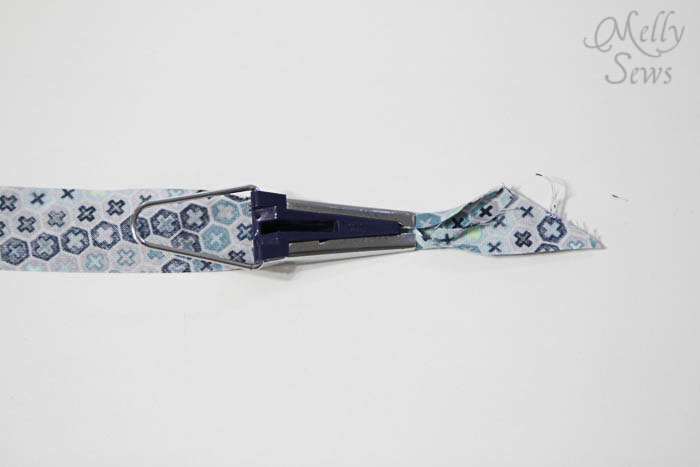
Now, you could use a cardboard bias tape rig like I made in this post, but I prefer to use these Clover Bias Tape Maker tips. You feed the bias tape through and then iron as you pull the tip away from the iron.
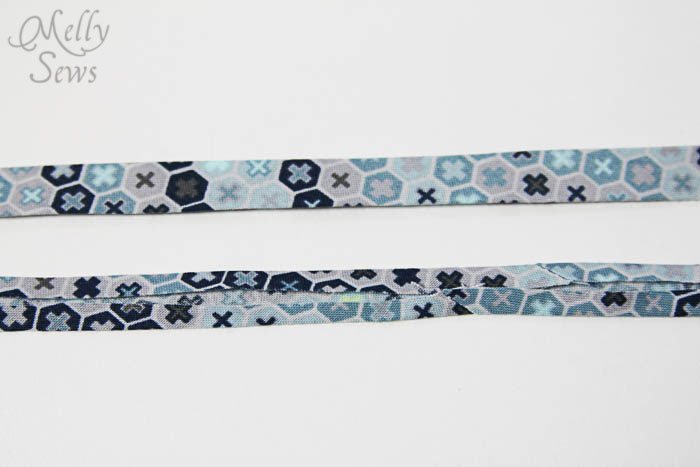
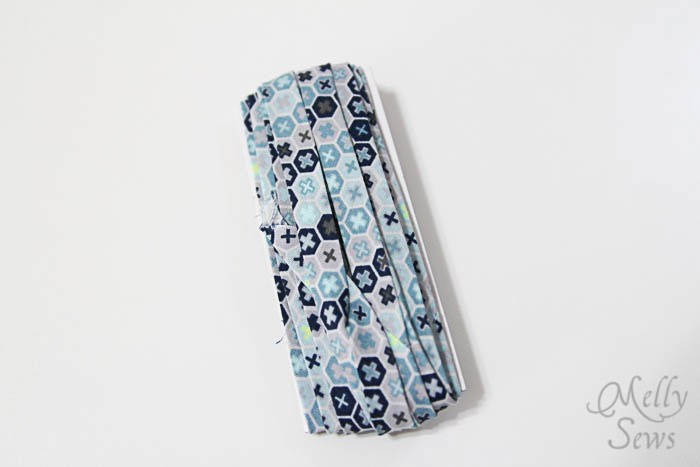
When you’re done ironing (which goes by pretty fast) you get tape that looks like this (outside on top, wrong side on bottom).
I save the little cardboards from my store bought bias tape and wrap the handmade tape on them.
All purty and ready to sew the side seams of the pants.
See you tomorrow, when (if the boys can keep from screaming) I’m going to try to shoot a video of me sewing the inseams on the pants with the bias tape.
Monday: Fabric Selection and Preparation
Tuesday: Zip fly & welt pockets
Thursday – Cargo pockets and inseams (and maybe a video if I get a chance!)
Friday – Waistband and finishing
yvonne
Thank you for this Melly. I’ve always shied away from making bias tape, cause it seemed to intimidate me. Just to tell you a little story about how I avoided making my own bias tape, I bought a Vogue pattern by Michael Koors to make a coat. It was a reversible coat, but it had details in it that called for the use of bias tape. There were decorative bias details in the front and back of the coat, I needed to add bias tape around the shoulder of the sleeve and the cuff, along side seams and the edges where the buttons and button holes would align, around the collar, and in place of the hem. Had I only made my own bias tapes I would have been good, but I decided to purchase them– simple enough you might say, well I went to one of our most expensive sewing stores to purchase it, they carried a line of unique and oh so wonderful EVERYTHING! So I purchased satin bias, in fact I bought all they had, and it cost me an arm an leg, only to find out that it wasn’t enough, and that they weren’t gona get any more in. Then I ended up going to my neighborhood fabric store and purchasing more, that didn’t even come close to the quality or look, but it was affordable. Fortunately, because the fabric of the coat was brocade with a lot of print, it wasn’t bad. It looked like it was all done in great taste. The satin bias tape that I bought was black, the background of the coat was black, so it was hardly noticeable, the red that I used made it pop. Everyone kept telling me: “Why don’t you just make your own, the instructions on the pattern were screaming, MAKE YOUR OWN BIAS STIPS. But the process intimidated me– and yet the making of the coat didn’t. So thank you very much for this, now I guess that I actually have to go and buy the little metal thingy and make me some bias tape. Well done! I actually think I can do this??? or NOT? I will, and when I do I will certainly send you a little note thanking you again for the inspiration.
Katie P
I just have a question – this is always where I get lost on bias tape (right at the beginning; not a good sign!). When you make the first fold, do you cut the excess strip off the bottom? And then cut the triangles apart?
Amanda Taylor
I finally broke down and bought the simplicity bias tape maker. I hate lugging out our ginormous ironing board and ten getting in trouble for not putting the iron away. The machine is awesome and so fast! I also don’t mind the cutting and sewing of strips, it’s like kneading bread, therapy in a repetitive and simple task.
Amanda Taylor
After not finishing a pile of projects due to button holes and bias tape I was determined! I finally figured out my auto button hole on my Janome (amazing!) and have made 50+ yards of bias tape. I hate the poly fabric of store bought. Will be making a ton more soon, let you know how it goes.
Mish
Thanks so much for this tutorial, Melly! I’ve been scared to make bias tape after many attempts that just did not work. Buf after reading your tutorial, I perfected the technique on the first go! Thanks for providing such a detailed and informative post!!
Sarah K
I have made my own bias tape one befitted using this method and it really was pretty easy and oh, so satisfying! Thanks girl the reminder! I need to make some more just for fun. The next question is how you calculate how much fabric you need to get x yards of bias tape.
Brandie
I just cannot for the life of me get this to turn out correctly. 🙁
Melanie
love the tutorial….thanks!!
Danita
Best tutorial I have seen and read about the how to and WHY of bias tape!!! thank you! I love making my own, but usually need help from my husband who is a visual guy to get it right. I think I really understand how to make it now. Thank you so much for all you excellent tutorials, we really need them! Well, I know I do! 🙂
ester
muy bueno el tutorial bien explicado
Dot Freel
Thank you so much for this tutorial. Can’t wait to try it!
Emily b
Thanks for the tutorial I had some very nice floral print fabric sitting in my sewing box waiting to be biased (if that’s a word), it’s been sitting there so long that when my sis and I did our scraps swap day (we swap largish scraps with each other so that nothing goes to waste,s he quilts animal beds for her many different animals and her friends and I make clothing so our scraps suit each others needs) she almost nicked it ! I made 1inch double fold to use on the hem of a skirt for my daughter.
Thelma
This is the most awesome way I have ever used. I just got some fat quarters and made lots of biase tape to have on hand for different projects.
Thanks so much for the info.