

- A tank top that fits you
- 2 yds of knit fabric
- 10 or so yards of ribbon, bias tape or twill tape
- 5/8 inch elastic the length of your waist measurement
- Dye, if you want the ombre effect
Start by tracing your tank top to create a pattern for the top. If you’ve never done this, this tutorial is helpful.
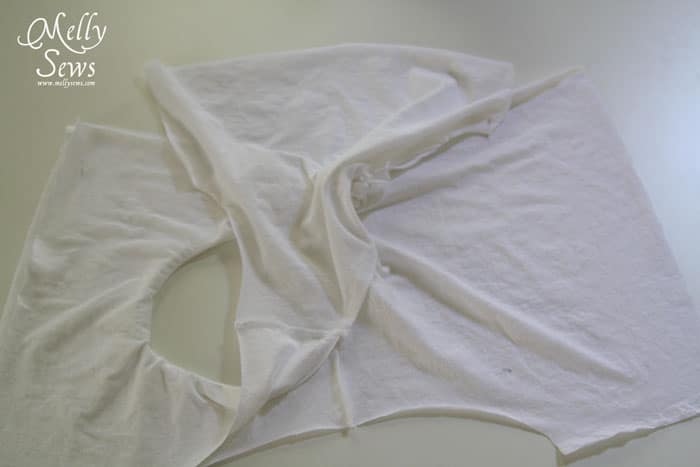
Repeat 4 times – each time only sewing from the shoulder seam to the side seam; overlap your seams slightly at the shoulder. When you’re finished the top should look like this, with the side seams still unsewn.

Match each front to the back along the side seams; this will form kind of a square, as pictured below. Sew along the side seams (red line) then turn right side out.

You now have a fully lined bodice with the bottom edges raw and the neck and armhole edges finished.

To make the skirt, I knew I wanted ruching not just on the side seams like the inspiration dress, but in 4 seams around the skirt. So I took my waist measurement, divided by 4, and then added 1 inch (for seam allowances). Then I measured the length from my waist to the floor, added 1 inch, and made that the length of the skirt. Finally, I determined the circumference of the bottom of the skirt through the very scientific method of putting my measuring tape in a loop on the floor and stepping into the center of it, adjusting until it was the size I wanted. I divided that measurement by 4 and added an inch again, and that was the bottom width of the skirt gore. I drew out a big trapezoid using those 3 measurements and that was my skirt pattern; I cut 4 gores and sewed them together on the sides with a half inch seam allowance.
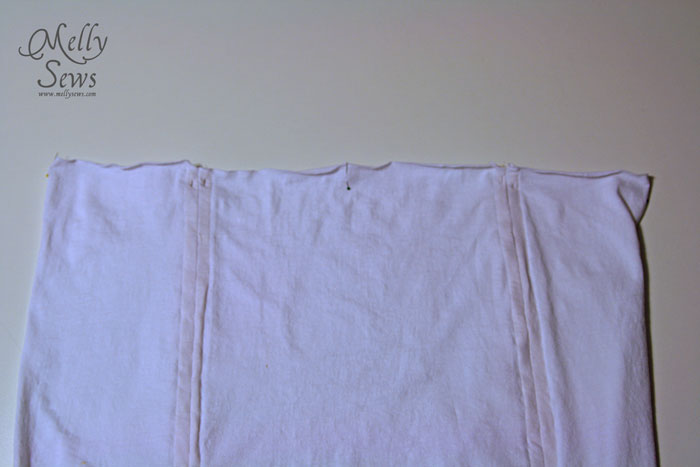
I lay the skirt flat with the seams right on top of each other, then marked the center front and center back with pins.
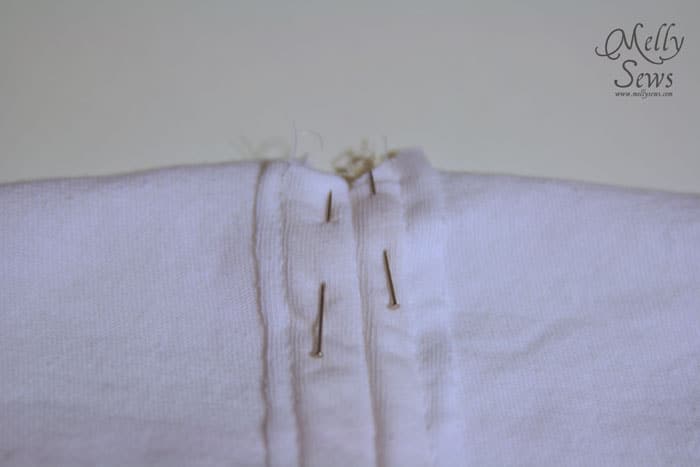
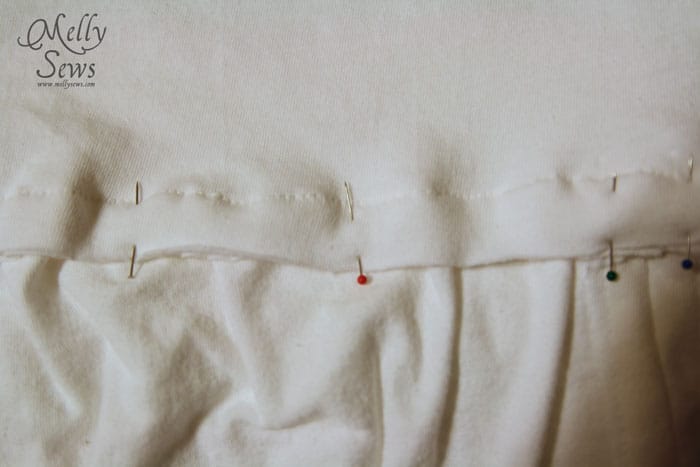
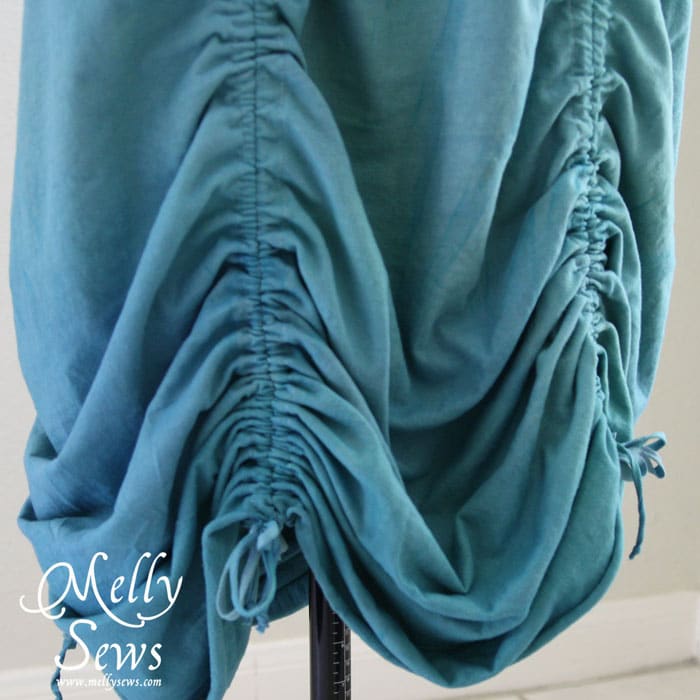
On the inside of the skirt, I pressed the seam allowances flat, and then stitched them down to form two casings at each seam.
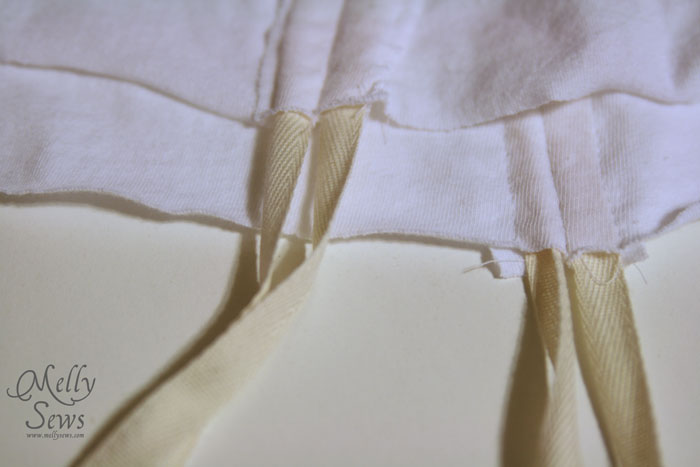
I threaded my twill tape through each of these casings, leaving about 3 inches dangling at the bottom, and pinning it even at the top.
Then I pinned the bodice to the skirt, sewing with a 1 inch seam.
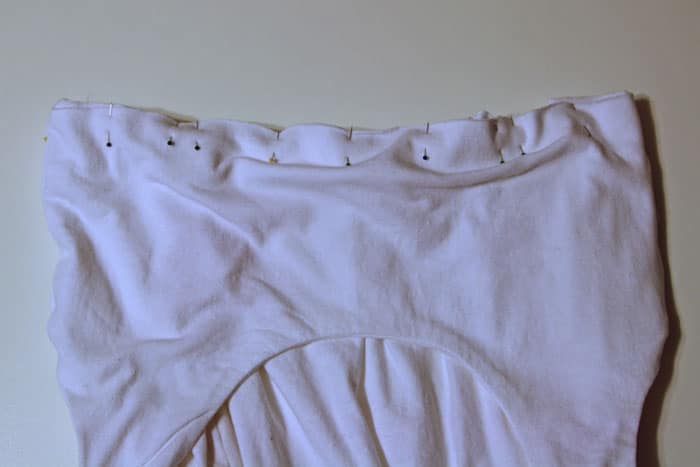
On the inside of the dress, I sewed the seam allowance down to create another casing for the elastic.
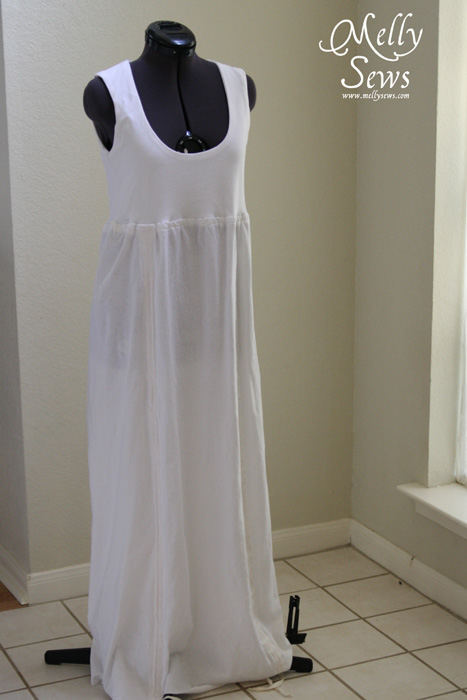
Here is what the dress looked like before dyeing and before the elastic was threaded into the casing.
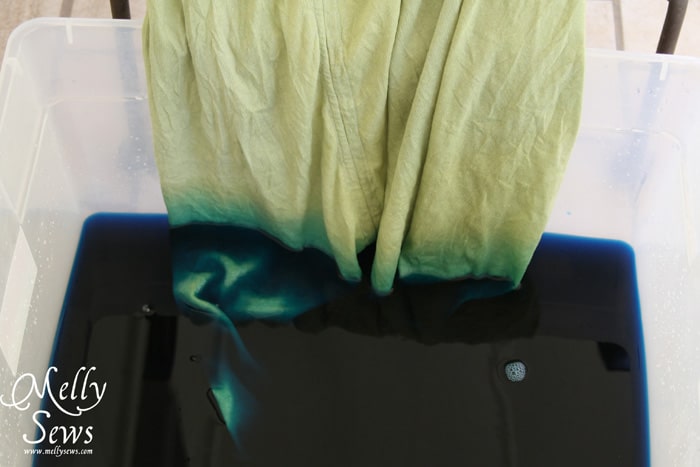
For the dyeing – I followed this tutorial and mixed the deep teal color from the ColorRit formula guide. But the dye bath was too strong even though the top was barely dipped in, and the ombre effect was pretty lost. But this is how I wore it to the audition, complete with my Spring Flowers belt.
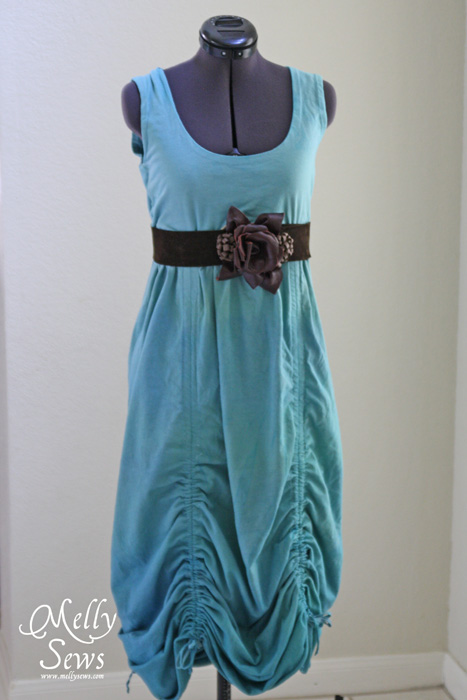
You can see how the twill tape dyed nicely too.
After the audition I bleached the dress as light as I could get it, then started the dye process over, with a twist. I followed the tutorial with royal blue for the whole dress, then dyed the bottom for another 30 minutes with navy blue added into the dye bath.
You can see the ombre effect much more clearly now, though I still wish the top of the dress was a little lighter.
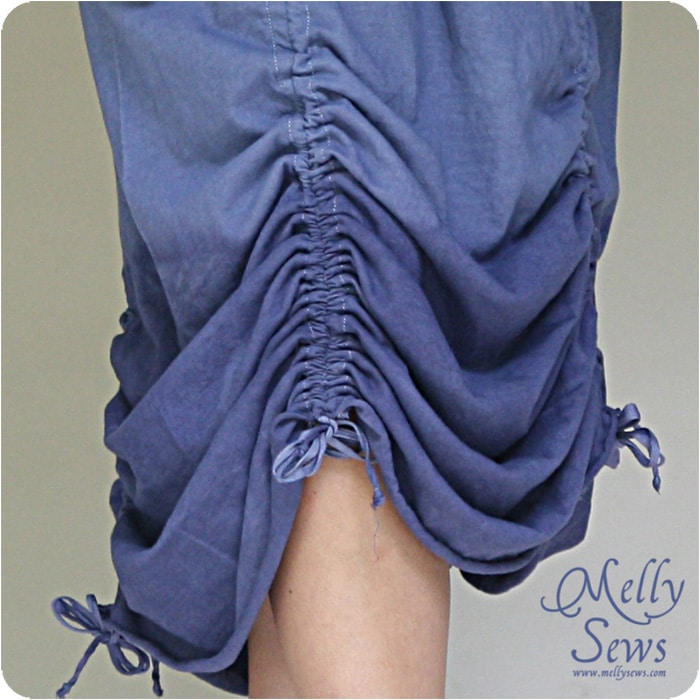
And overall, none of the dye turned out as vibrant as I wished it had, but I like the dress much better in blue than teal (which looked more like faded army green in person).

Kaysi @ Keeping it Simple
This is so great! I love the ombre look!
Olivia Harris
Fab I will be doing the easy easy easy peasy