

Hello Readers!
I’m delighted to be here from Elegance & Elephants today to show you my look and share a tutorial that I hope you will enjoy.
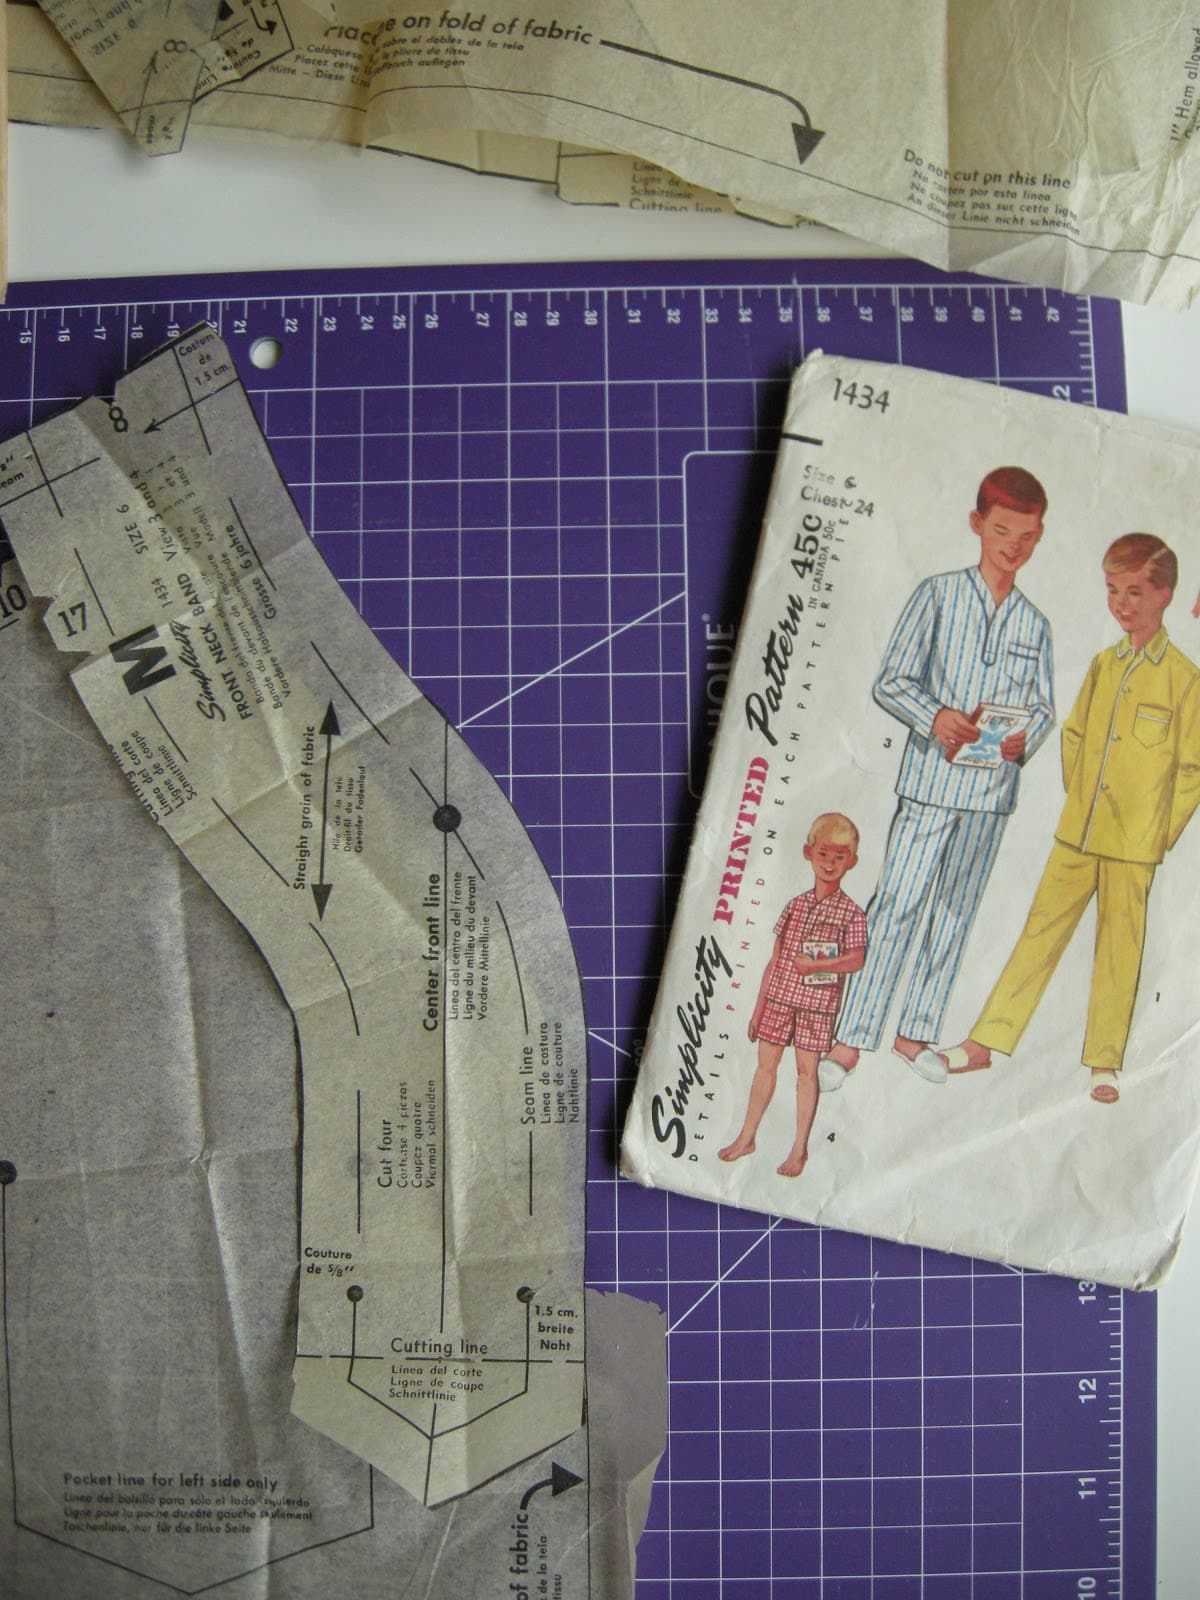
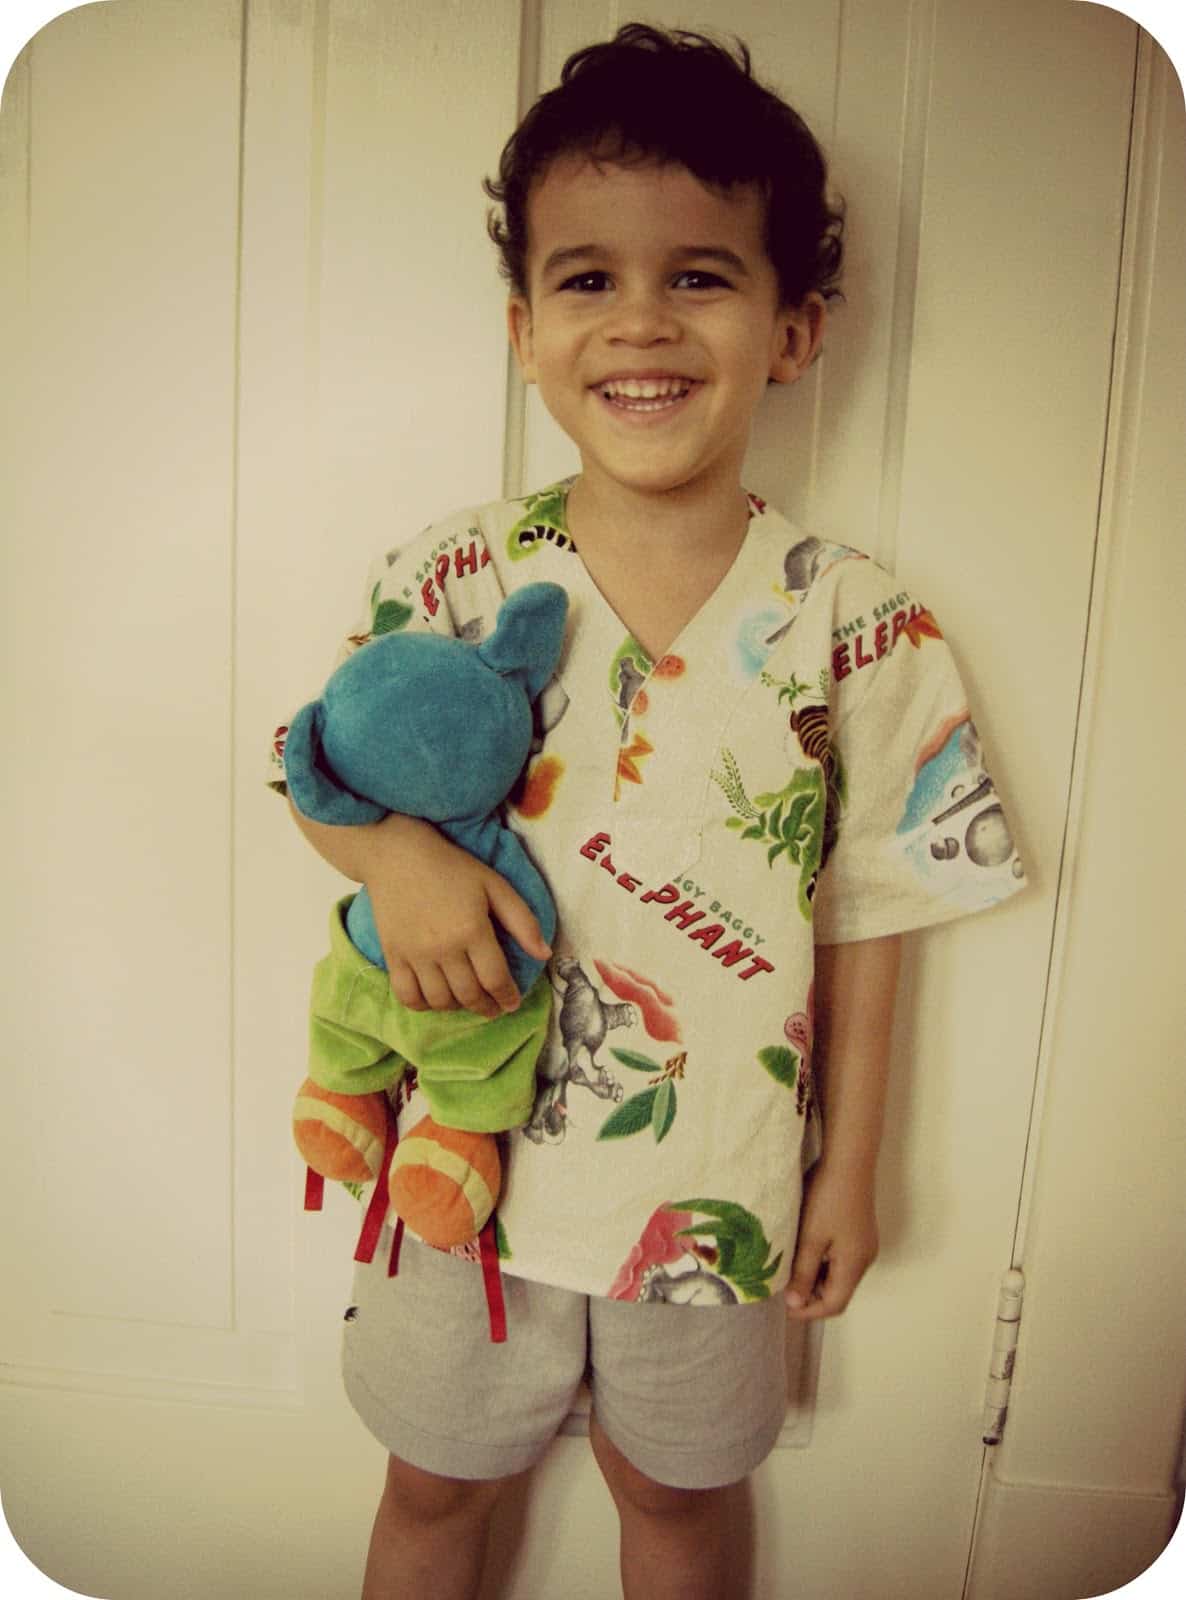
When I found out that each look for Sew in Tune was to be inspired by a song, one of my favourite 80s tunes, Summer of ’69 immediately came to mind. I had already bought fabric printed with pictures from The Saggy Baggy Elephant book. The fabric is a little ‘busy’ for my personal taste, but my boy loves elephants, so I just had to get it for him. Although the book was printed earlier than ’69, it still a classic, so I thought it could fit my theme. Then I started researching and brainstorming looks from the late 60s/early 70s, and had a tough time coming up with something that inspired me, until I found this authentic 1968 vintage pajama pattern:
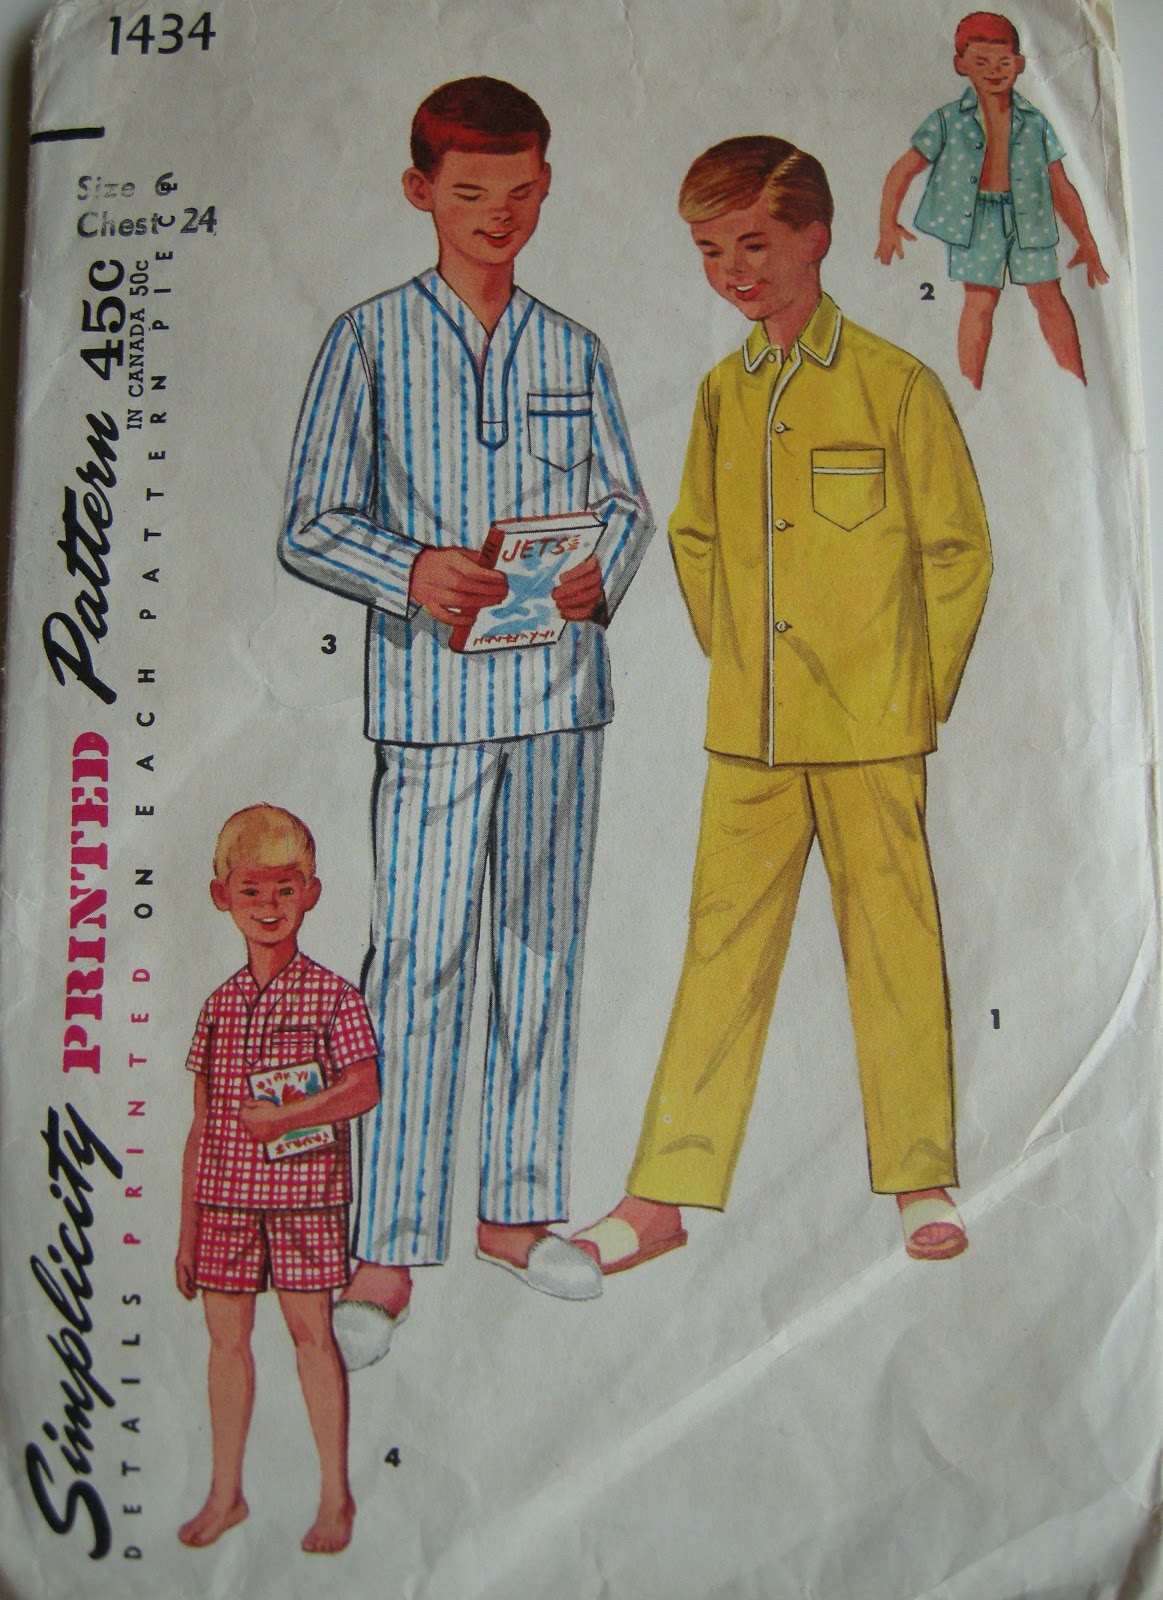
I really liked the neckline with the open tab. It was perfect for the stage Tobias is at: wanting to independently dress/undress himself, but still struggling a bit with button closures.
I bought the pattern, but it was the wrong size. That created a challenge, and if you’re interested in details about the process of adapting/resizing the pattern for the top, you’ll find that on my blog.


A mini-tute for the waistband on the shorts is here.
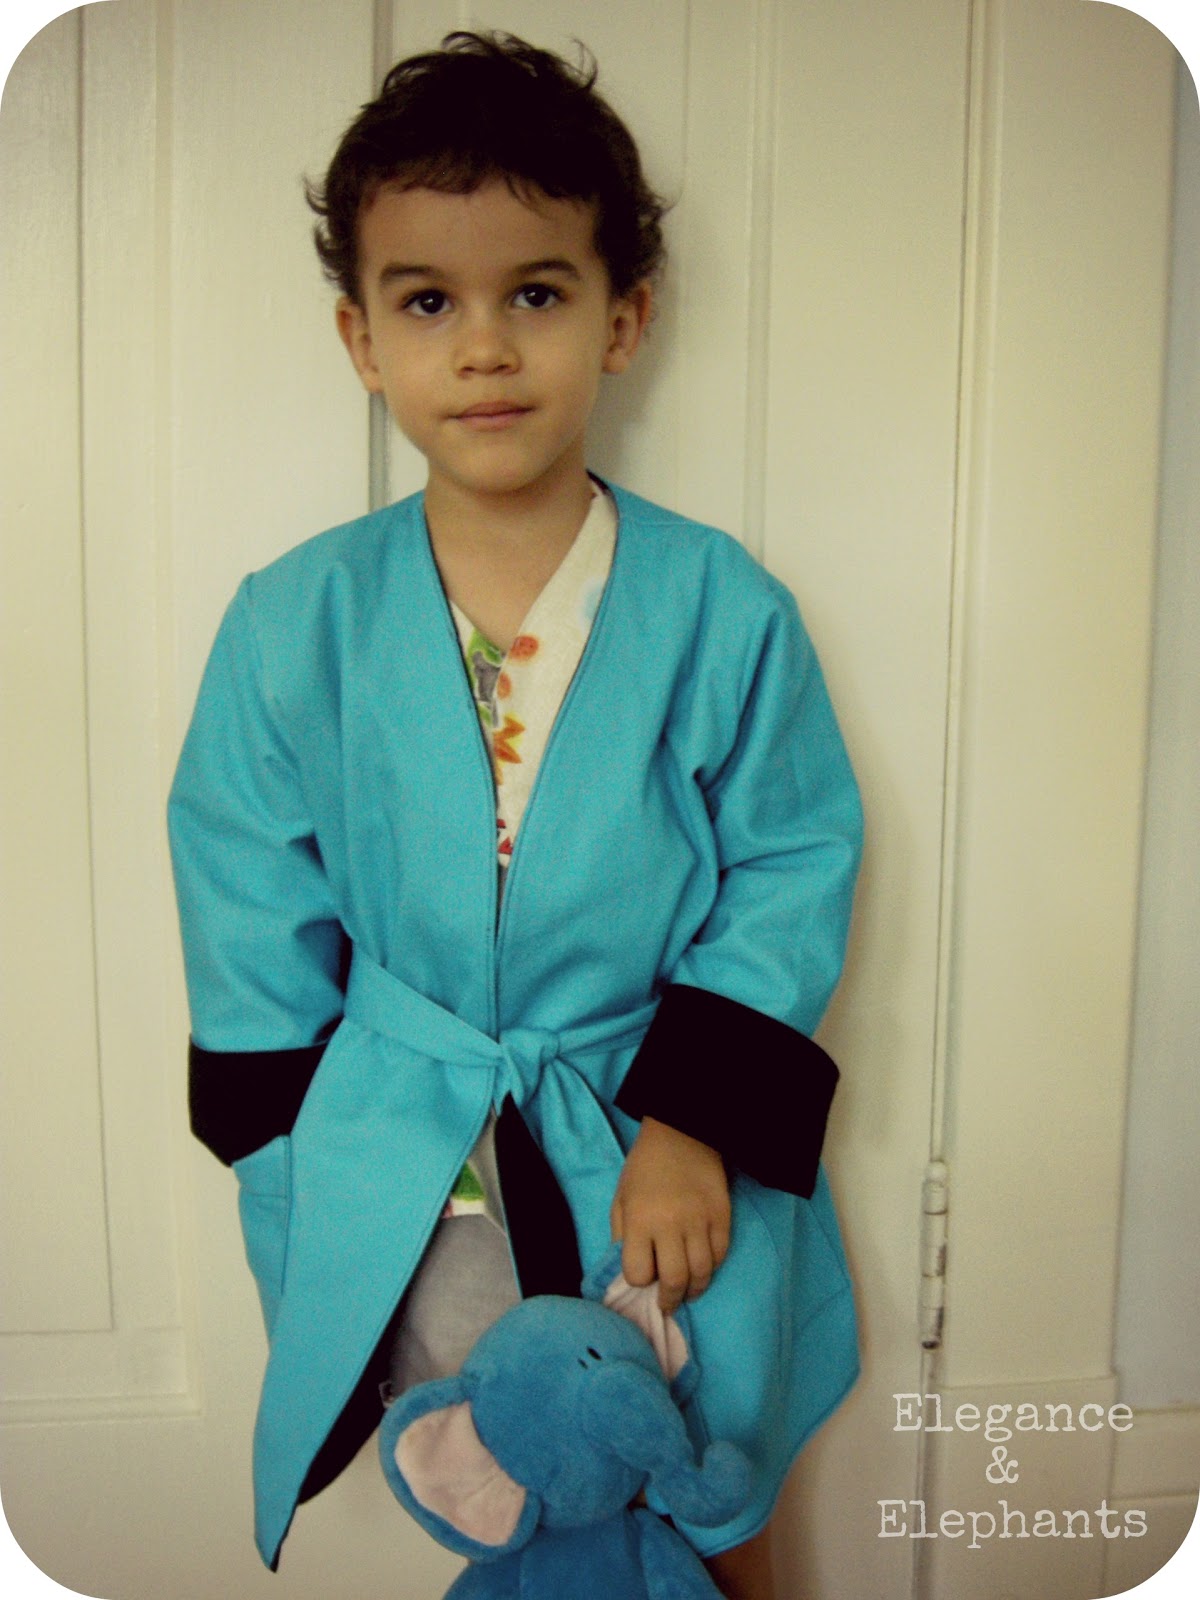
I added a reversible dressing gown to complete the look…and had some fun with photo editing!

I even bought a vintage copy of the Saggy Baggy Elephant from Etsy.
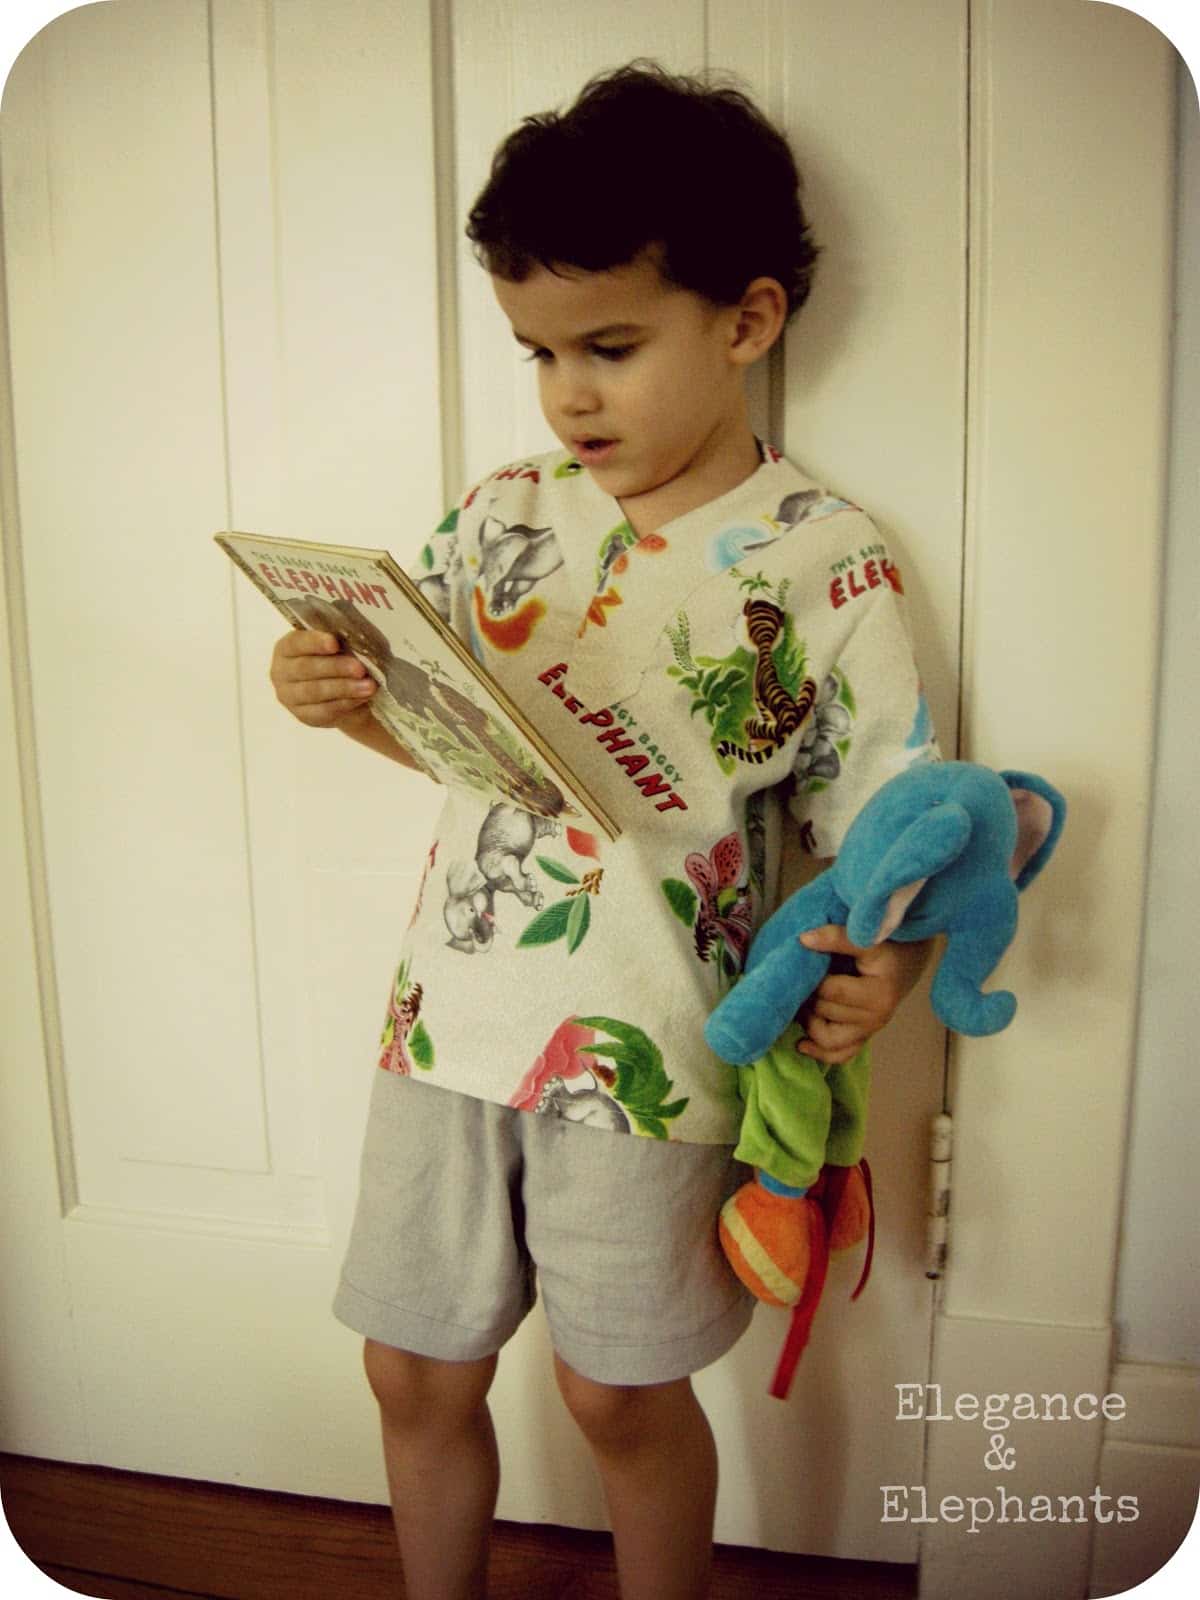

Tobias loves this outfit more than anything I’ve ever made for him. He says he’s going to wear it “Today, tomorrow, next week, and next year.”!
Now that makes every stitch of effort worth it!
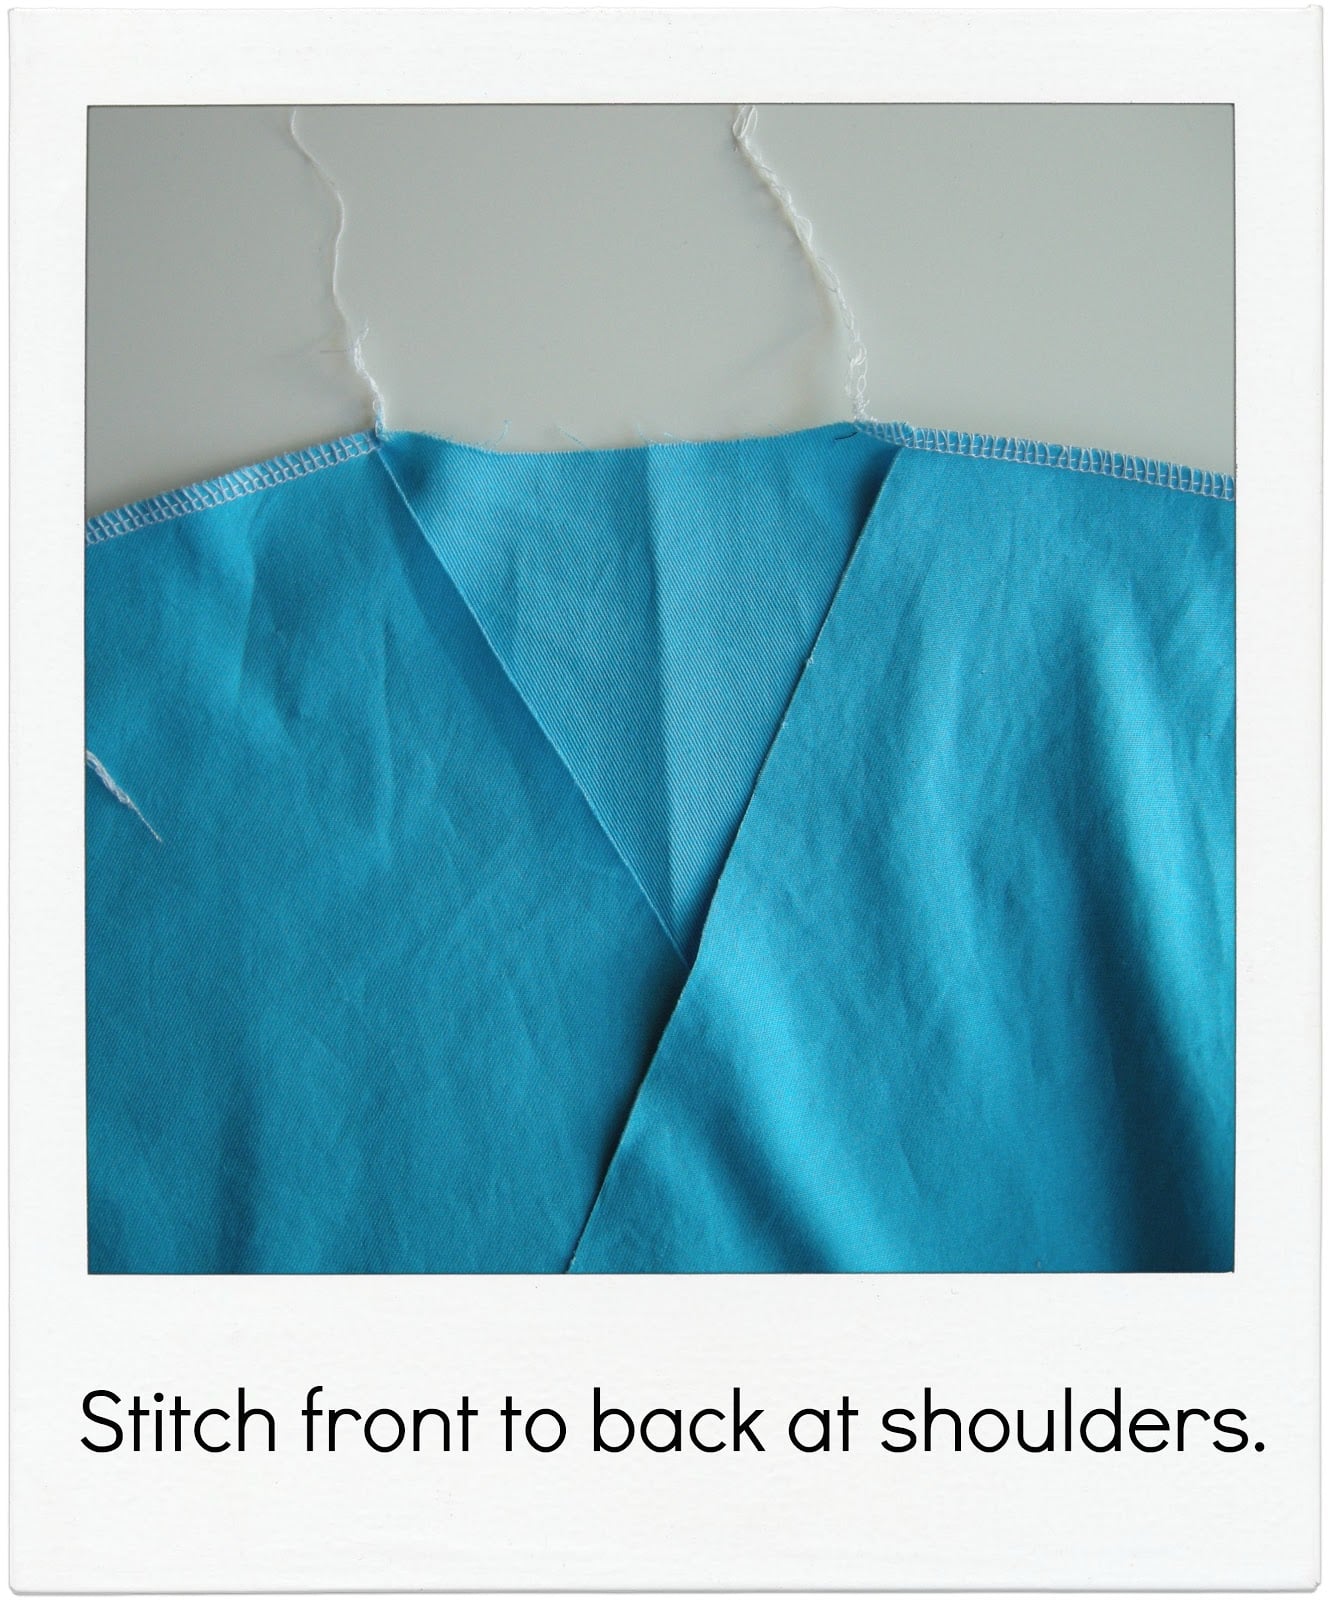
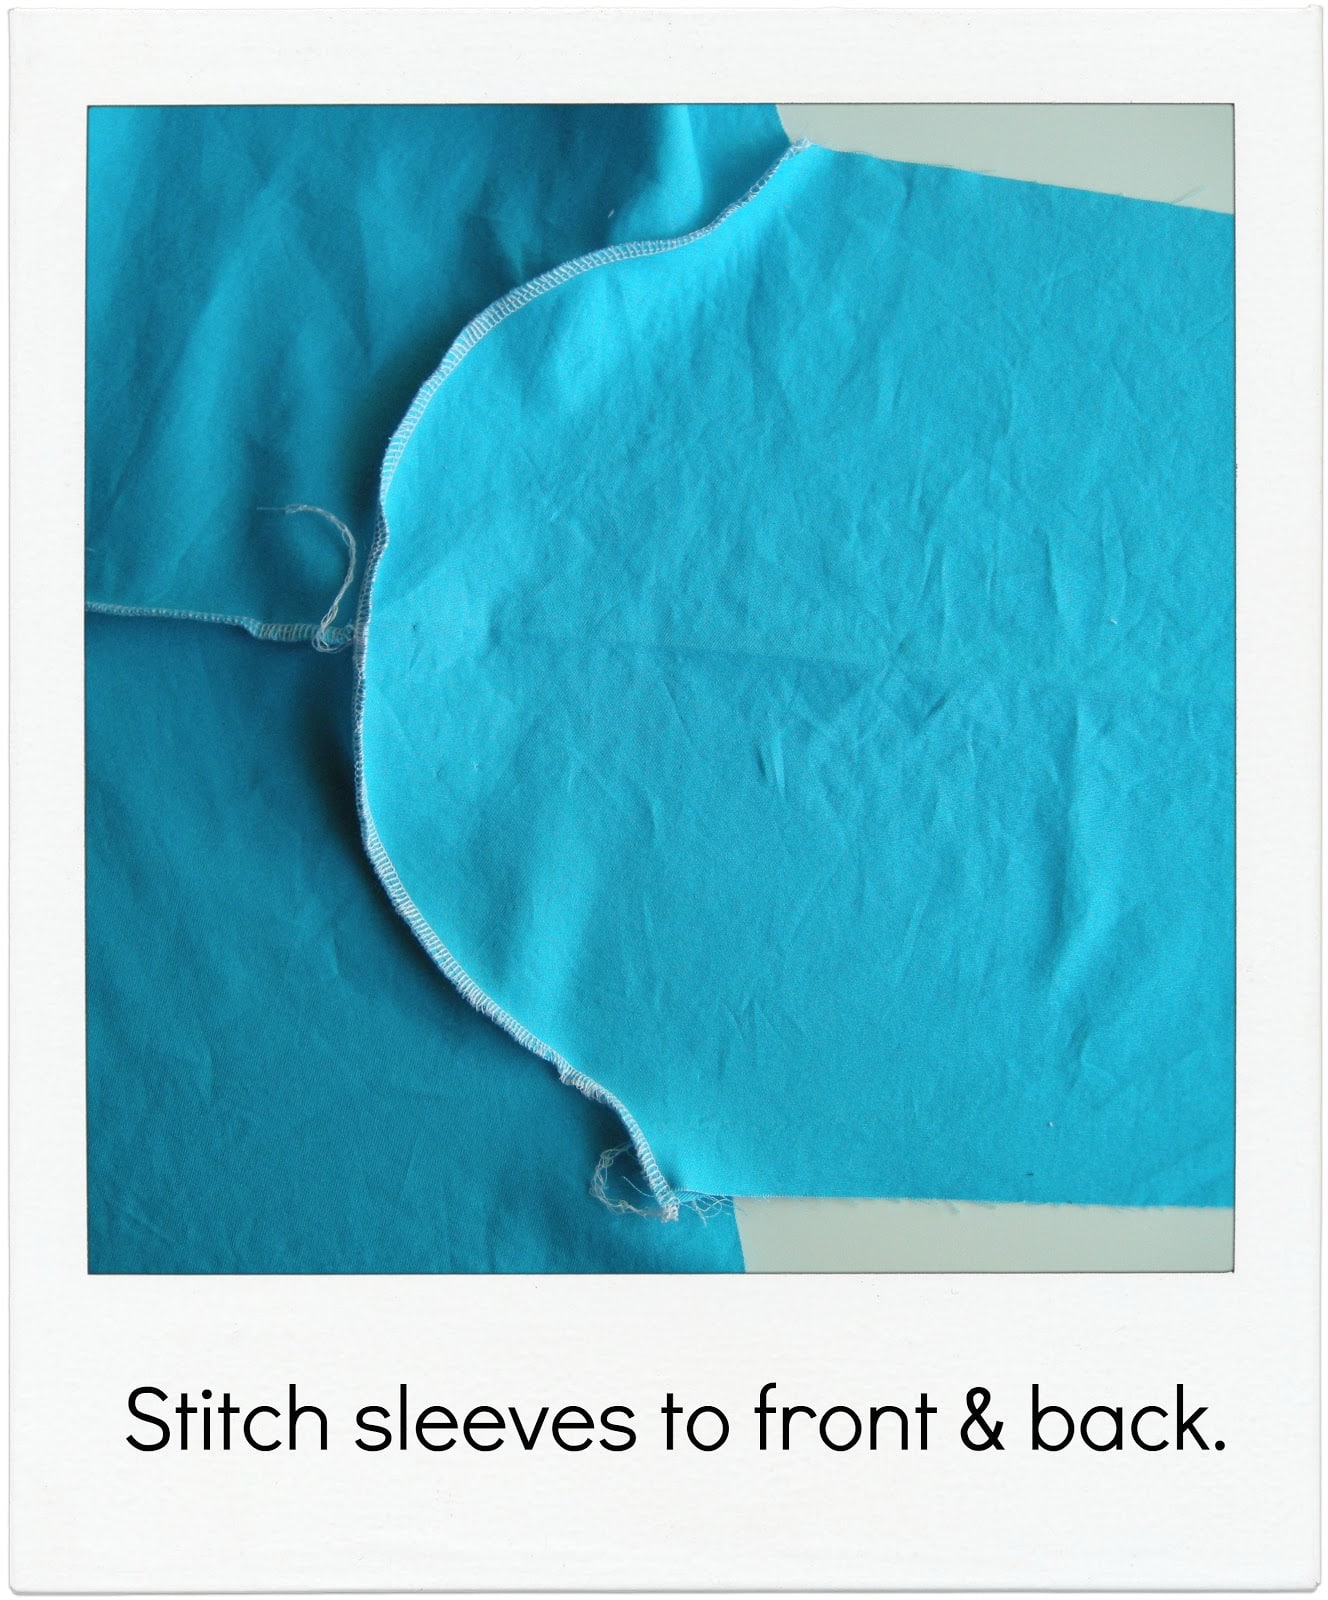
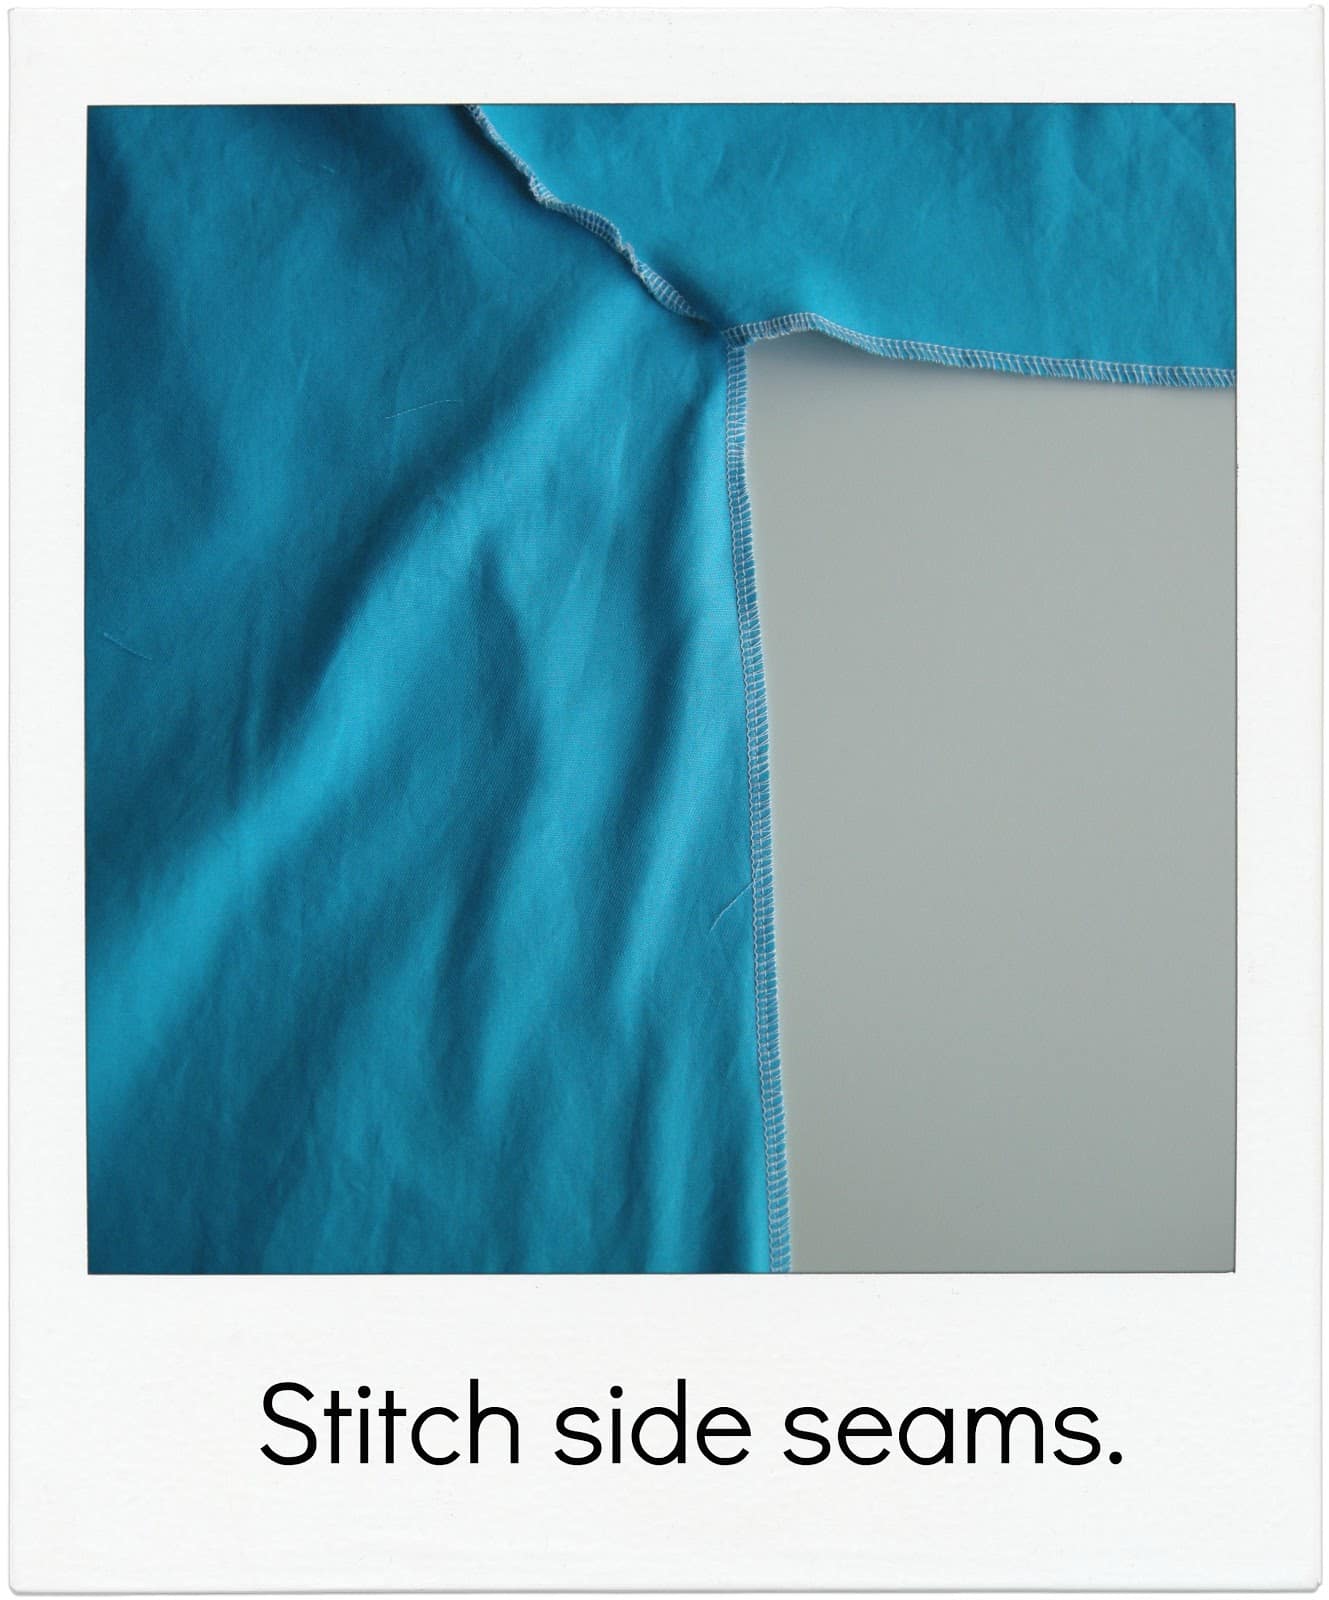
Now, here’s the tutorial for the dressing gown.
Rather than giving you the exact measurements I used,
I’ll just show you how I made mine, and you can personalize one to make your own.
Feel free to send me a note or leave a comment if you any questions on the steps.
Here we go!


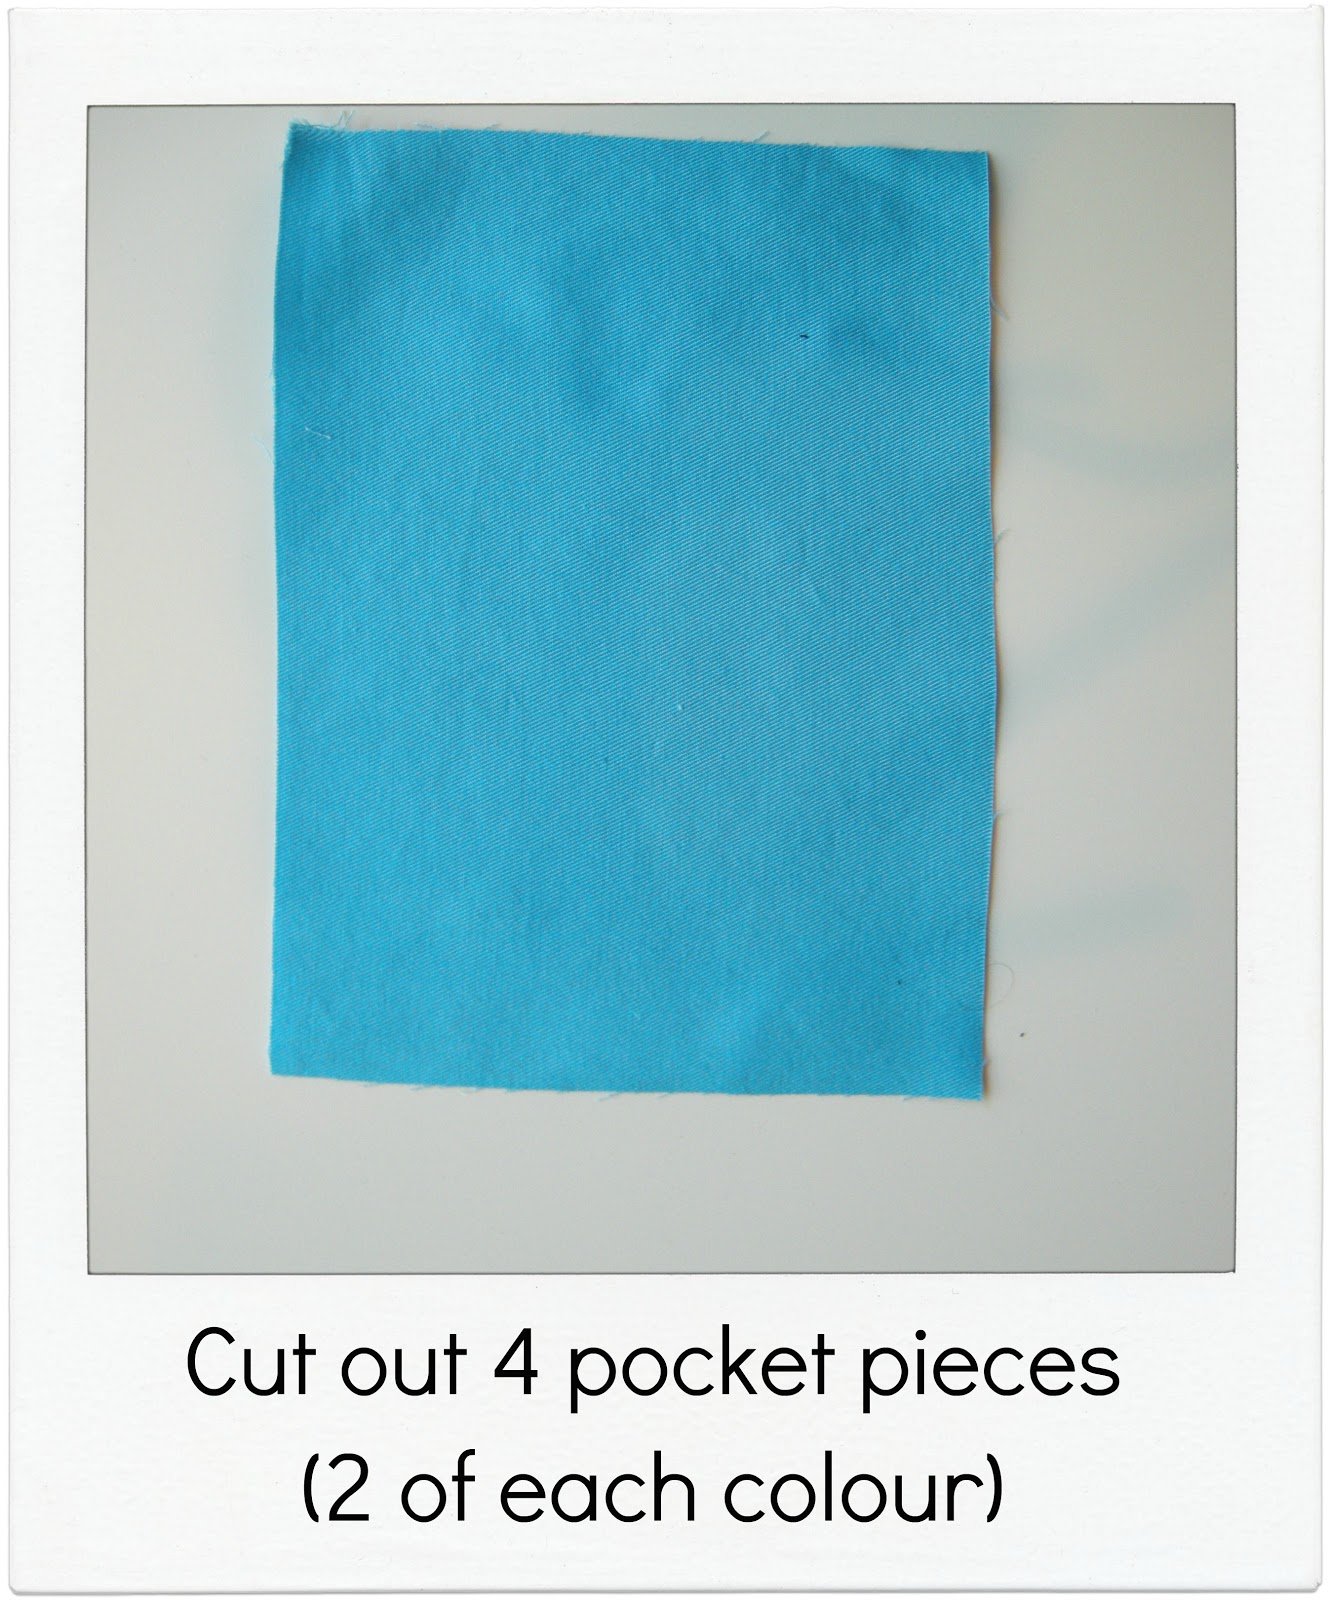

1. Fold over top of pocket
2. Stitch down each side of pocket
3. Turn the top of pocket right side out, iron corners in
4. Iron


1. Cut out belt 4 belt loops
2. Iron in half
3. Iron in half again
4. Stich close to unfolded edge
5. Fold ends, and stitch onto garment
Repeat all the steps above with the contrasting fabric.

Turn garment ride side out.


1. Cut out two belt pieces. Stitch down the sides, leaving ends open.
2. Turn right side out (I use a knitting needle to help with this process).
Turn ends in, iron, and topstitch all around the belt.
Thank you so much for having me here today.
It’s so nice to be part of a series that is exclusively featuring clothing for our boys!

Thanks Heidi! Don’t forget to enter the giveaway running through August 16th.
alyssa p
Cute project! What an encouragement to have such an enthusiastic model!!
alyssabpittman at gmail dot com
memmens
This is adorable! I don’t know the book but the print is gorgeous, think this will have to go on my ‘to make list’ – thanks for sharing
mary(at)emmens(dot)co(dot)uk
Kathie
I love that fabric!! You ladies are making my sewing list double in length!
[email protected]
Christy
So cute….really nice job!!! Love the waistband on those shorts – totally going to give that a try!
christypintucks(at)gmail(dot)com
Mama G
I love that pattern and the dressing gown is an adorable addition.
Joelle
how cute! don’t ya love letting the kiddo pick their fabric? seems like those items are the ones that get the most wearing!!
joellemarie72 at yahoo dot com
Carla G
What cute fabric! And I love the neckline on that top! Thanks for another great idea! 🙂
bcgeates at netbistro dot com
Suzanne Winter
love the reversible dressing gown – anything reversible is great in my book ;o) [email protected]
lestra
I always wondered about that waistband…. Thanks for the tutorial.
lestra77 at yahoo dot com
Sparkle and Co
Thx for the tutorial… I’d like to make one to my son 😉
Thank you for the giveaway 😉 sparklemarais at gmail dot com