
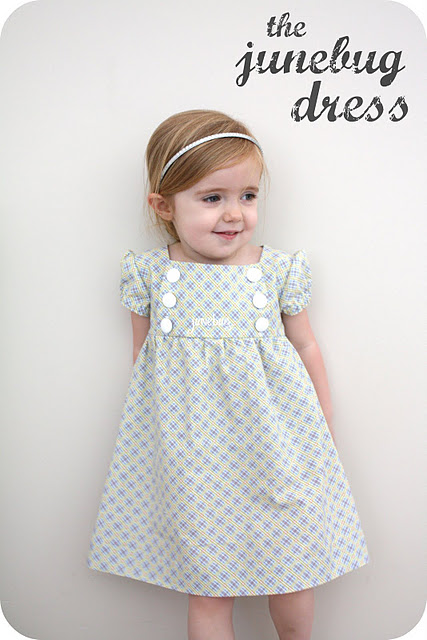
Here is how I made this:

From this tutorial:
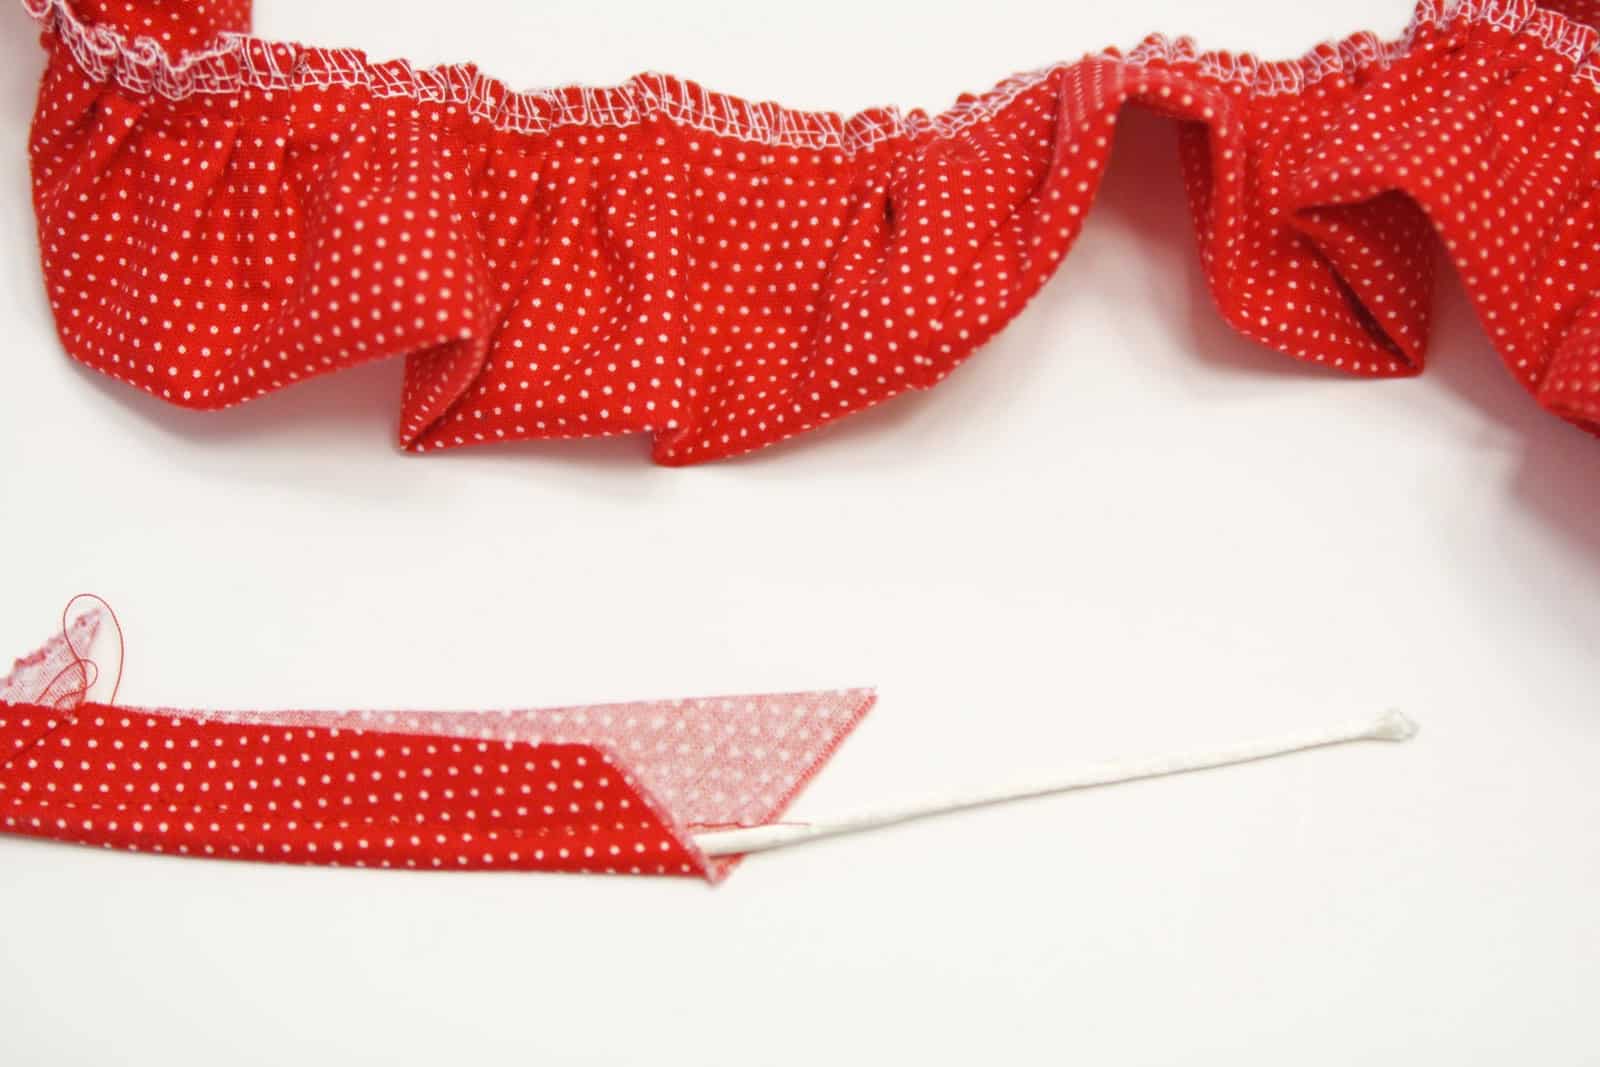
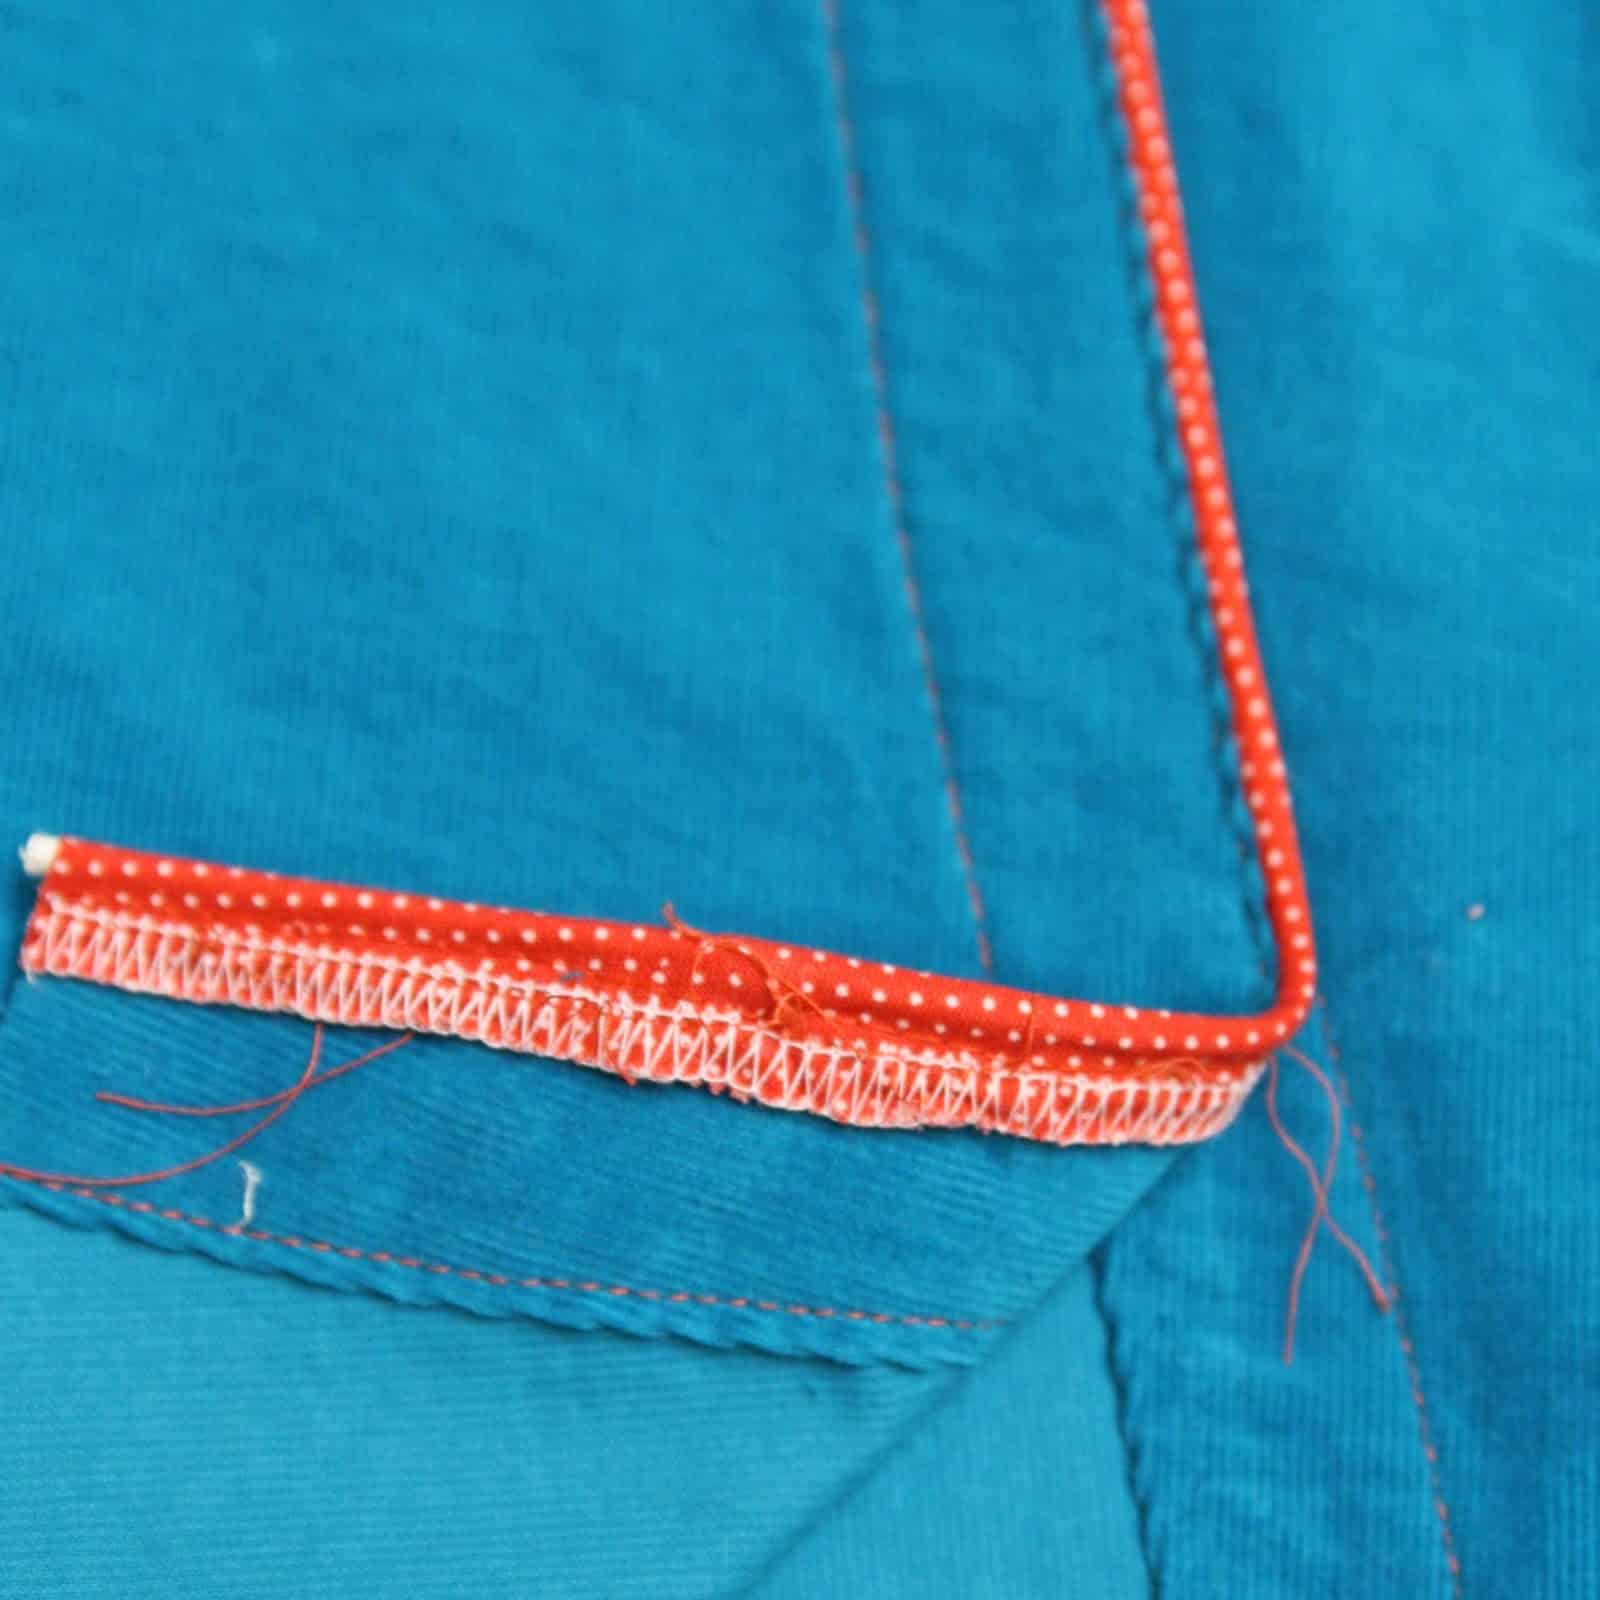
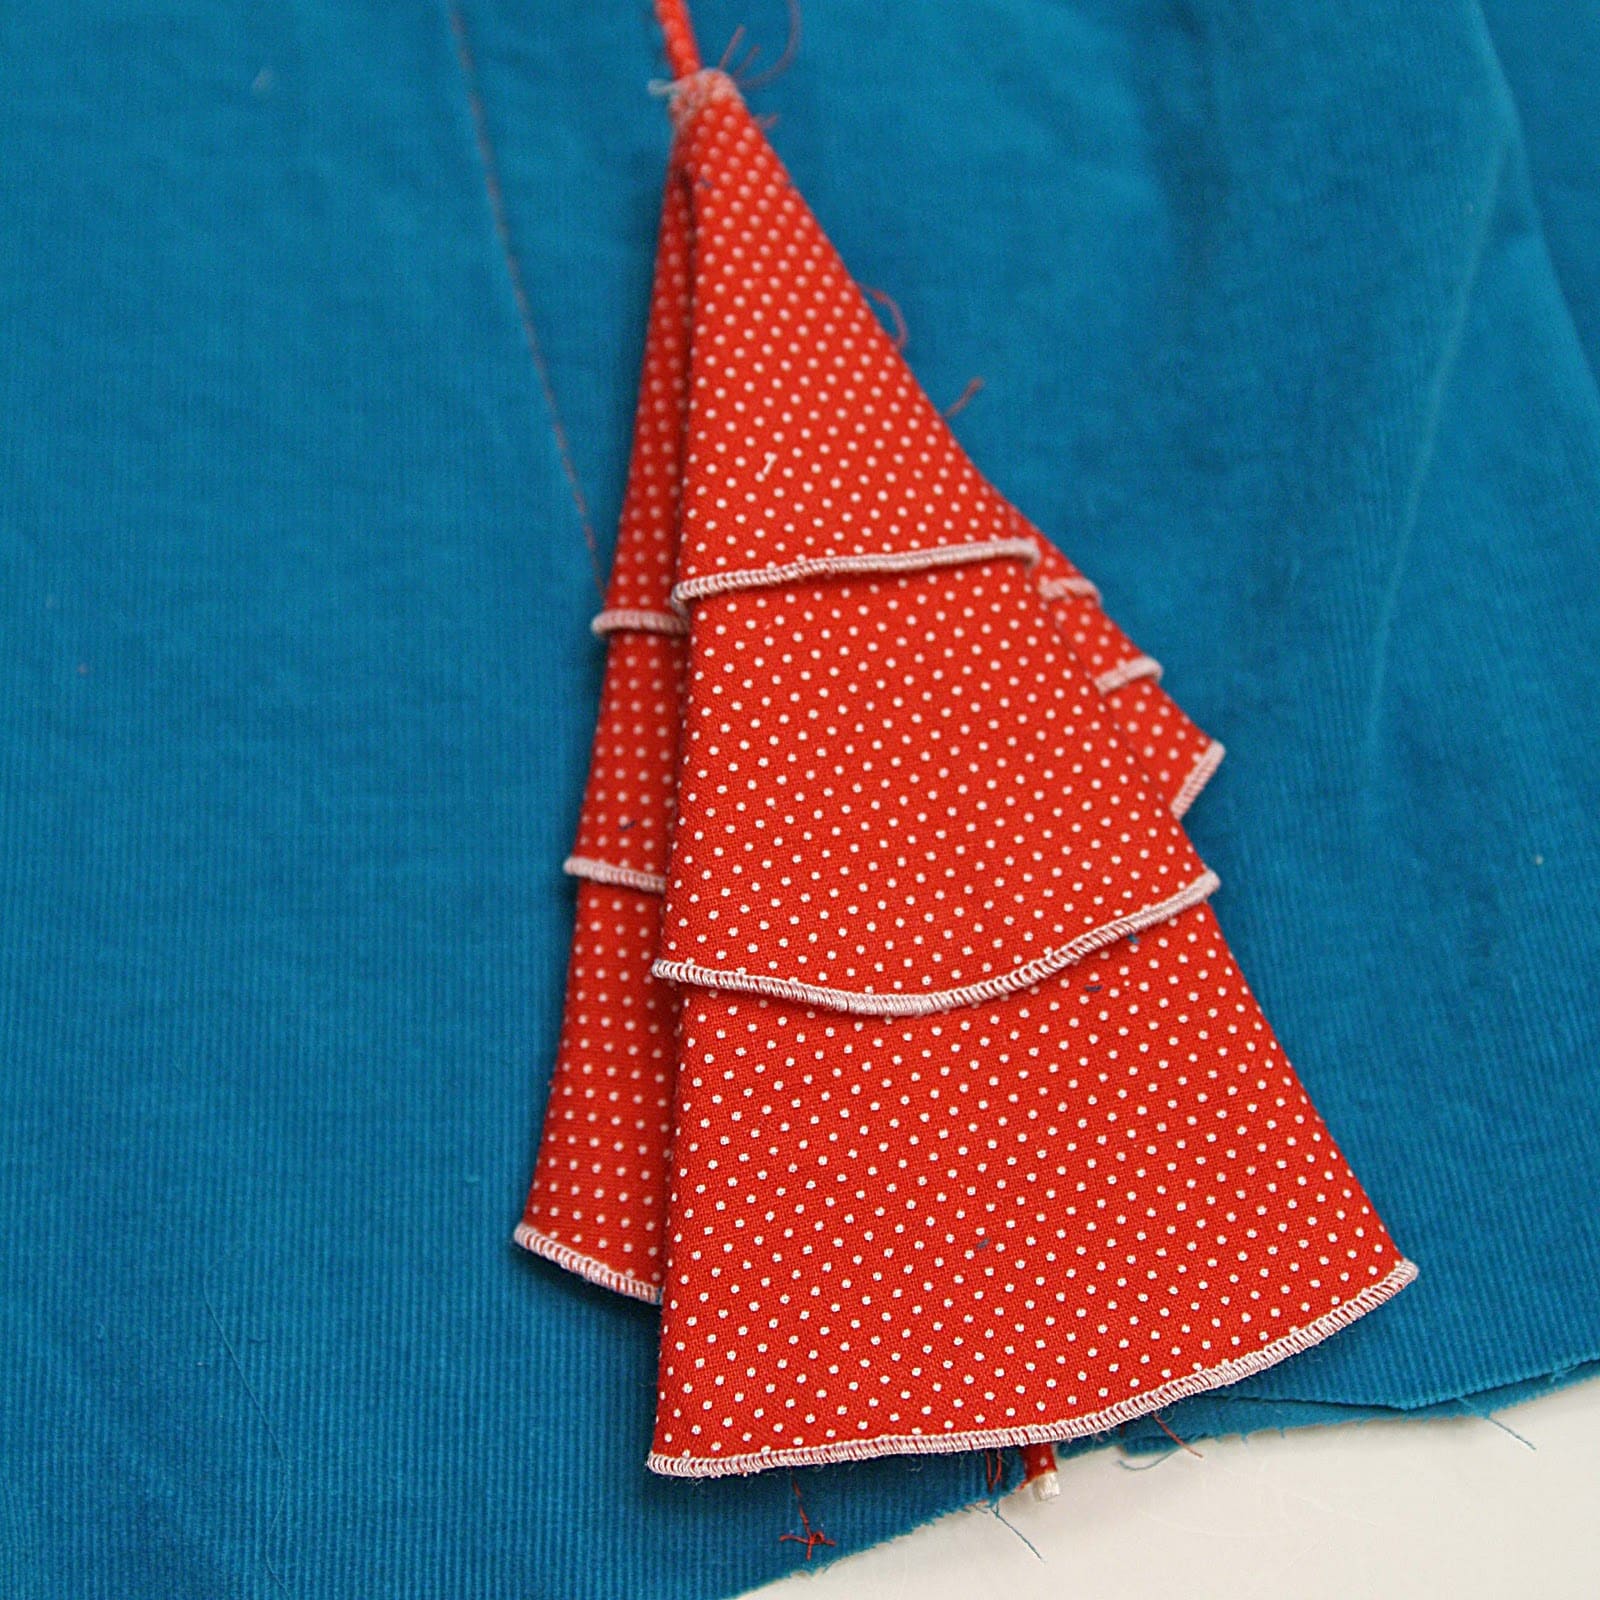
First, I made piping and ruffle. To learn how to make piping, go here
To sew the piping around the bodice, I basted it onto one piece, clipping the corners like so:
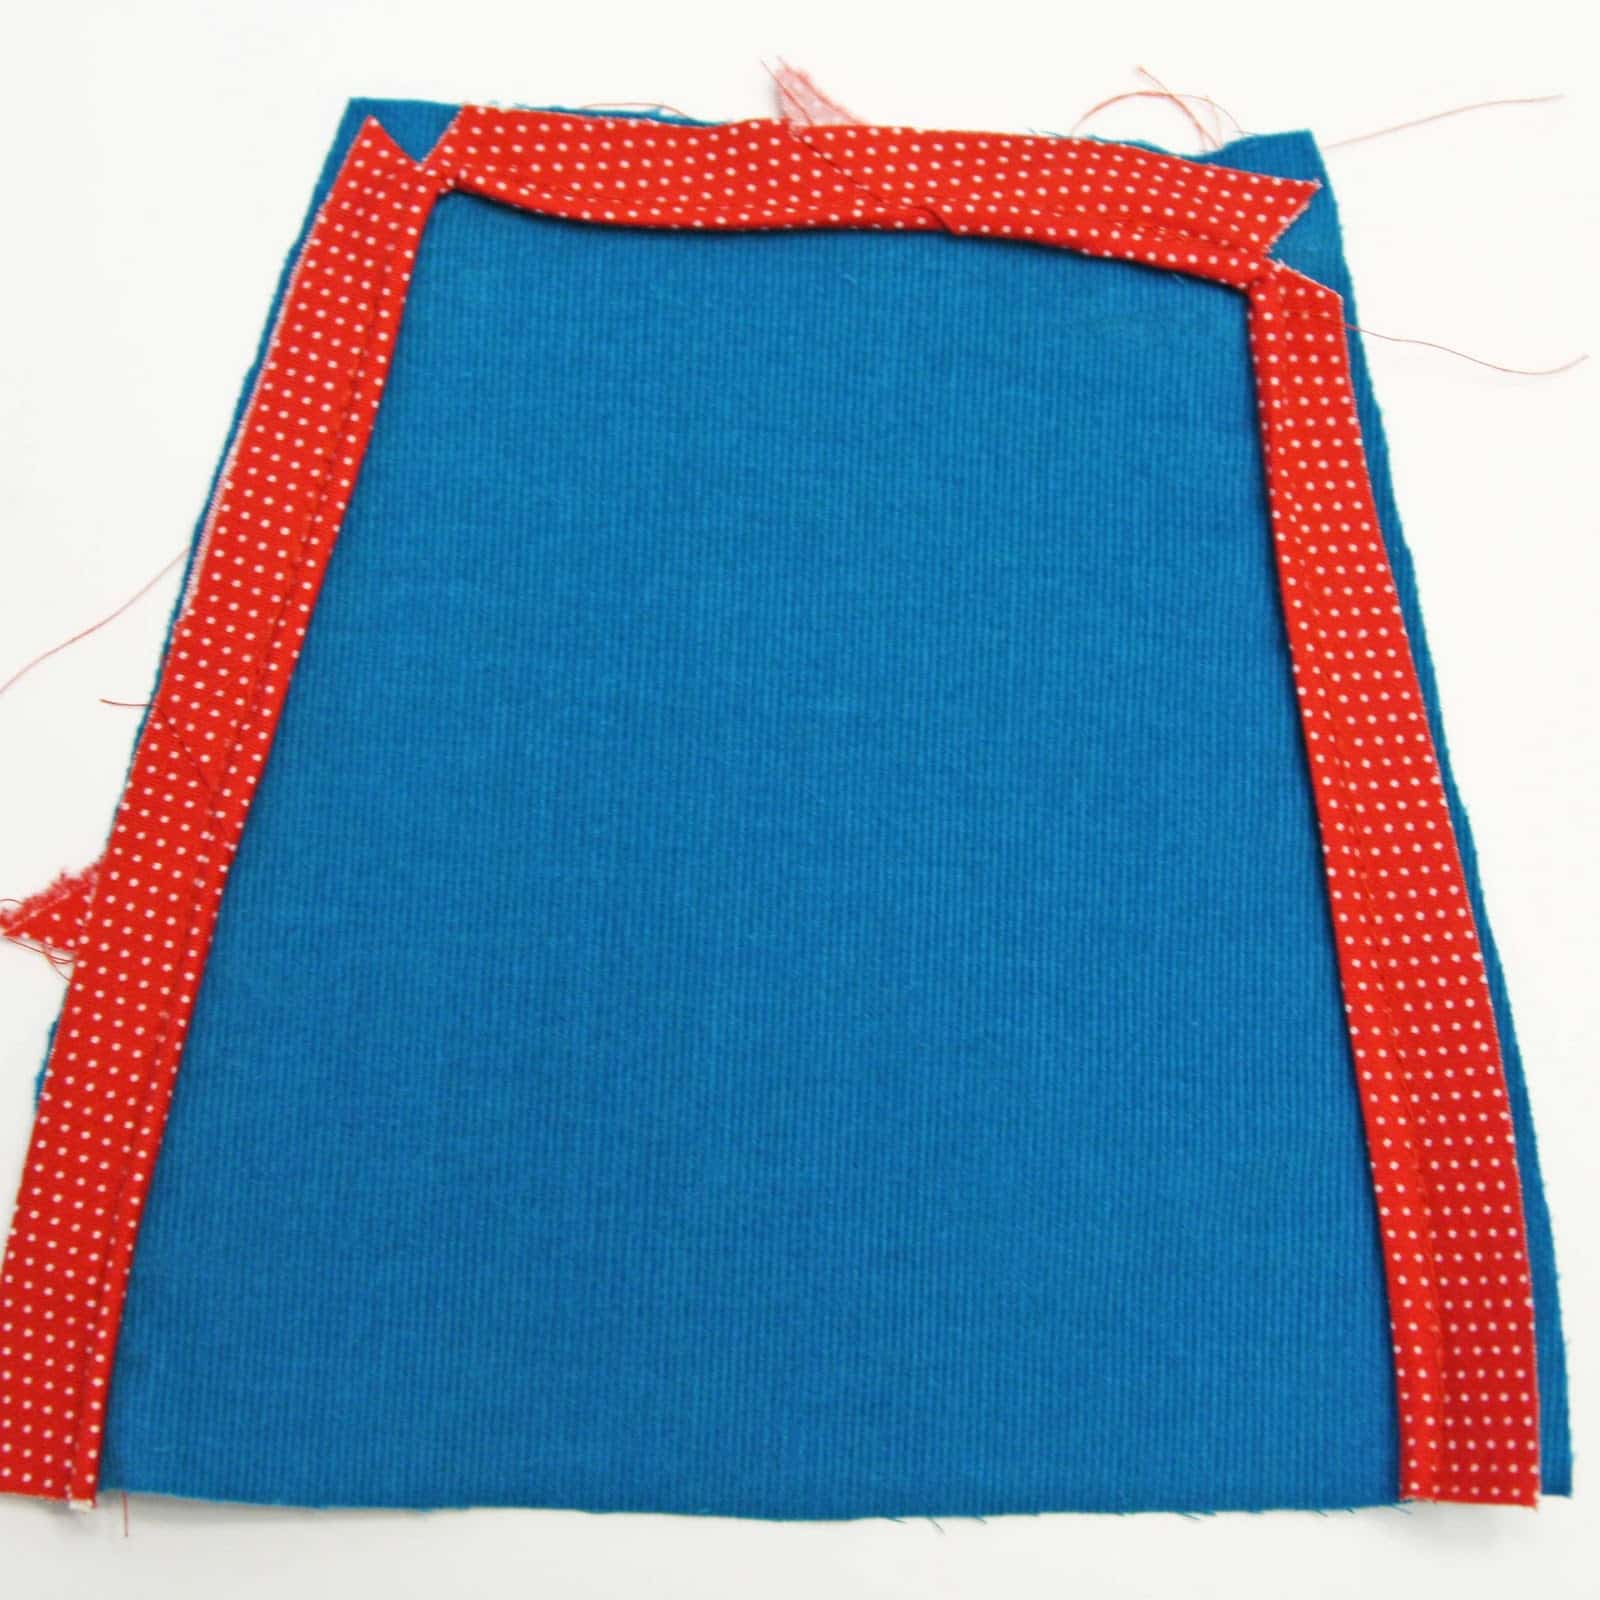
The I continued with the bodice as in the original tutorial.
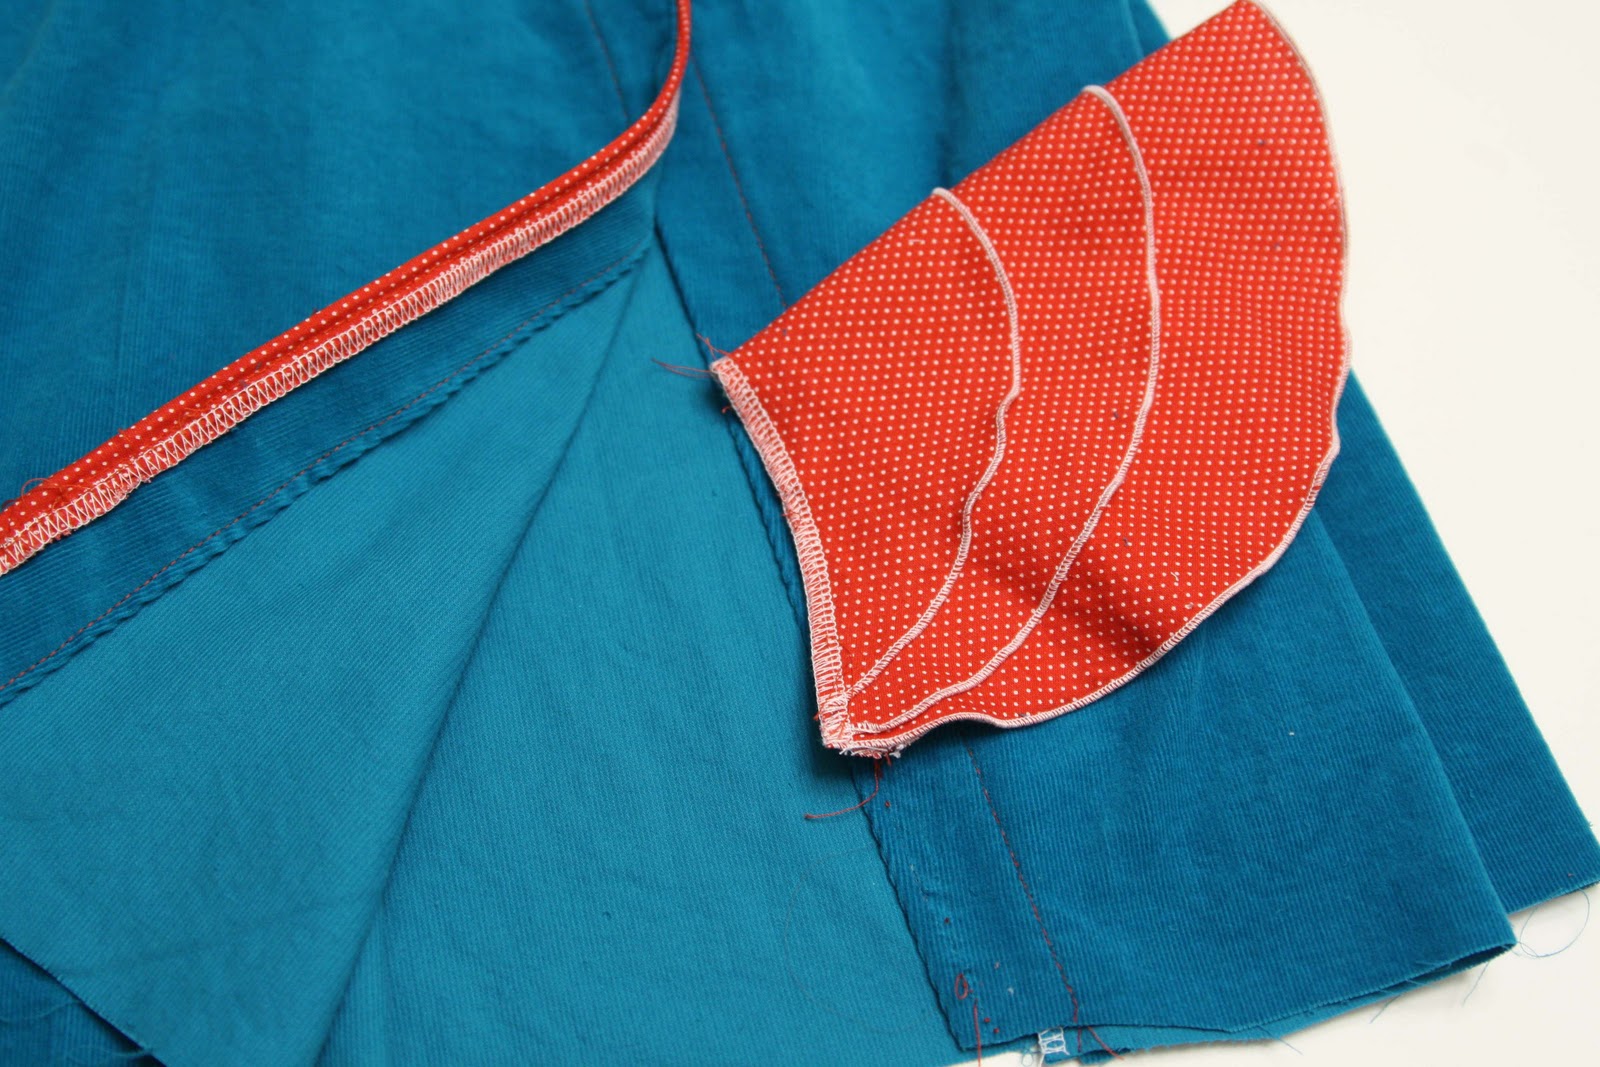
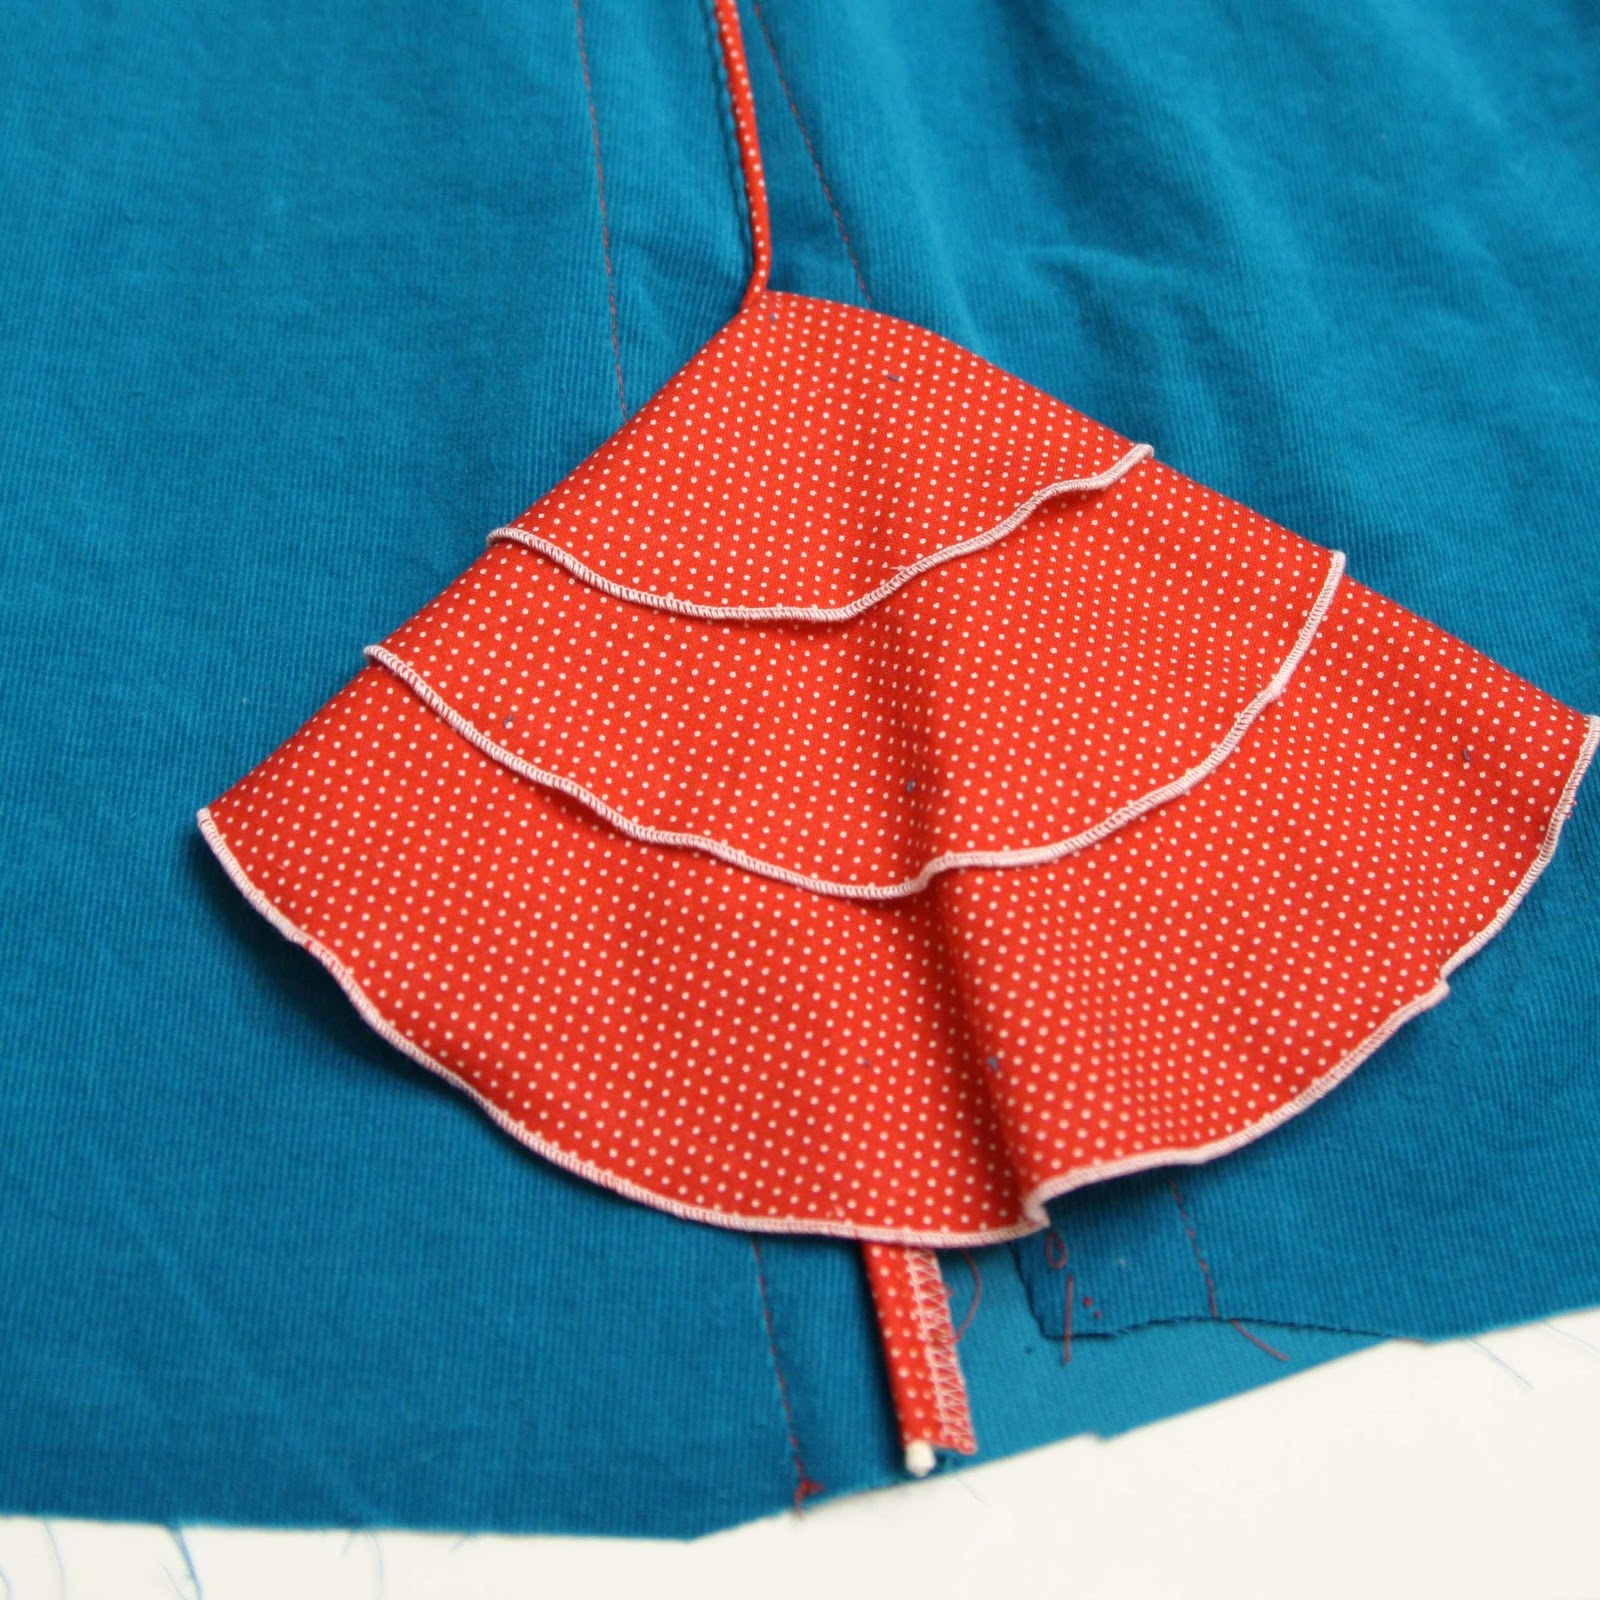
I lengthened the sleeves and added ruffle around the hem. I think anyone can probably figure out how to do both of those things, so let’s skip to the skirt.
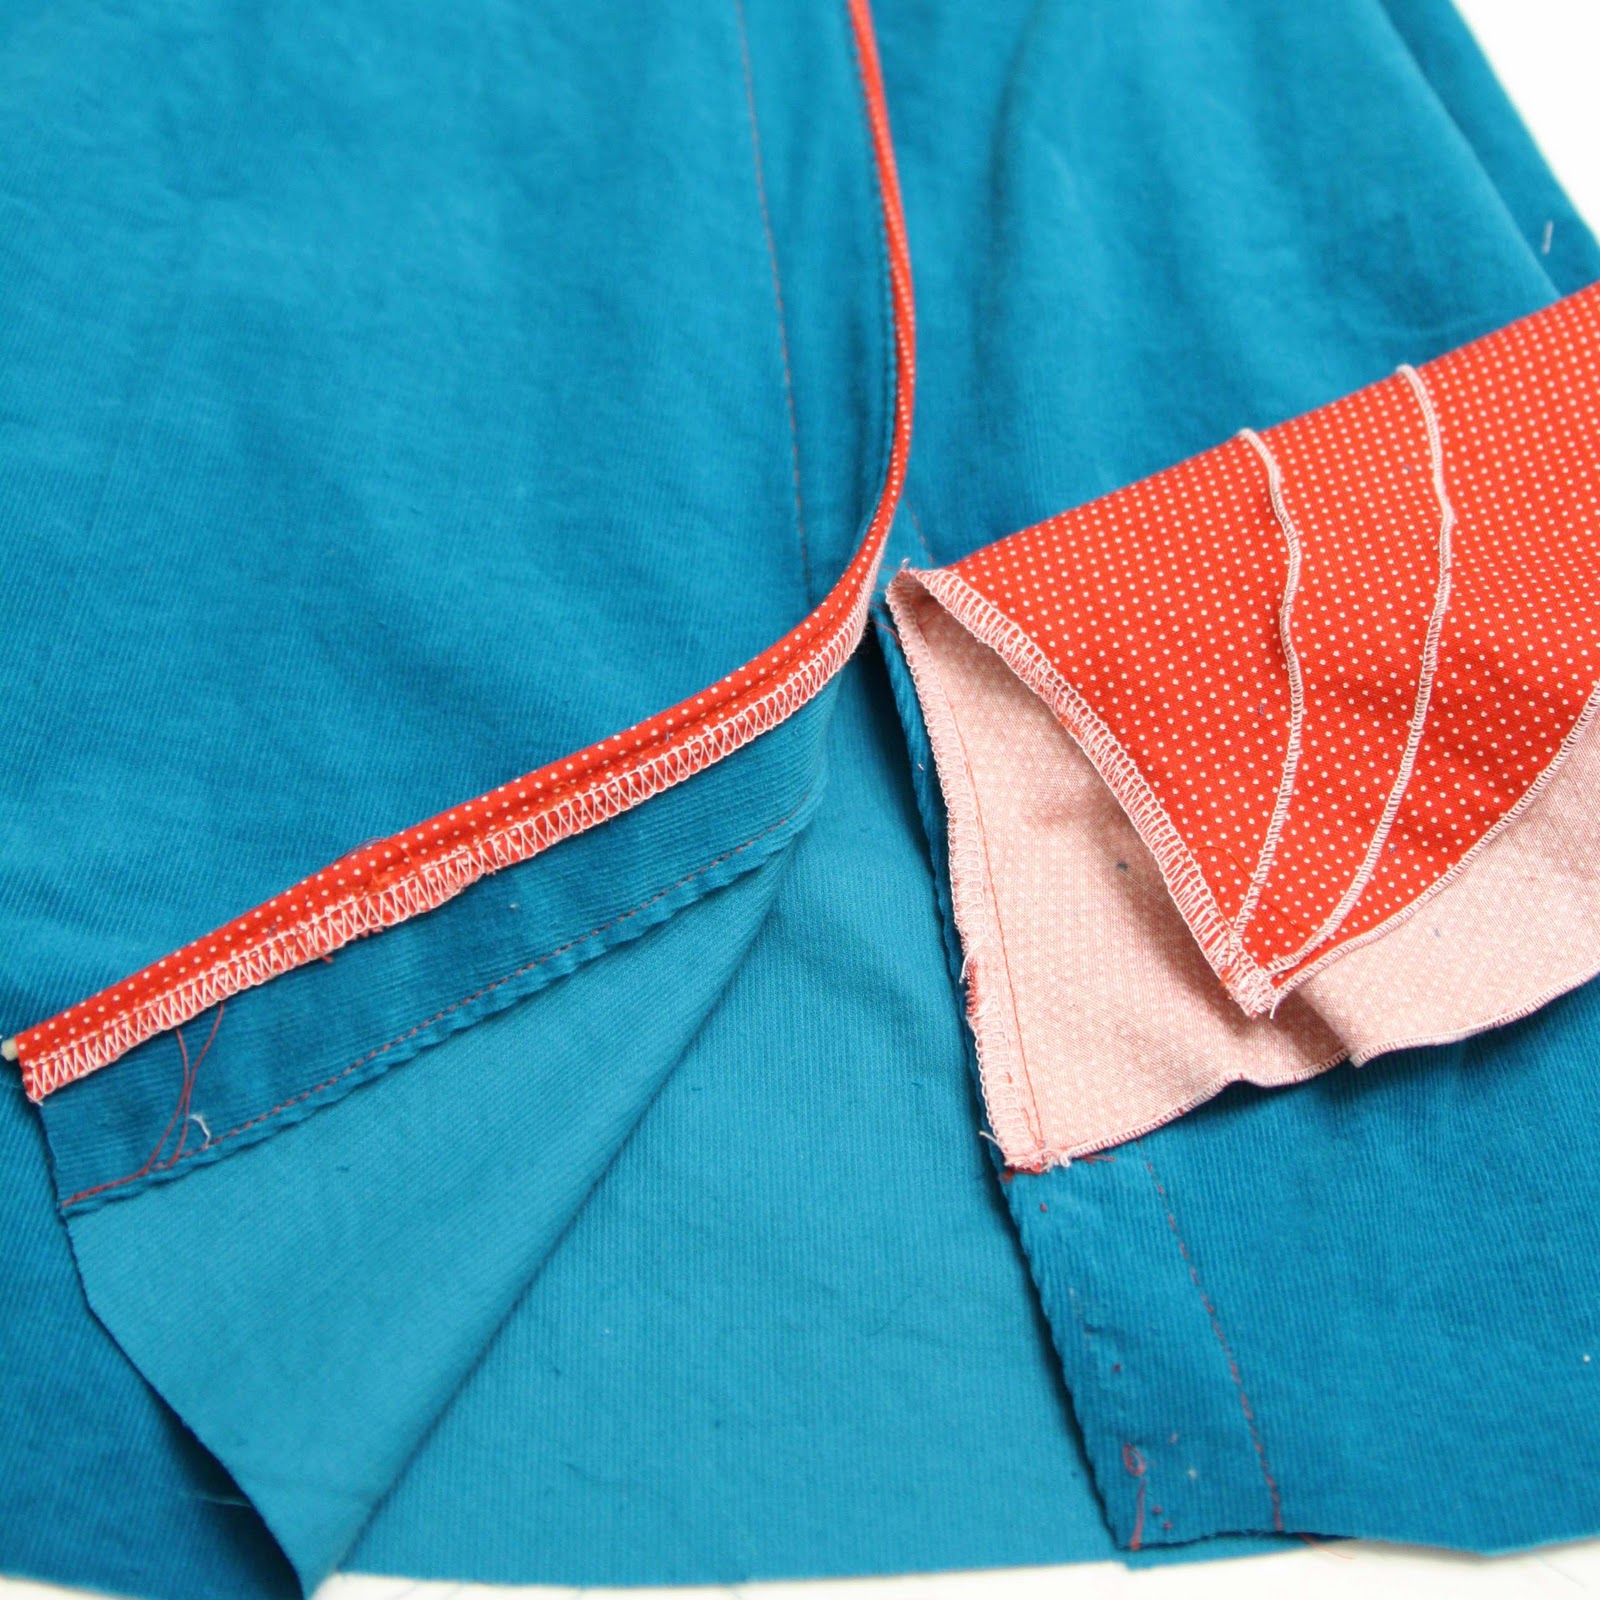
I made it A line instead of rectangular. I made the back piece first. My bodice was 13 inches wide, and I cut the top of the skirt around 26 inches wide and flared to a bottom width of around 42 inches (I used 3 yards for this size 5T). I think the skirt was about 24 inches long, so 1 1/3 yards of my fabric was just skirt.
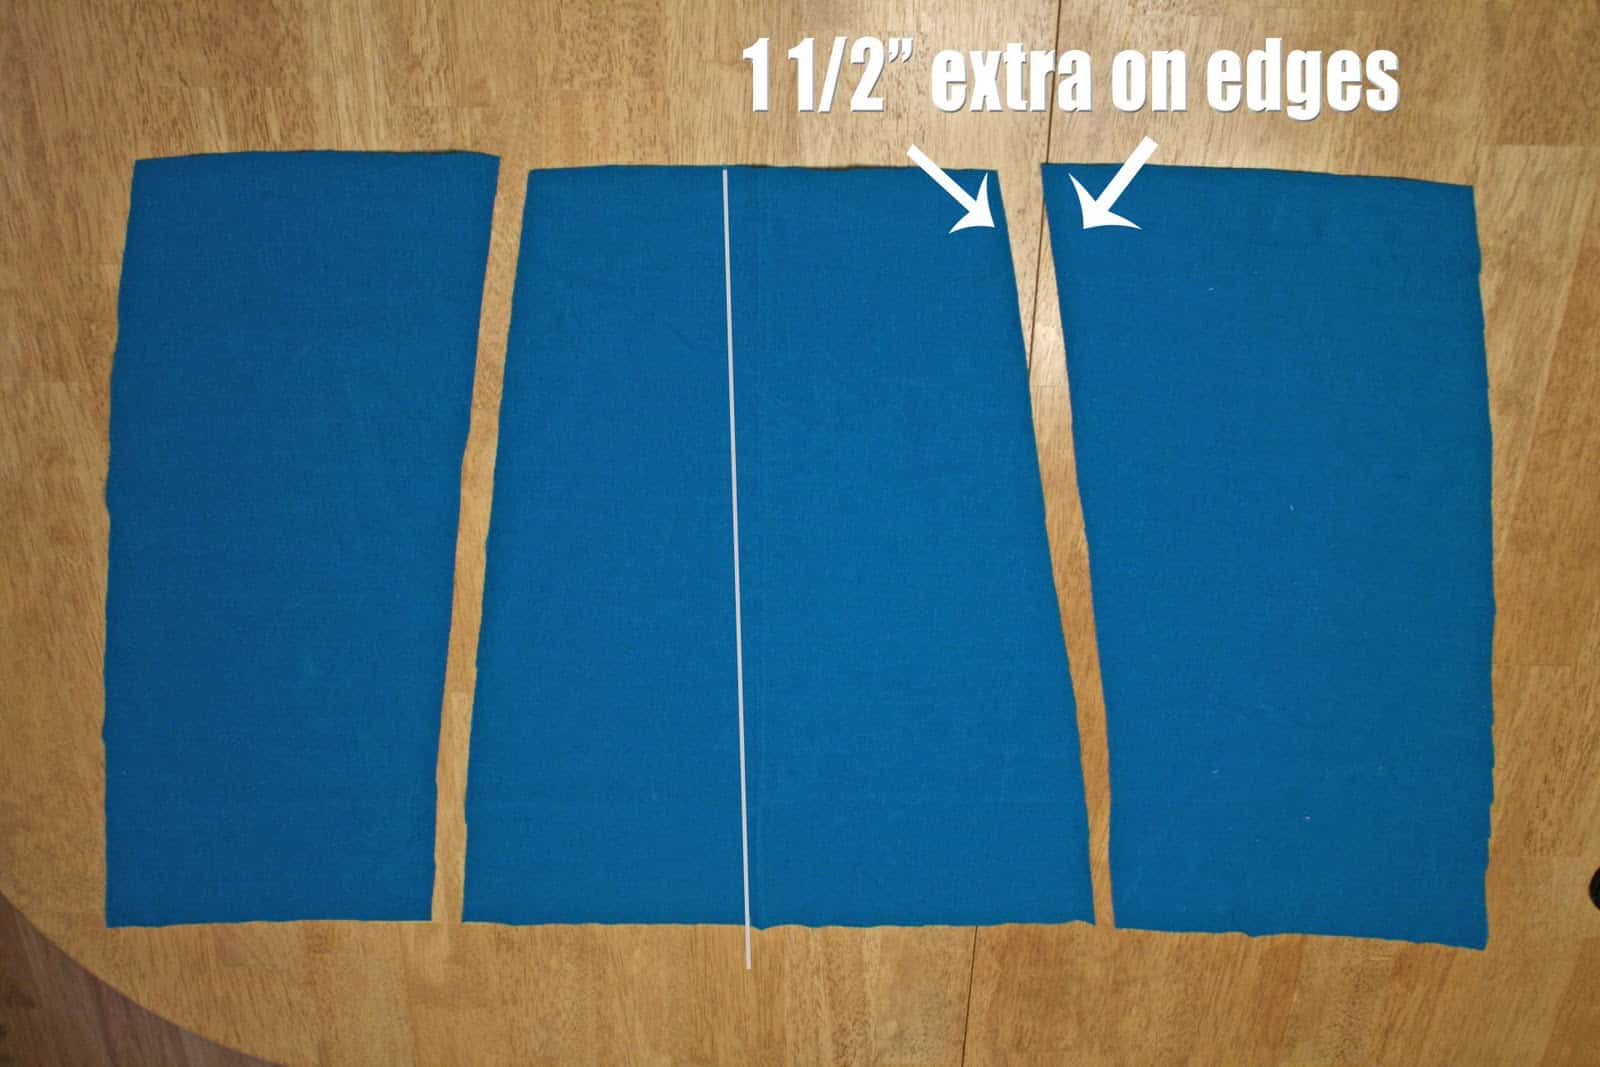
Once I had the back shape where I could see it, I made muslin pieces for the front. First I lined up the center front of my button flap from the bodice to the center of the muslin. I used a ruler to continue the same flare from that flap down the line of the skirt. I added 1 1/2 inches to the left side to fold under for the opening. Then I laid this muslin piece on top of the back piece of the skirt, matching the centers. I made 2 muslin pieces that copied the two sides of the back skirt piece that weren’t under the muslin. I added seam allowances, and an extra 1 1/2 inches to the inside of the front left skirt piece. This picture should make that more clear – these are my 3 front pieces. The white line shows the center front of the middle piece.


Emily
Love the corduroy and the ruffle and the color combo.