
A last minute tutorial, for anyone who plans to spend part of Christmas Eve sewing (like I often do).
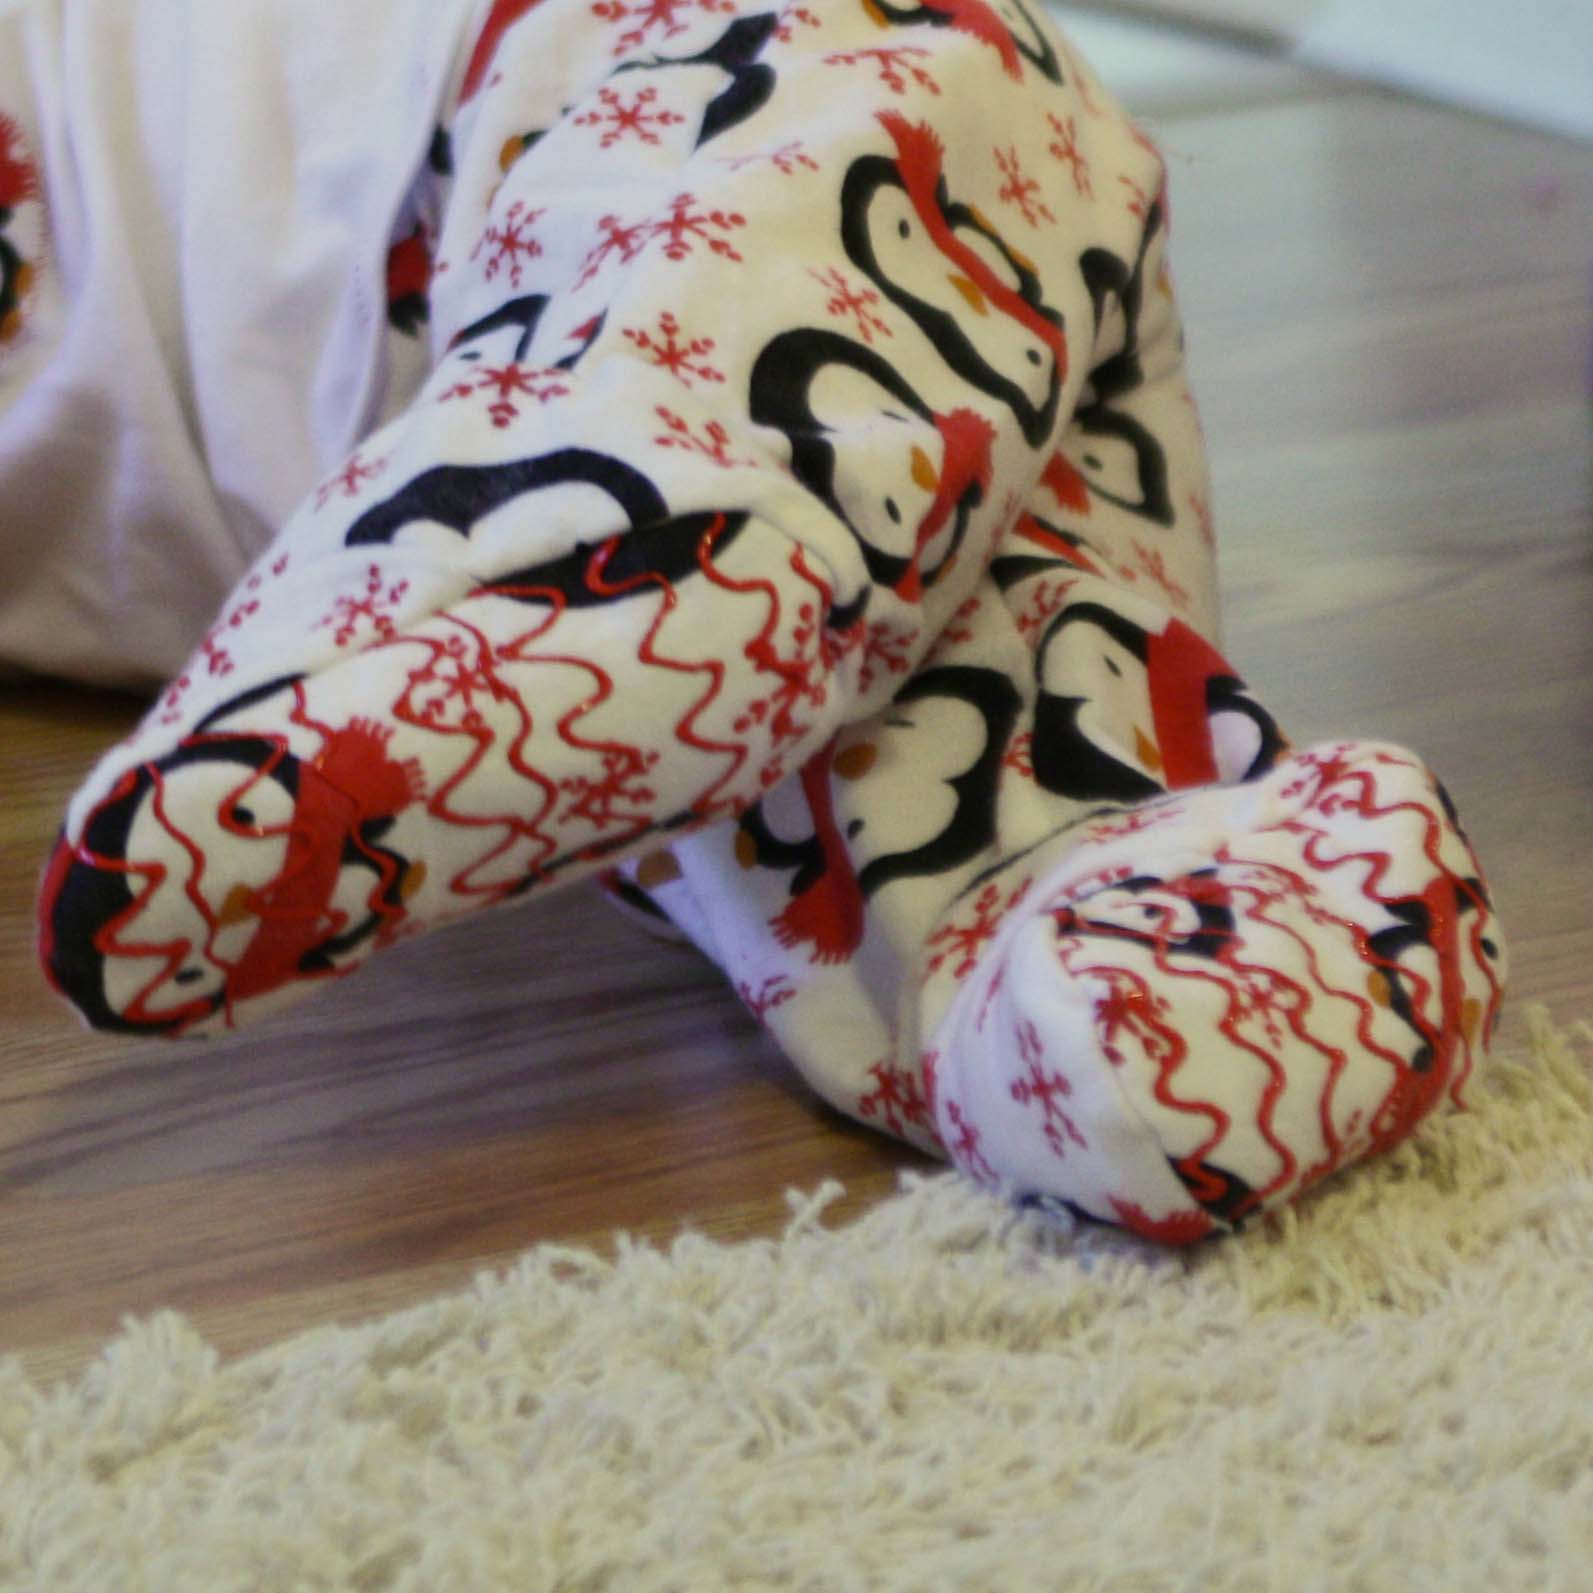


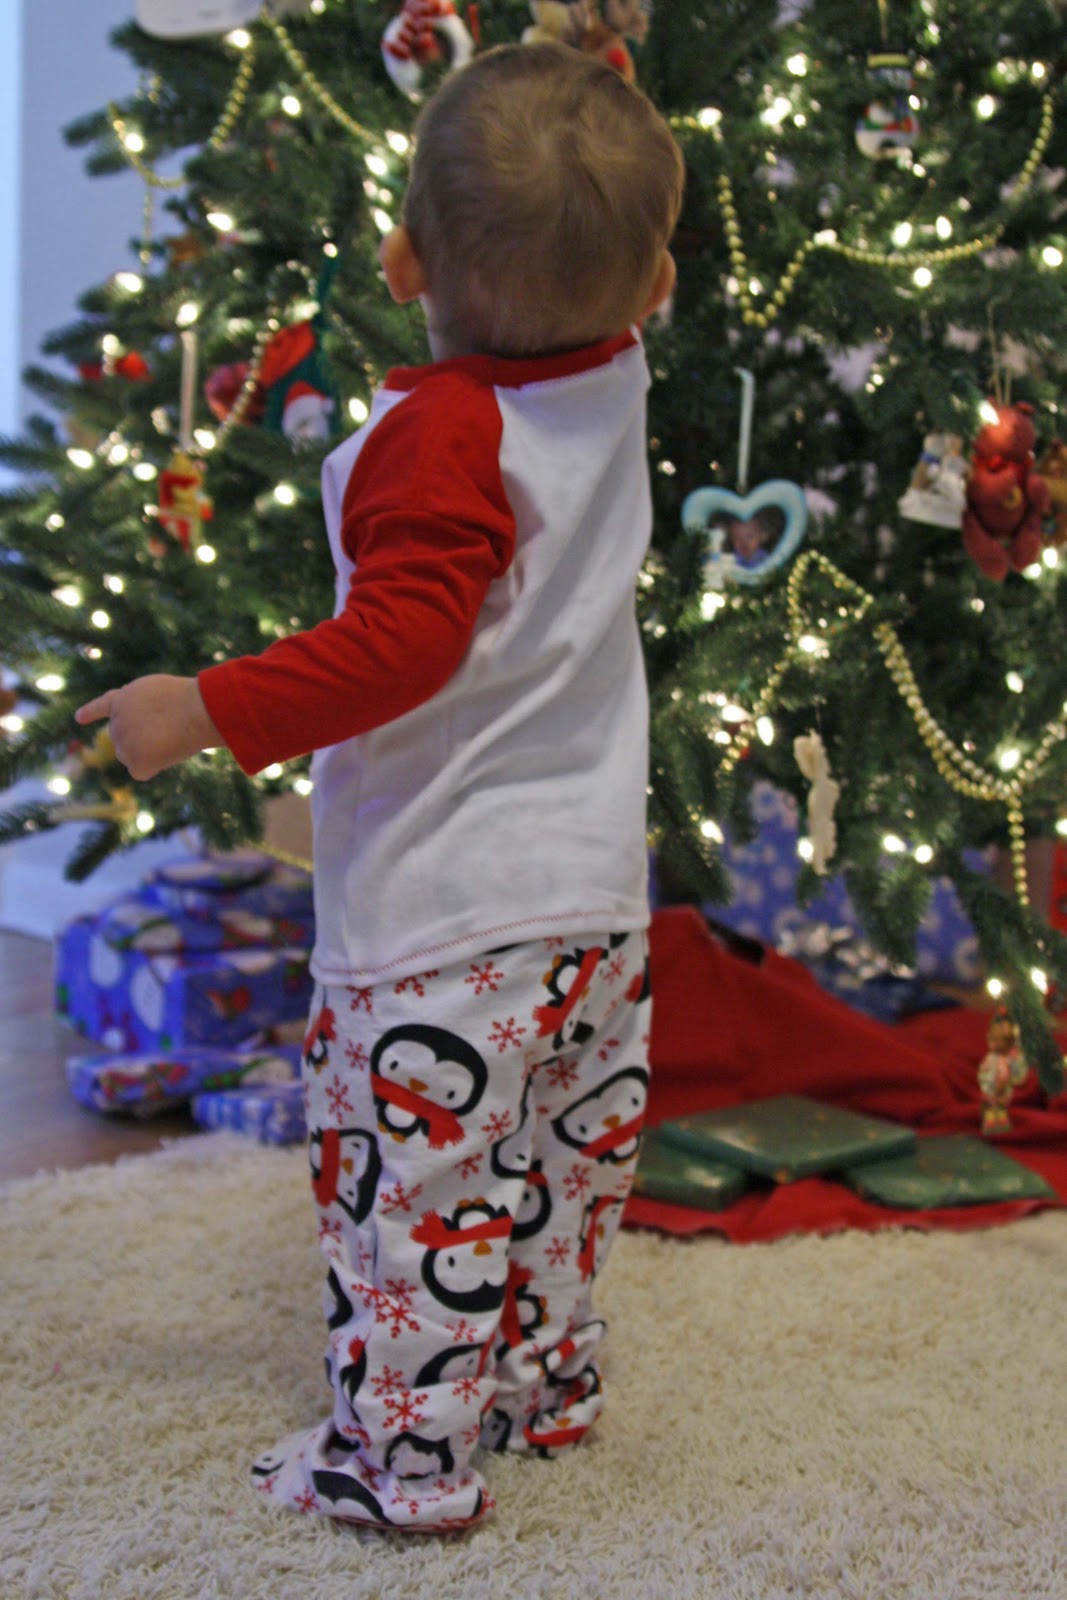
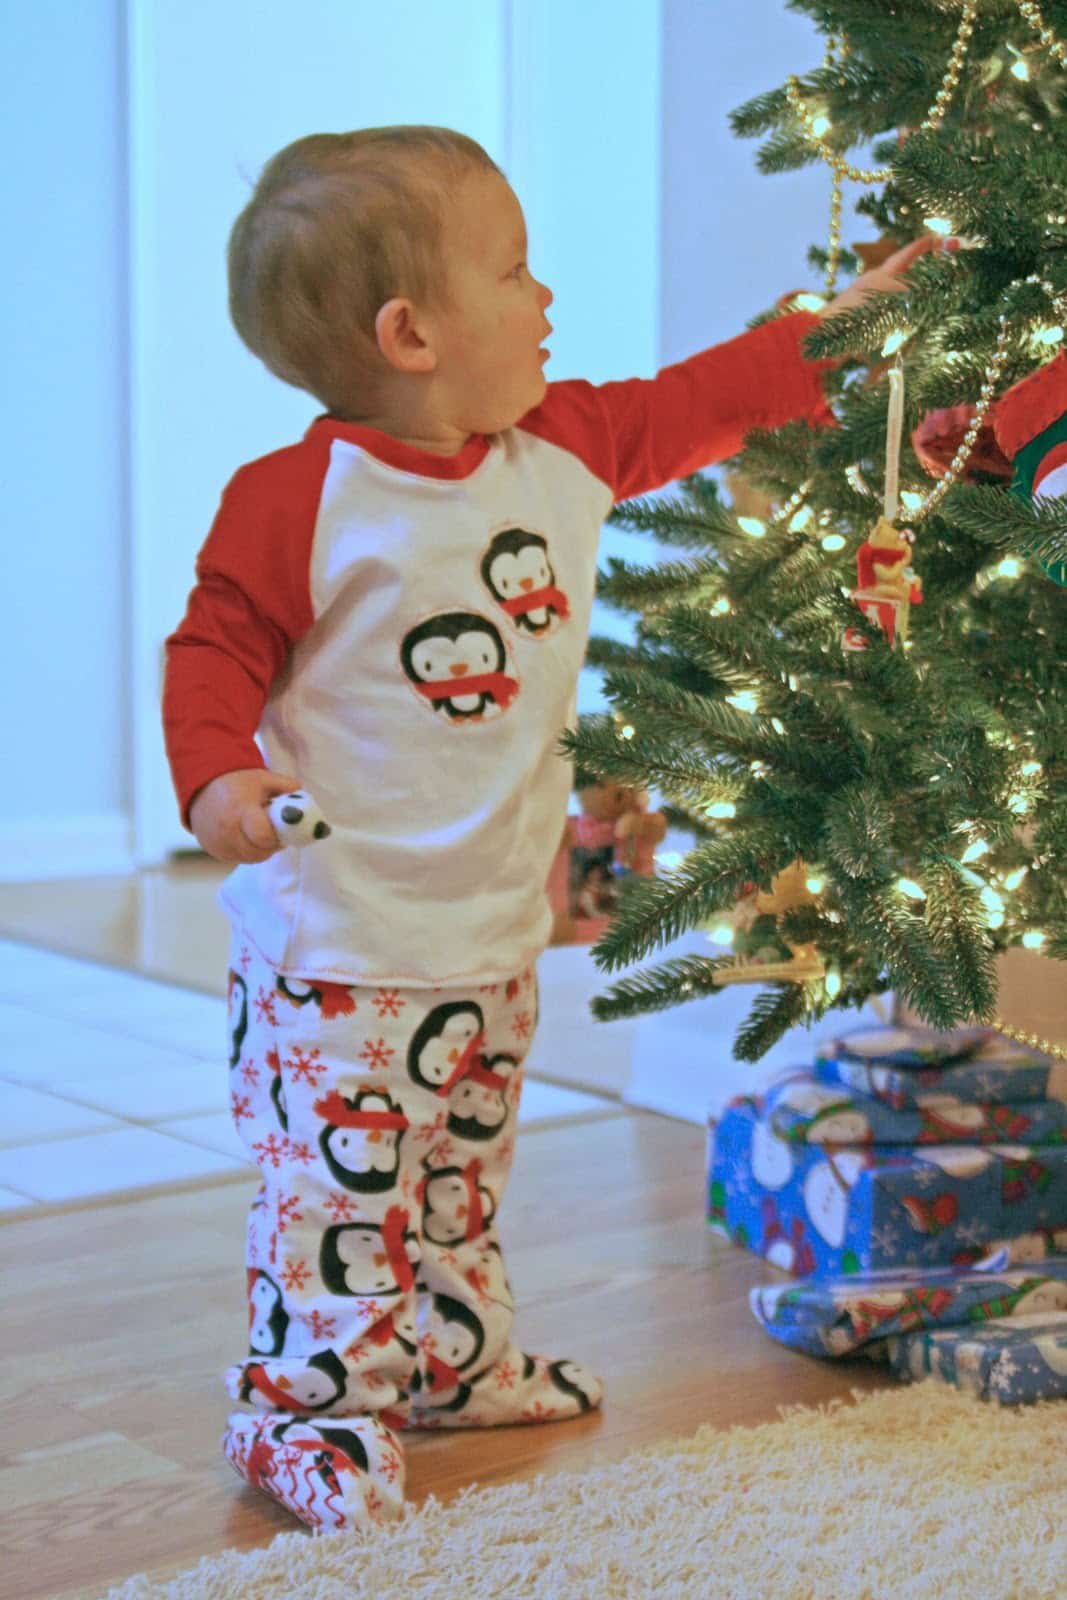
Is there anything cuter than a toddler in footy pajamas? I don’t think so. And if you have a toddler that won’t stay under a blanket and likes to pull his socks off, they’re not only cute, they’re very practical for keeping adorable tootsies warm.
However, we had 2 problems with footy pajamas that I needed to solve.
1) We are potty training Bean, and have no time to waste with traditional one-piece footy pajamas.
2) There are no matching footy pajamas that I can buy for the Christmas pajamas I made Tater. And matching pajamas are a must for Christmas morning pics in our house.
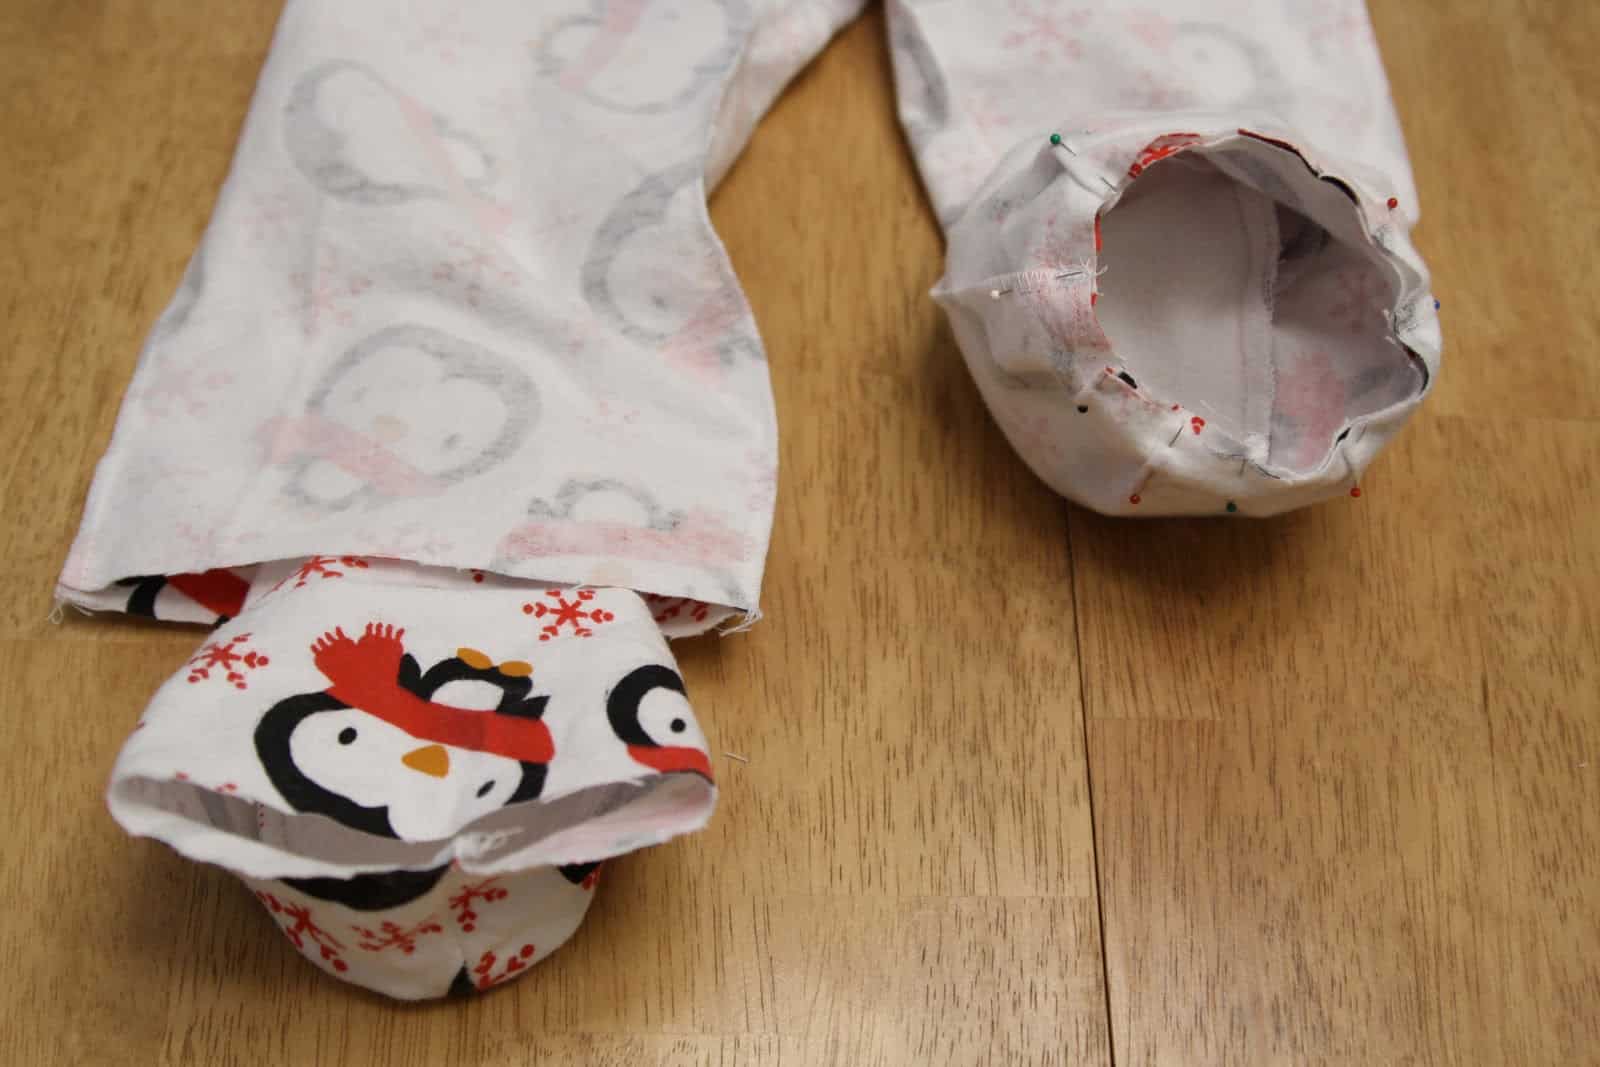
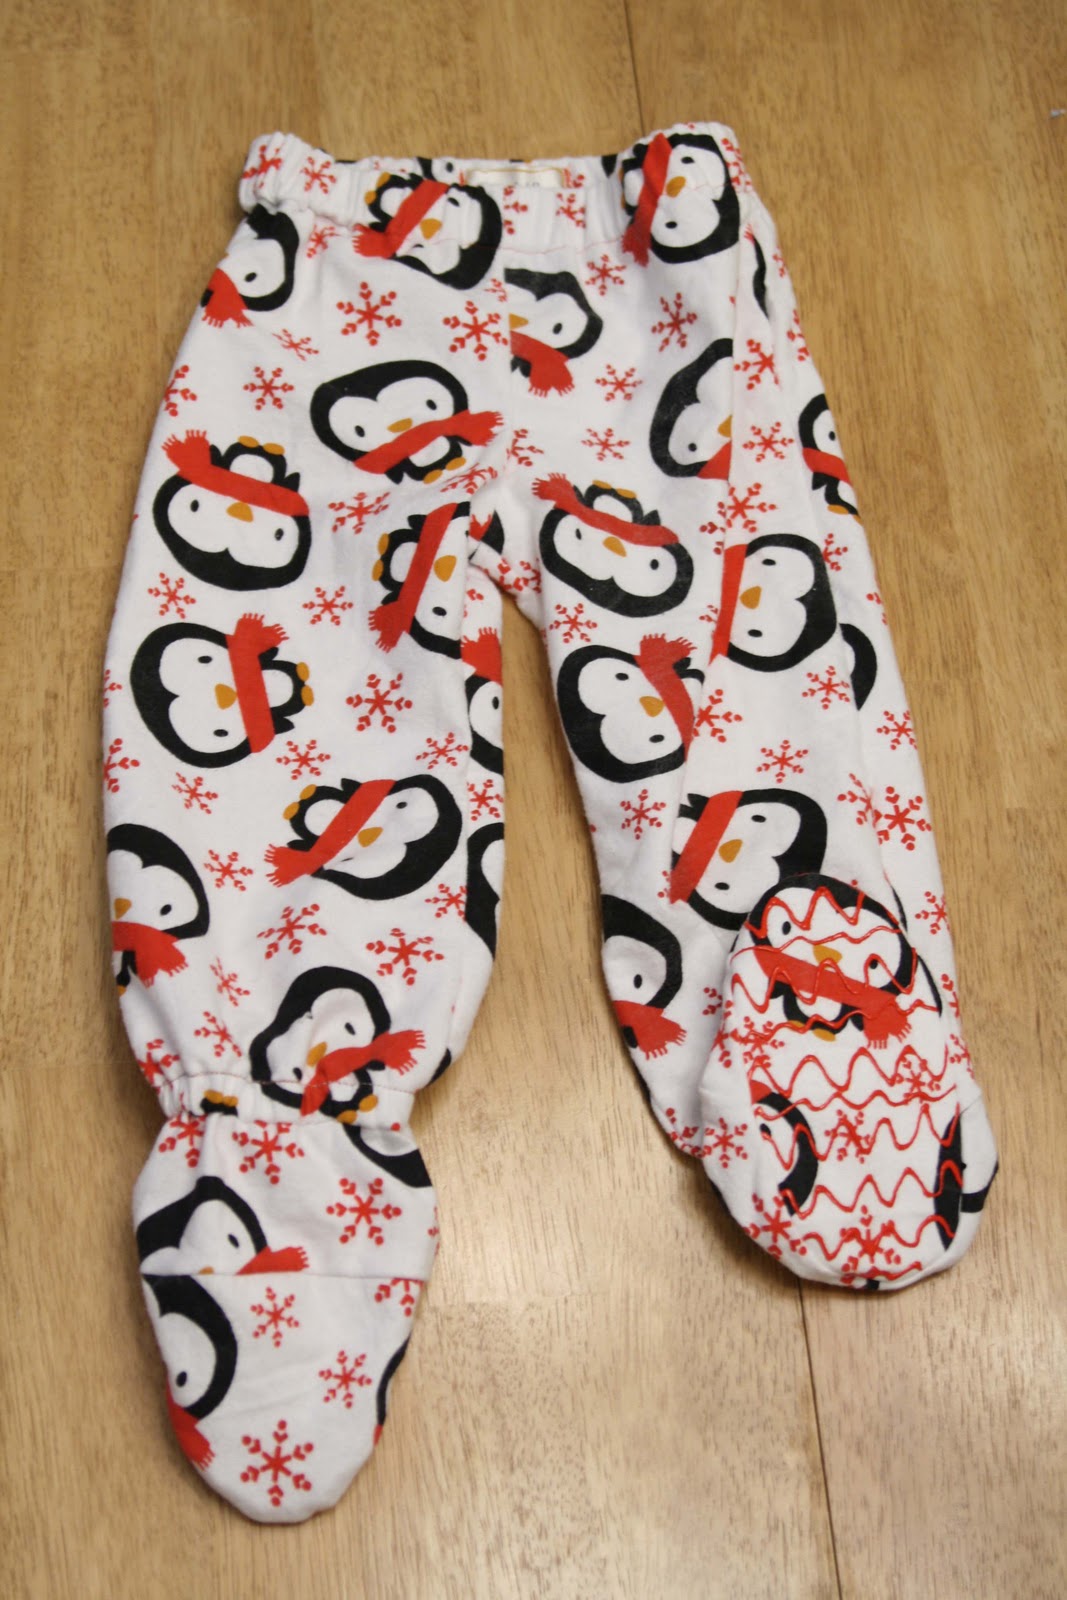
So, I give you the footy pajamas tutorial – these are meant to be added to the bottom of regular elastic waist pajama pants, the kind that can be sewn very quickly and made for Christmas Eve. The kind like this tutorial from Made, or this tutorial from My Cotton Creations. You do need to make sure that whatever pants you’re adding these to go all the way to the bottom of your kid’s heel in length.
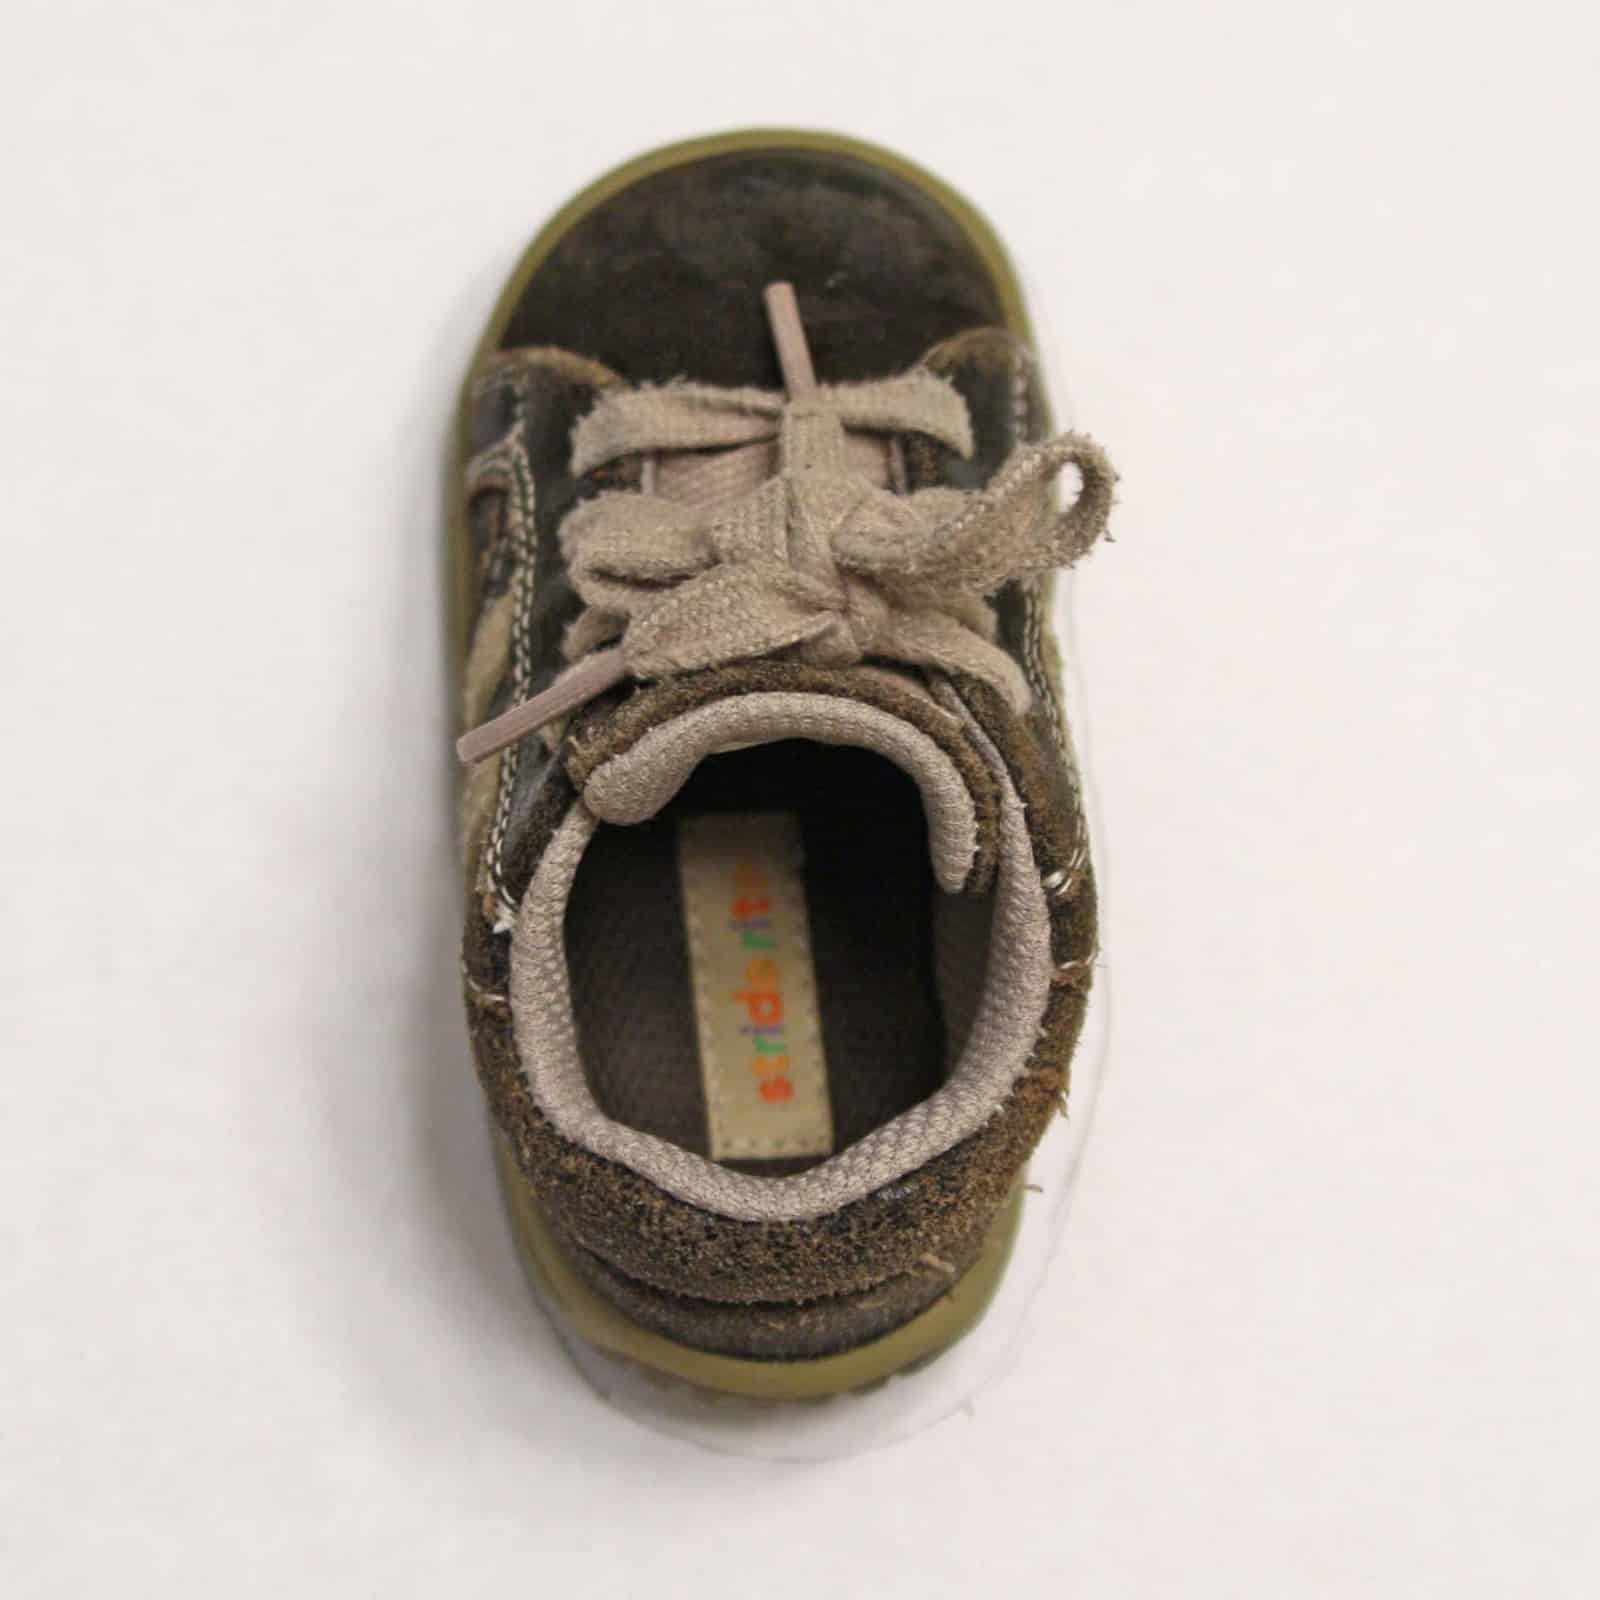
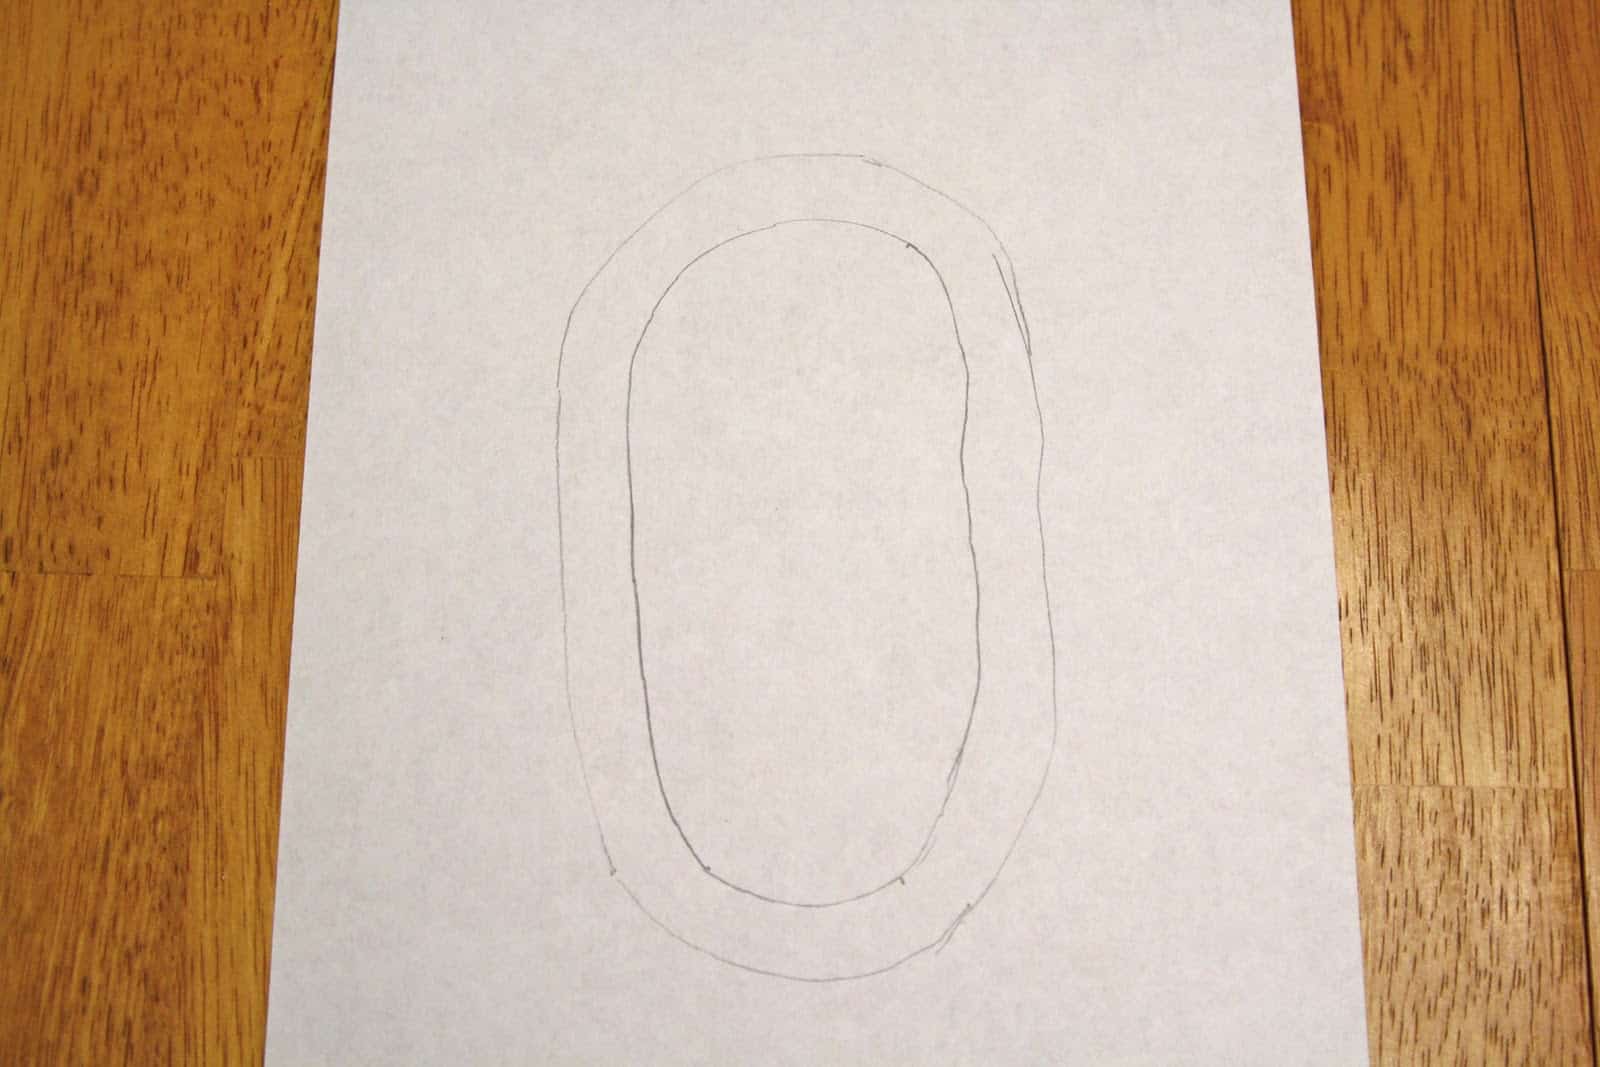
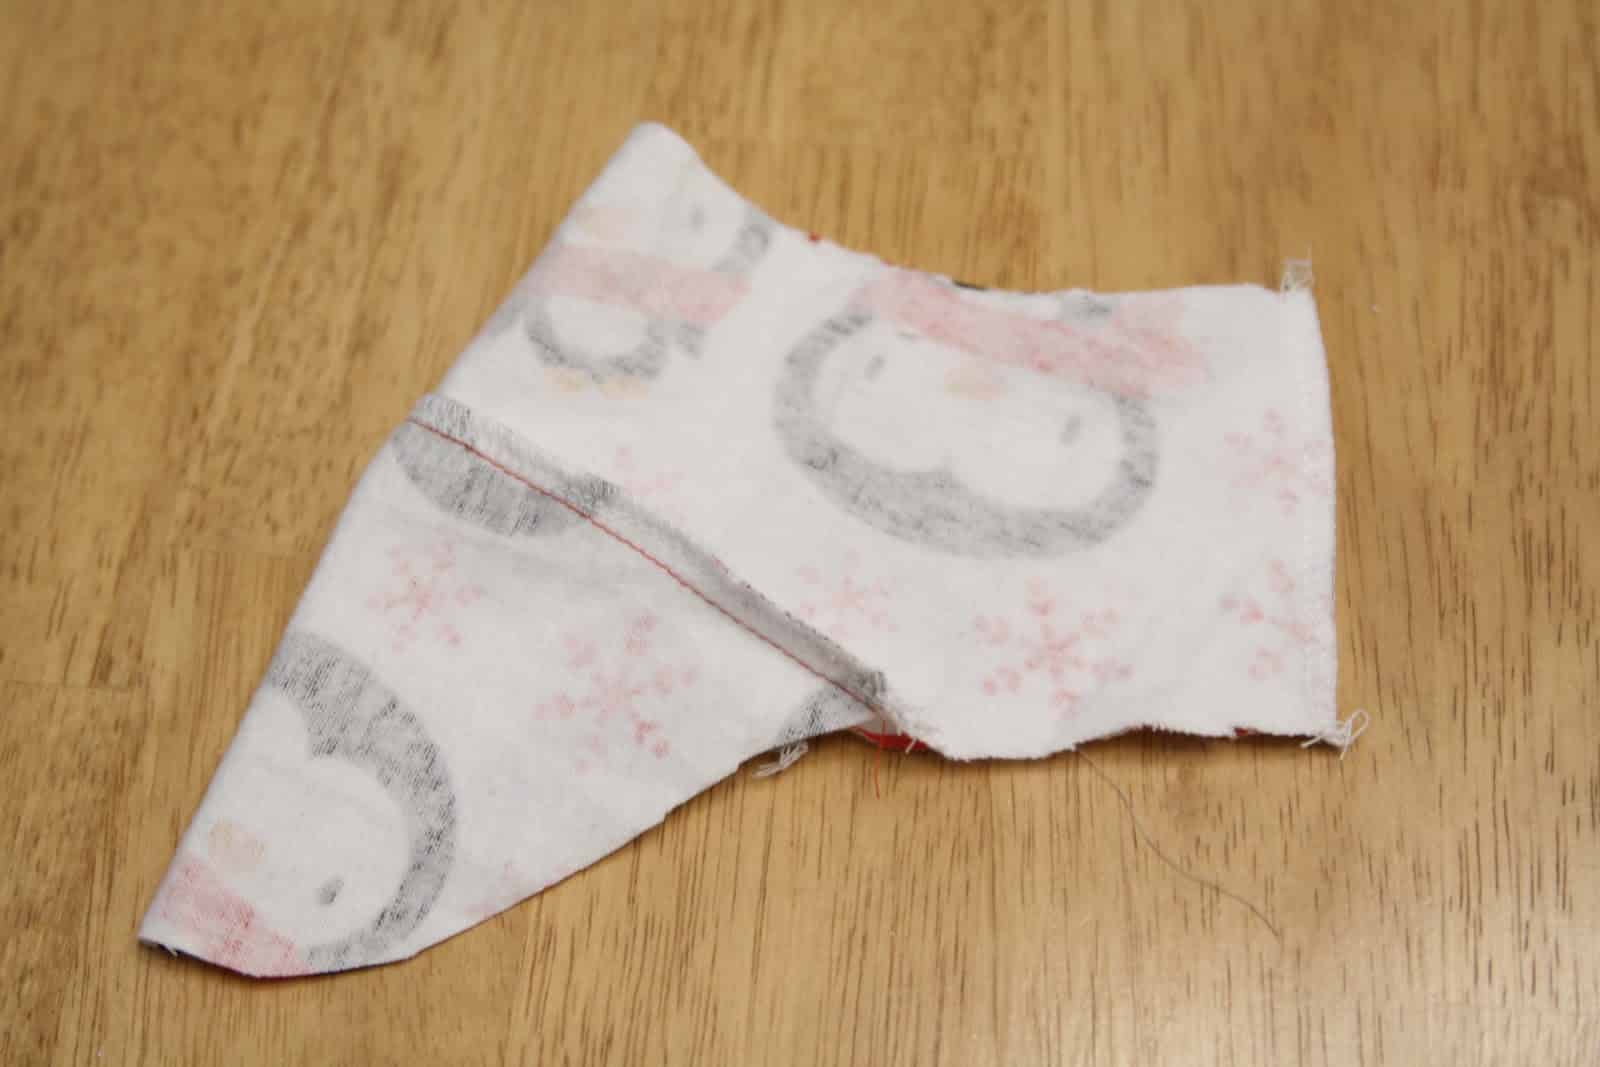
First, you need your kid’s shoe. Trace it onto some paper.
Add a seam allowance around the tracing. Don’t add a seam allowance. I’ve made several more pairs of these and the shoe shape itself is enough of a seam allowance bigger than my kids’ feet.
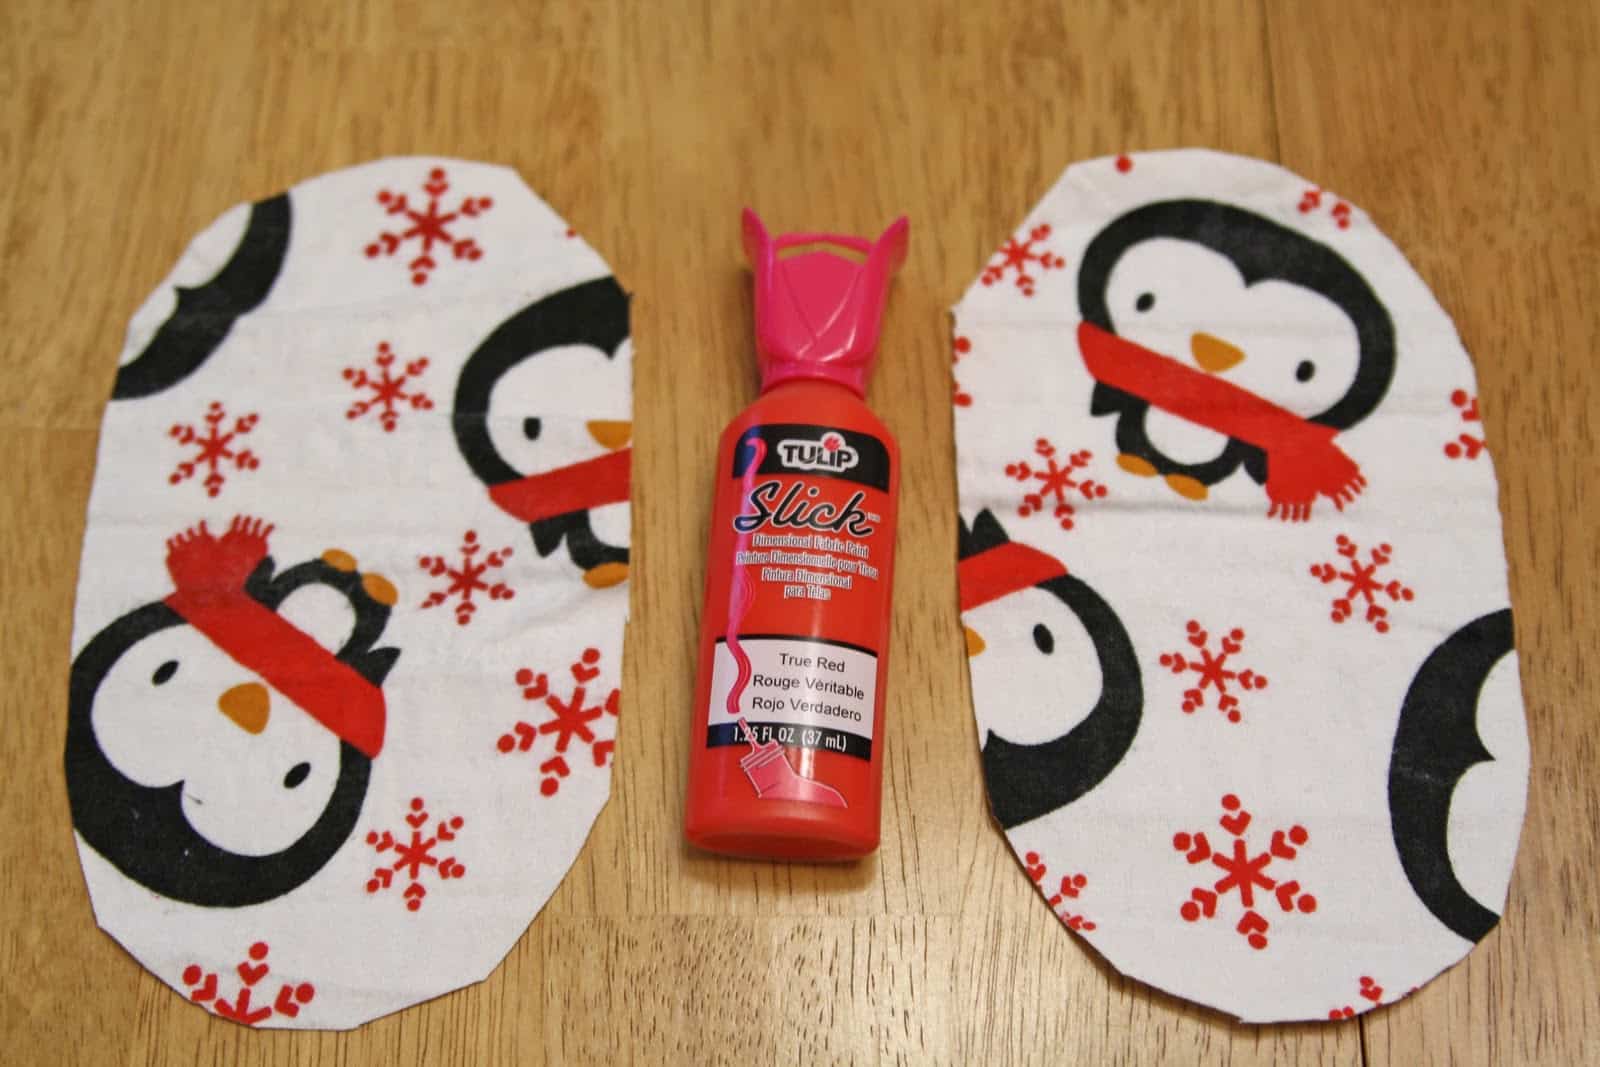
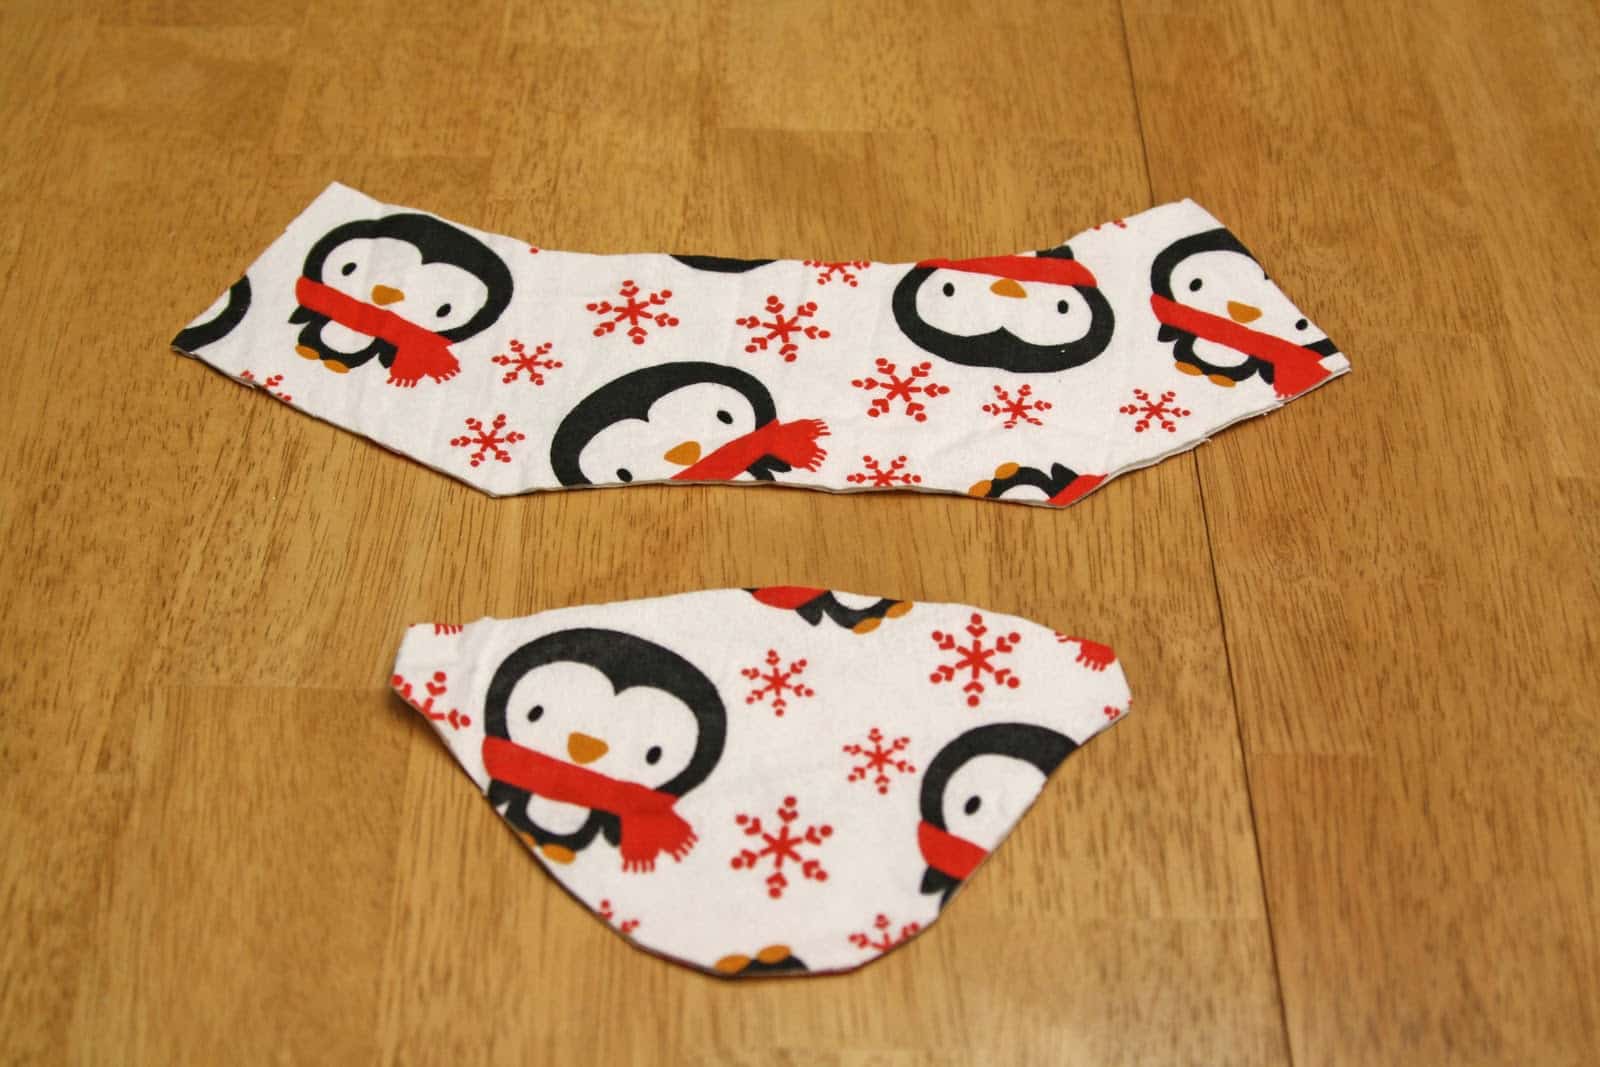
I cut out two feet from flannel and two from fleece for the insides.


Merry Christmas!
Katy Cameron
Aww, very cute! Merry Christmas to you all :o)
Falafel and the Bee
Brilliant! I so want to try this!
~Michelle
http://www.falafelandthebee.com
Ashley
Sooo cute! I’ll have to make some of these for my little guy, thanks for sharing!!!
Seamingly Smitten
Love it! Footy pajamas are so precious!! I’ve never thought about making them. Thanks for the tutorial!
Jenny
Seamingly Smitten
Ruby Jean
CUTE CUTE CUTE!!!! you did a Great job on these… be sure to stop in and share them here http://shoprubyjean.com/2011/12/sew-crafty-tuesday-linky-3-and-features/
Emily
So cute and super smart. I agree with the one pieces being hard with potty training, which I hope is going well for you. 🙂
Lindsi B
Oh my cuteness!!! Added this to my sewing projects for 2012! Would you please share these with our readers for Fun Stuff Fridays? http://www.toysinthedryer.com/2011/12/fun-stuff-fridays-4-3-weeks-long-for.html
Lynne
Those are the cutest pj’s ever! What a great idea! Thanks for the tutorial!
Jill
I LOVE this idea! My little girl isn’t potty training yet, but I’m saving this for when she is! (And the pjs are just super-cute, too!)
–Jill
from Jill Made It
Max
Very clever! Thank you so much. The penguin fabric is adorable :B
youandmie
What a great idea!! Thank you for sharing this, I’ll definitely pin this one for later 🙂
Papgena Made It
I saw you on Craft Gossip! Very clever! Thanks for sharing it!! I’ll save it for future use!
Hope you and your family have an wonderful 2012!!
abbeydabbles
Love this! Have to try it out for my new nephew!
Emilia
how have i missed this!!! kid number three on the way, and the others are 2 and four so lots of footie love at our house!!
Arlene Fregoe
Can I copy this tutorial with my copier. I don’t see a print sign. Great help. Just what I was looking for.
Melissa Mora
If you’re asking how to print the tutorial for your own personal use, you’d need to go to file>print in your web browser program. If you’re asking if you can make copies to distribute, no, you cannot. This is copyrighted material.
Jude Smith
What if I wanted to sew footies onto a pair pj’s with the stretch cuff/or/sweats?
Diane
I have been searching for a separate bottom pattern with feet to no avail. Thanks so much for this tutorial.
Suzanne A.
It’s been over 7 years you published this, and it’ still very useful. I believe pyjamas should all come with 2 pairs of footed pants for babies, just so it saves not to have to change them end to end when not necessary. Besides the pattern itself, I love the idea of simply squiggling fabric paint on the soles so they are not slippery as opposed to non-slip fabric which is nice but quite a bit more costly. Thank you on both counts! All the best to you!