
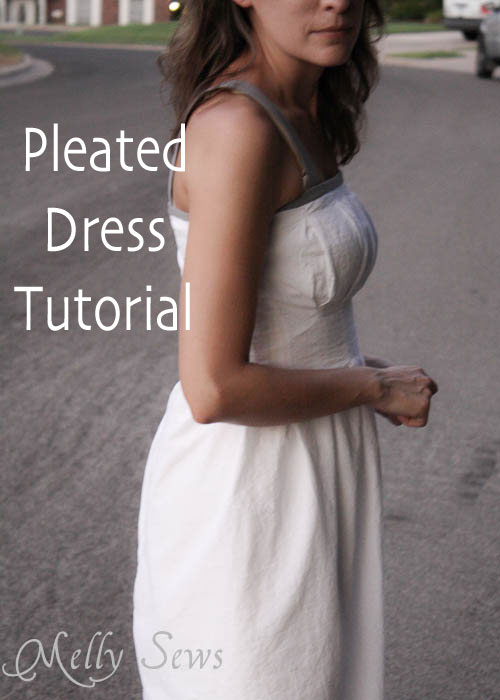
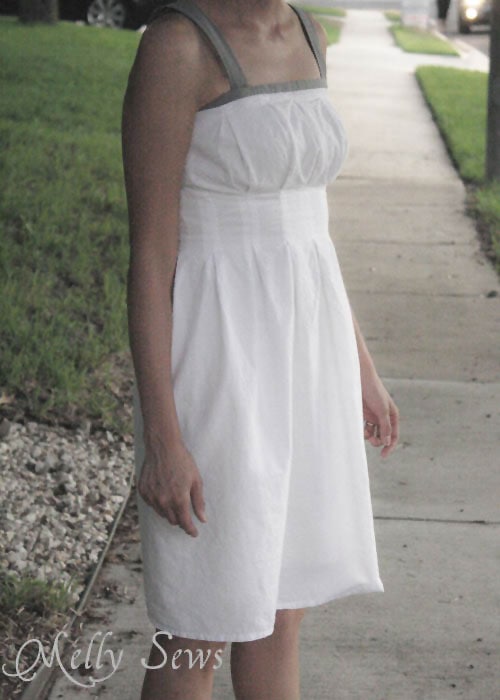
Today I’m sharing a flashback post to the very first tutorial I ever wrote – before everyone was on Pinterest, when I had first started my blog and no one had heard of it. It’s also one of my favorite things I’ve ever made – I wore this last week to Tater’s preschool graduation, and it still fits great and is so flattering on my figure. Which admittedly has more of a spare tire than it did when I made it. But with this skirt, no one can tell.

This dress flatters whether you’re a curvy girl or not, and it’s pretty easy to sew. It’s a big rectangle than gets its shape from pleats and a little math.
First, take 2 measurements, one above your boobs and one below. In all likelihood, your below the boob measurement will be the smaller of the two. Take that number, double it, then add 2 inches for seams and ease. So in my case, it was 27 x 2 = 54 + 2 = 56. Then take a measurement from where you want the dress top to be and where you want it to end, and add 4 inches or so for hems and mess ups in your measuring. Next, take a measurement from the top of the dress to below the boobs, and then from that spot to your waist. Finally, you need your bust measurement, across the fullest part of your chest, and divide this number by 2.
So, to recap, here are your measurements:
1. Above boobs +2 inches (just note for later)
2. Below boobs x 2 plus 2 inches
3. Length + 4 inches
4. Top of dress to below boobs
5. Below boobs to waist
6. Bust measurement/2

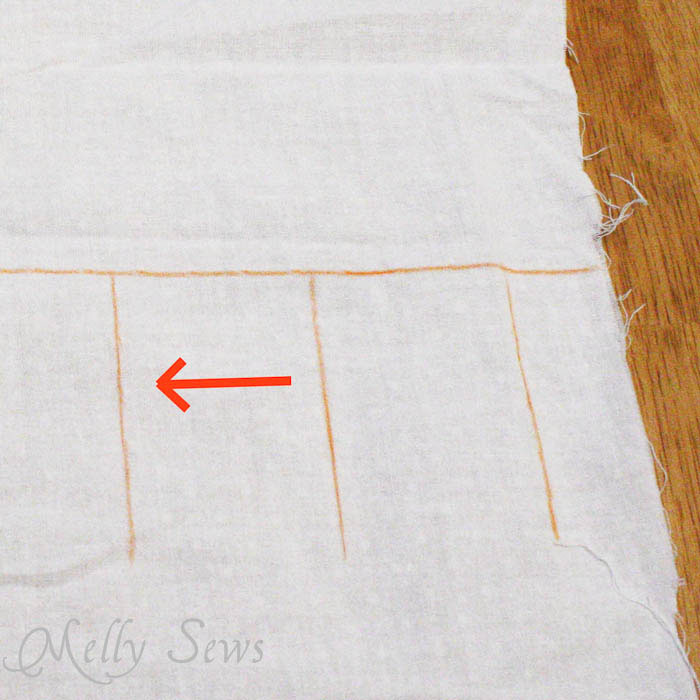
Cut out a rectangle using measurements #2 and #3. Then, measure from the top edge of the fabric using measurement #4 and draw a horizontal line all the way across the fabric. This is where your waist pleats will end in front. Starting at that line and one inch in from the edge, draw vertical lines that are the length of #5 every 2 inches across the rectangle. It will look like this:
These will be your pleats. The red arrow in the picture above indicates which lines you will pull together to make the pleat.
Now, starting at the outside edges, you will fold and pin pleats, which are every other set of 2 lines. These are going to end up being the back part of the dress, so these pleats will go from the bottom of your drawn vertical line all the way to the top of the fabric. Do one pleat from the left side, then one pleat from the right side, then repeat. Each pleat removes 2 inches from the overall measurement of the dress. It will look something like this:

Here’s where measurement #6 comes in – my #6 is 16 inches, so once I’ve removed 16 inches (8 pleats, 4 from each side) this is where I need to stop pleating all the way up. For the rest of the pleats, I will only pleat the vertical lines to the horizontal line I’ve drawn. This allows the pleats to open up to accomodate my boobs (what little of them there are).
Sew your pleats on the lines, making sure to backtack at the beginning and end of each pleat. This is especially important for the pleats that end at the horizontal line.
A little more math, and then we’re done with math, I promise! Here’s where we finally use measurement #1. The top of the dress in the center front isn’t pleated yet. I need to figure out how much to take out in each remaining pleat so the circumference of the dress at the top edge will equal measurement #1.
So, here’s the example using my measurements. My #1 is 32. Measurement #2 is 56. I’ve taken out 16 inches in pleats that went all the way up, so I currently have 40 inches across the top of the dress. I have 5 pleats left to do (which I know because of the pleats I did that only went up to my horizontal line), and I need to take out 8 inches (40 minus 32). That means each pleat needs to take out 1.6 inches (8 inches divided by 5 pleats). I use the stitched in pleat waist and a ruler to mark centers of the last 5 pleats (wish I had a picture of this!) and then mark lines .8 inches to either side of the center. This is where I will sew my top pleats, to 2 inches down from the top edge of the fabric, making sure to backtack.
Now, I’m going to press the pleats flat. When all is said and done, your dress in progress will look like this:
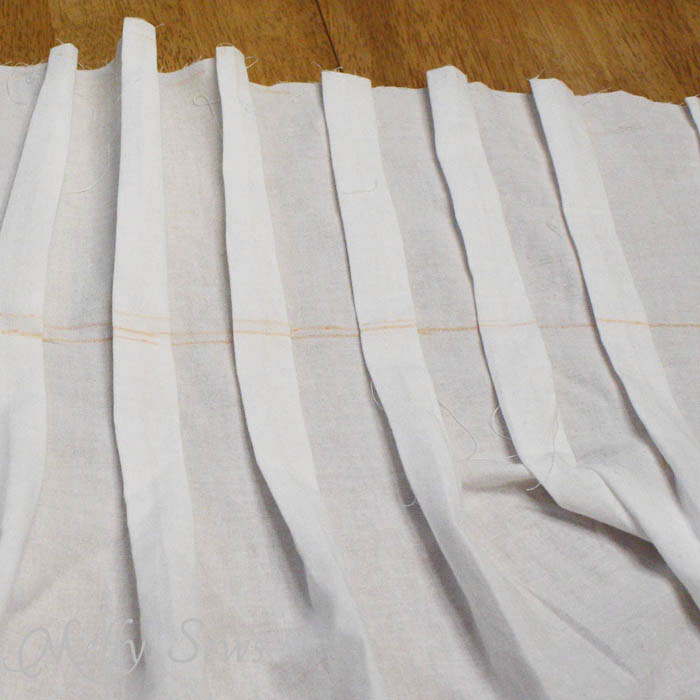
The pleats at the right edge of the picture are sewn all the way up, and the pleats at the left side are only sewn at the waist and the top edge, and open in between, though they are ironed all the way down.
Okay, now we’re ready to cut the dress down to shape the back. Fold the dress in half, with the raw vertical edges even. Make a mark on the vertical raw edges 1.5 inches down from the top edge. Lay a ruler or straight edge across the dress to form a diagonal line from the center front to the mark you made on the center back. Like this (center front on right, center back – raw edges – on left):

Draw a line, then cut the dress. This diagonal will help make sure that the dress appears even all the way around, shaping for the fact that you have boobs in the front but not the back.
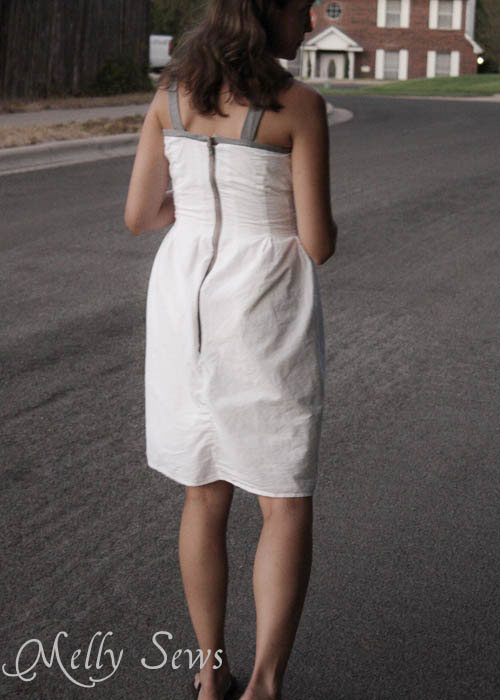
Now it’s time to put in a zipper. I used an 18 inch zipper because I had one laying around, but you could probably use a slightly shorter or longer length. I decided to use a contrasting color , since the white swiss dot used for the dress ran the risk of being too sweet. I thought the gray punched it up a bit and the exposed zipper was a little trendy. If you don’t know how to install an exposed zipper, check this tutorial.
Now it’s time to add a band to the top. Cut a piece of fabric the length of measurement #1 and 2 inches wide. Fold in half longways and stitch the short ends with 1/2 inch seam allowances. Pin one long edge of the band to the top edge of the fabric, right sides together, and stitch.
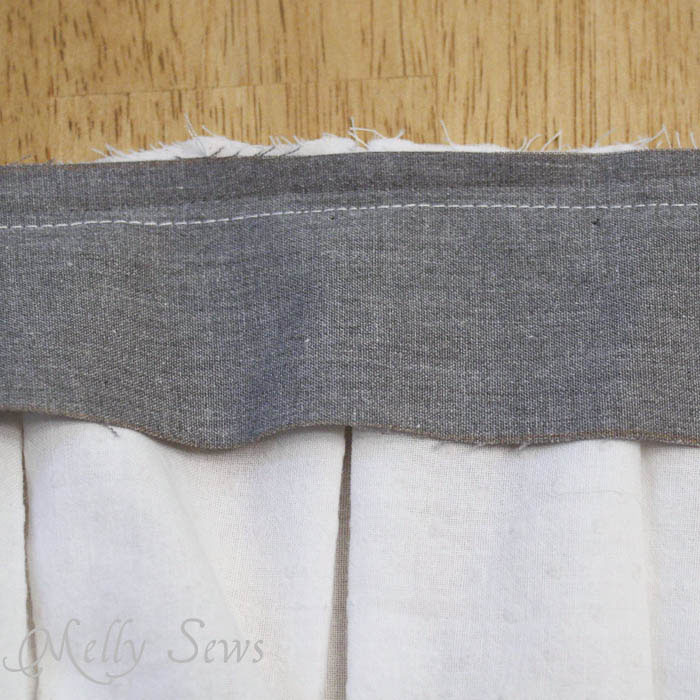
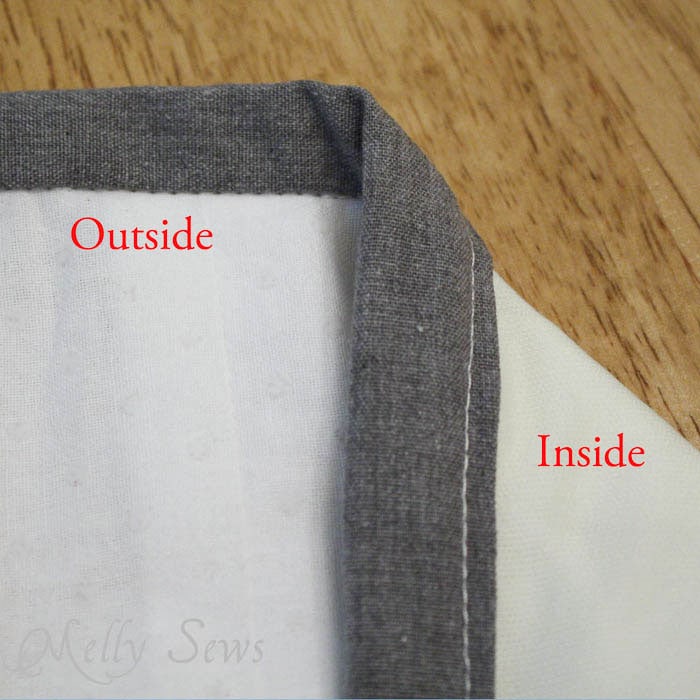
Now, fold and pin the band to the inside of the dress, folding under the raw edge and just covering the seam line. Like this

You’re going to stitch in the ditch on the front side to fasten this in place. It will look like this when you’re done
Once you get the band on, it’s time to try on the dress and measure for straps. I made straps 17″ long and 3 inches wide, then sewed them into tubes with a 1/8 inch seam and turned them right side out. Press flat, with the seam becoming the center back of the strap. Try on with a bra with straps so you can pin them in place to cover your straps. Sew the straps on in the ditch between the band and the dress, with lots of backtacking
Finally, hem the dress and sew a hook in above the zipper. You’re done!
And me starting to get exasperated with Hubby on the photo shoot

Seamingly Smitten
Such a great dress and tutorial!
Jenny
JamieS @ Scattered Thoughts of a Crafty Mom
Looks really god on you too!
~JamieS
Daffy's Dream
wow! great pleat dress. Thanks for sharing the tutorial.
I would like to invite you for the giveaway party at http://daffysdream.blogspot.com/2011/08/first-free-giveaway.html
daffy
Andrea
I just adore how this turned out! Thanks so much! Stop by and link up to Make It Wear It at TheTrainToCrazy.com
Emily
Wow! It looks perfect!
Elita en Suisse
What an adorable dress! I sew quilts better than clothes but this is certainly worth a go. Thanks for the inspiration!
Gloria
Sew lovely! What’s your opinion on trying this is a semi stretchy Cotton Pique?
Temitope
This is a gorgeous dress with simple easy to understand instruction. I’m definitely going to try this weekend. Thanks for sharing