
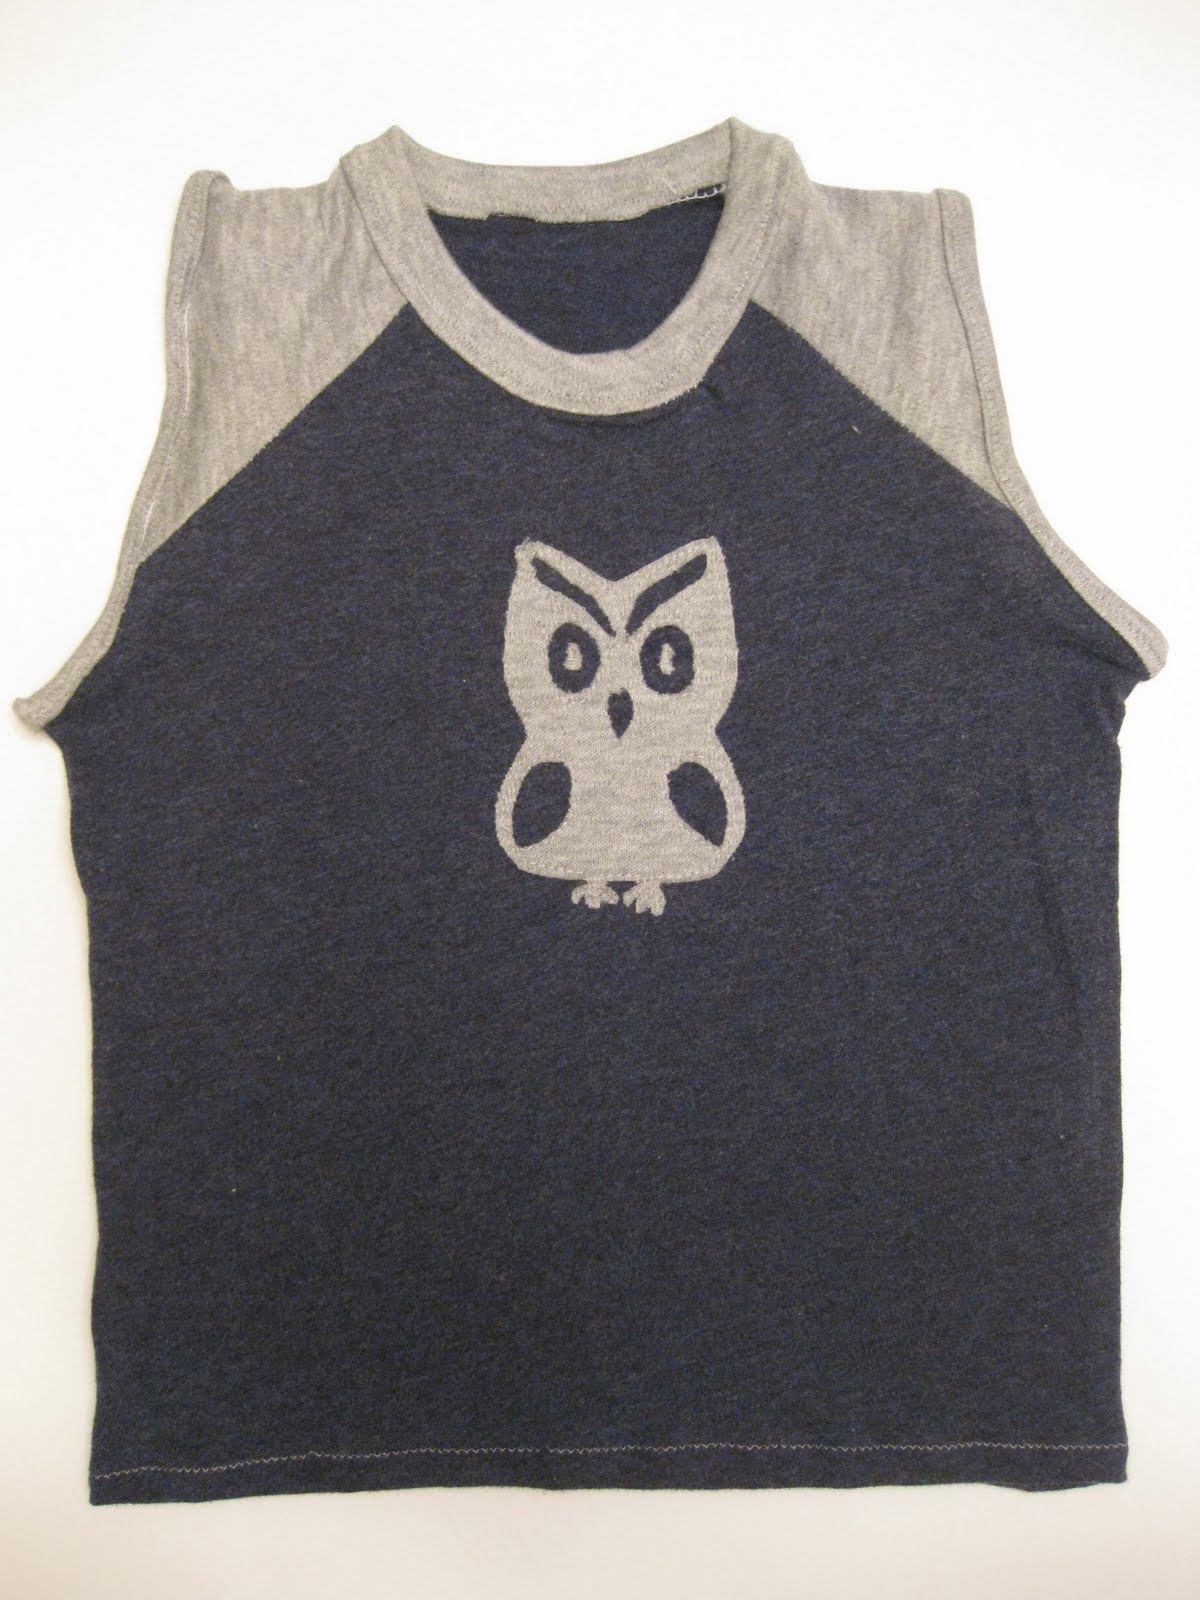

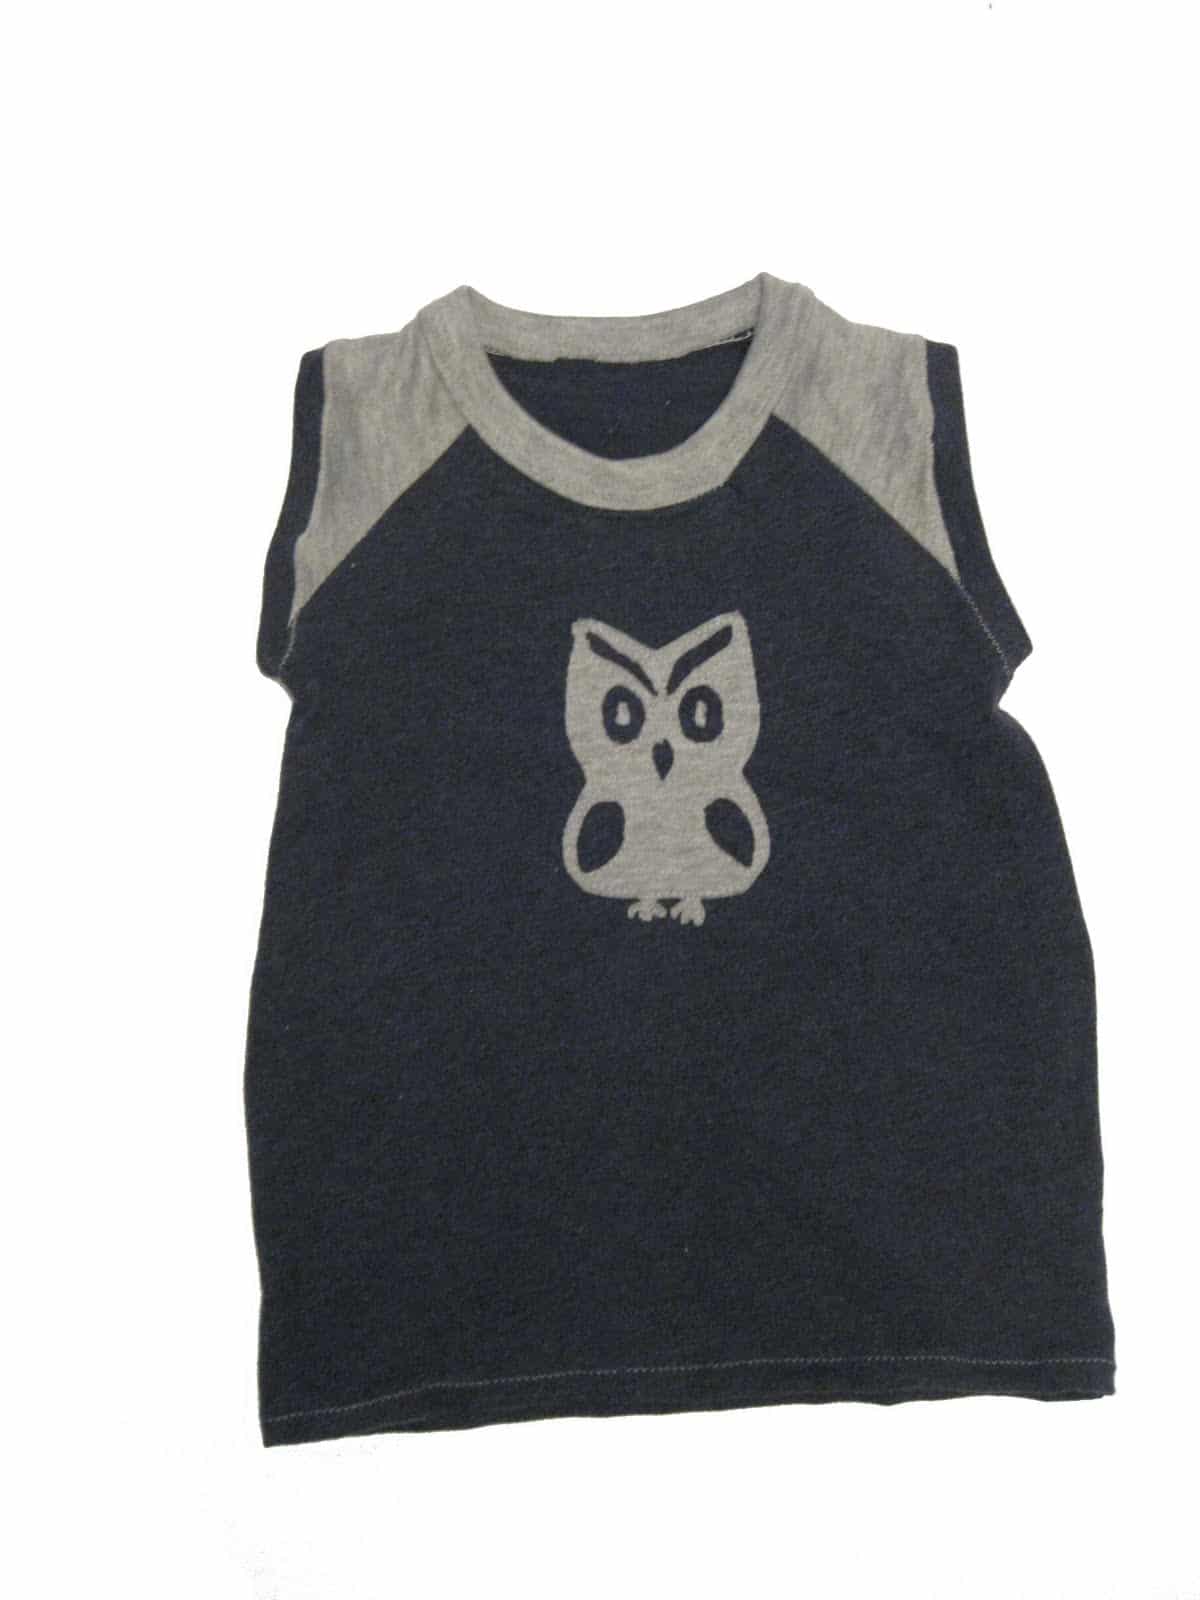
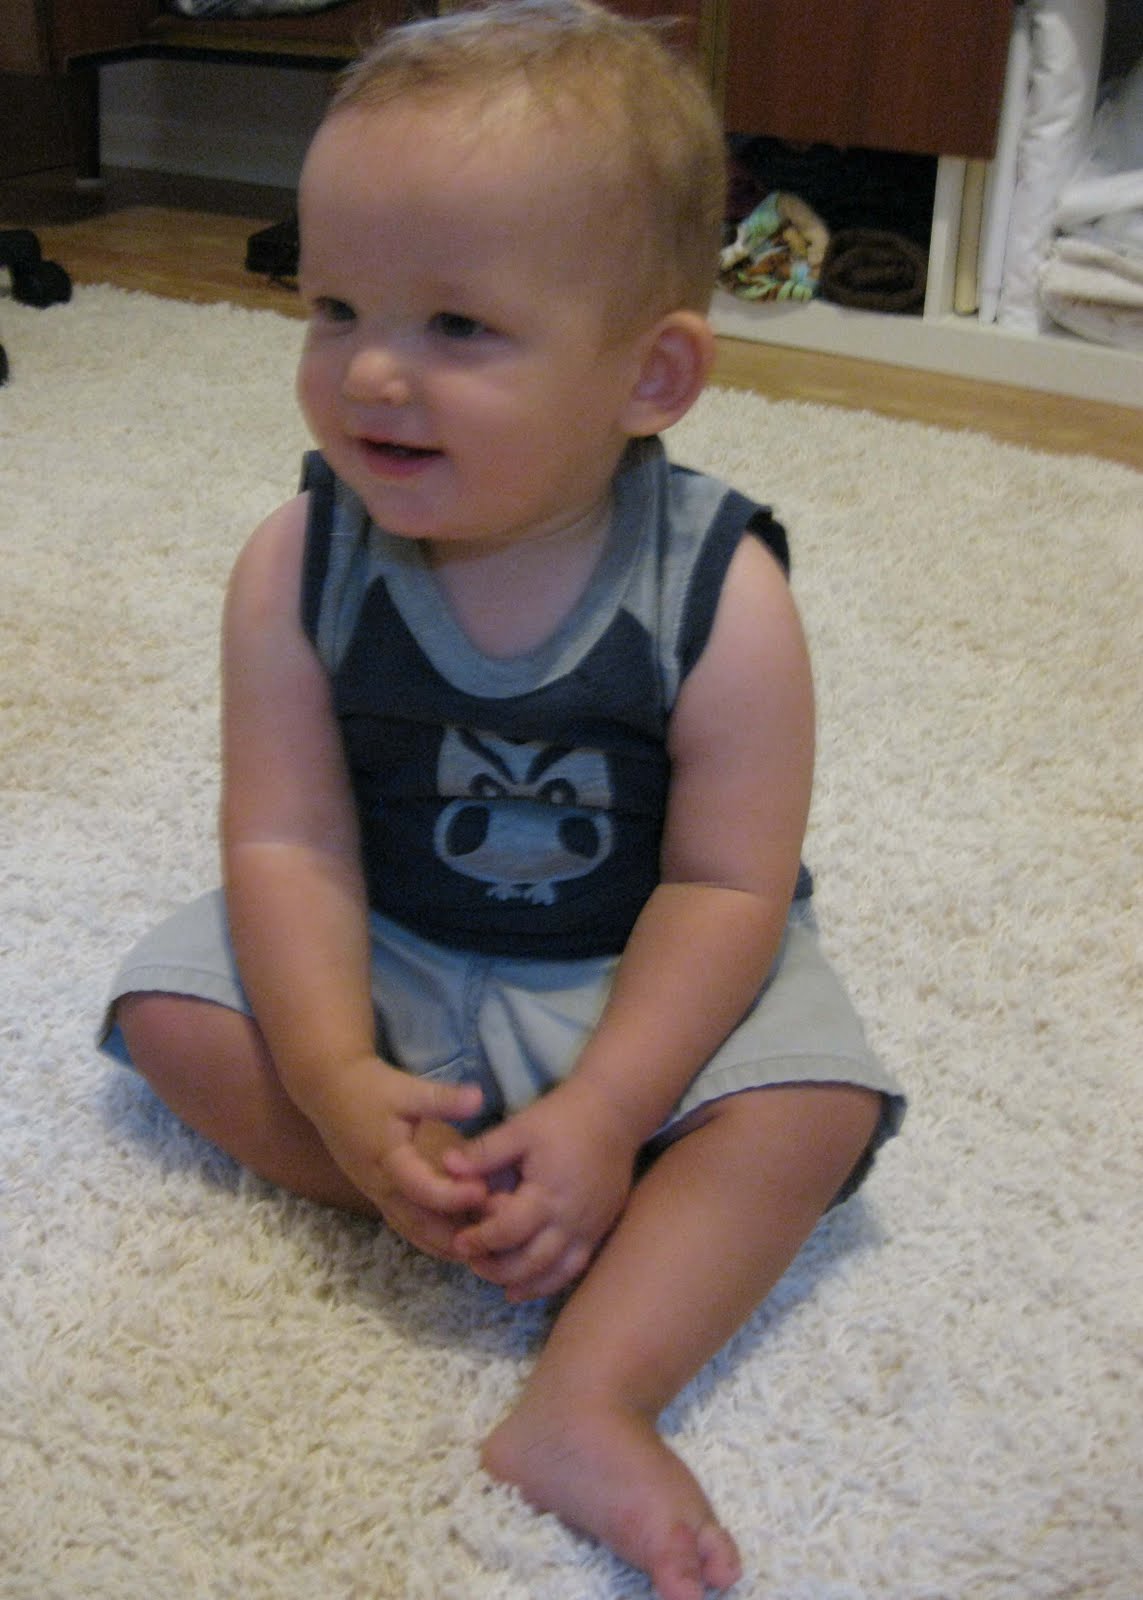
Well, I was kidding myself that even the chubbiest baby would be able to pull off that hot mess of an armhole. I started to seam rip to take it apart, but that proved to be more than I had patience for. So here’s how I fixed it.
First, I trimmed off the sleeve binding on both sides. I cut as close to the stitching as I could. Since this left less fabric on the armholes, I now needed to add some fabric back or risk this turning into a tank top instead of a muscle shirt. So I decided to do the same finishing I did on the original Squirrel Shirt.

I wasn’t entirely satisfied with this method the first time, because as you can see it added fabric width to the armholes, and they look a little like cap sleeves. Just goes to show you how important a quarter inch can be in a clothing pattern.
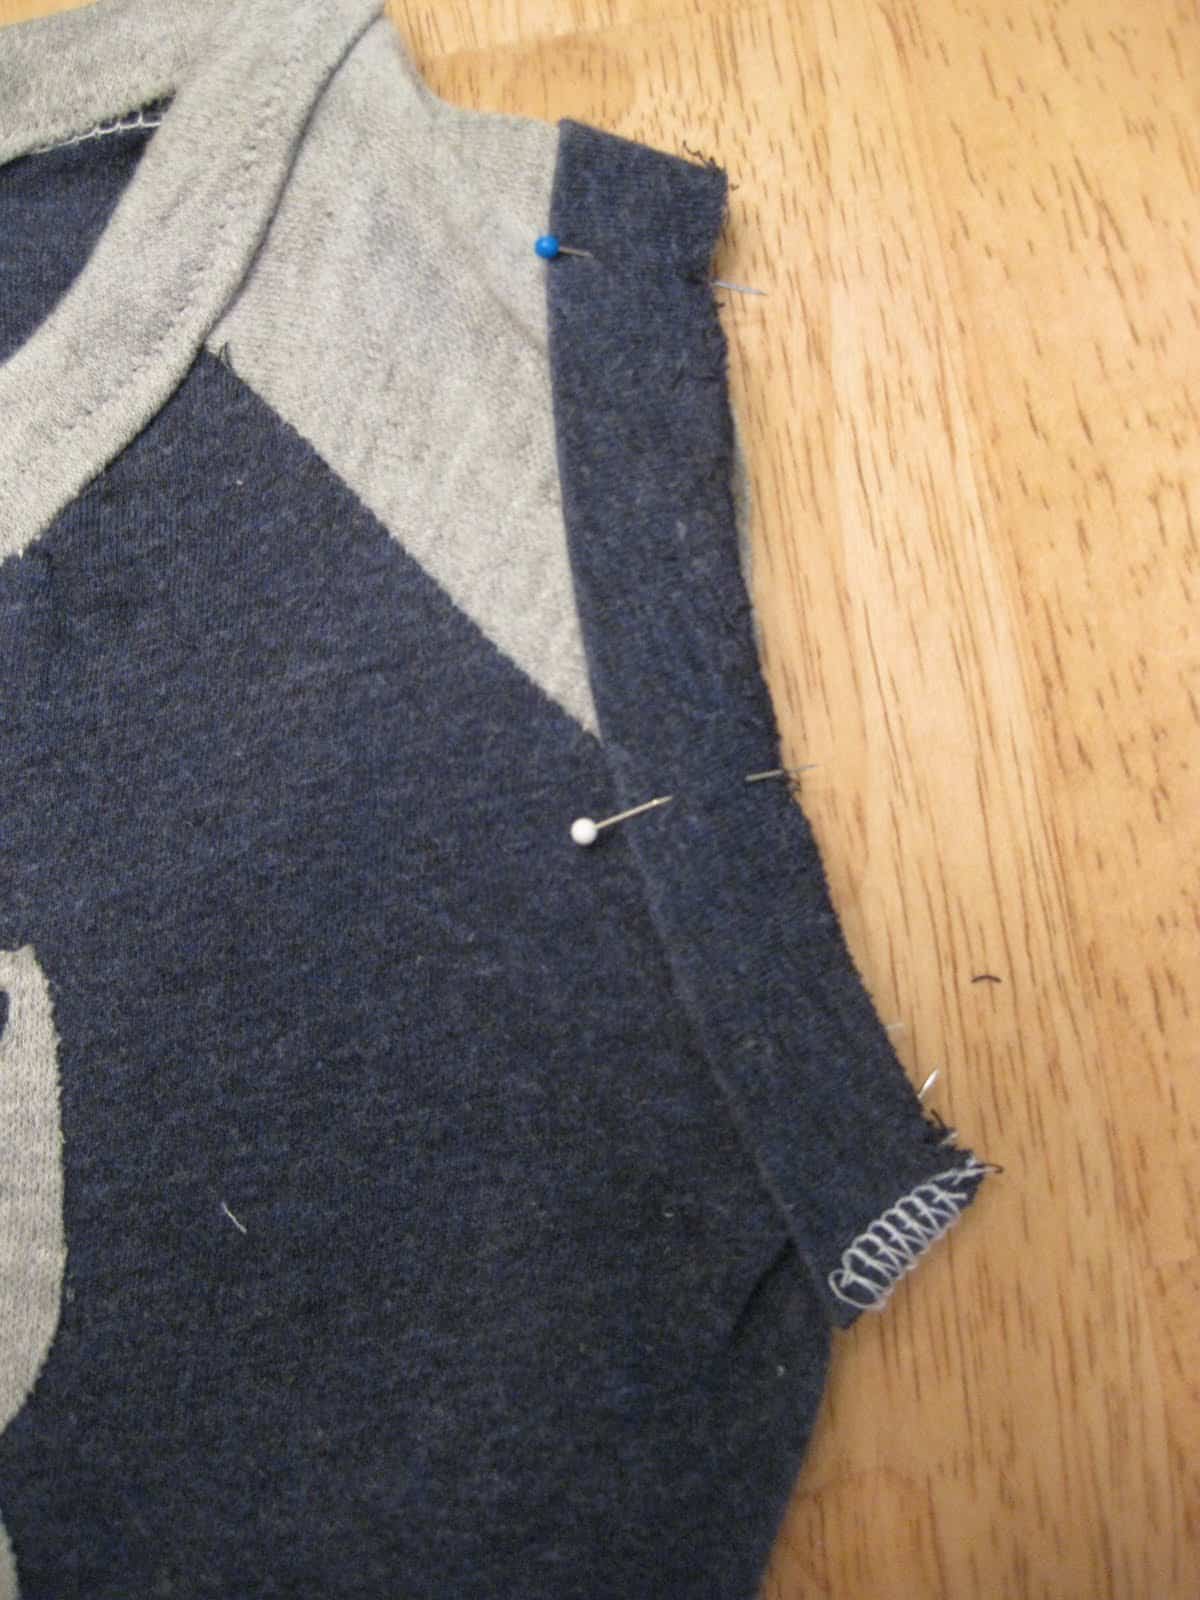
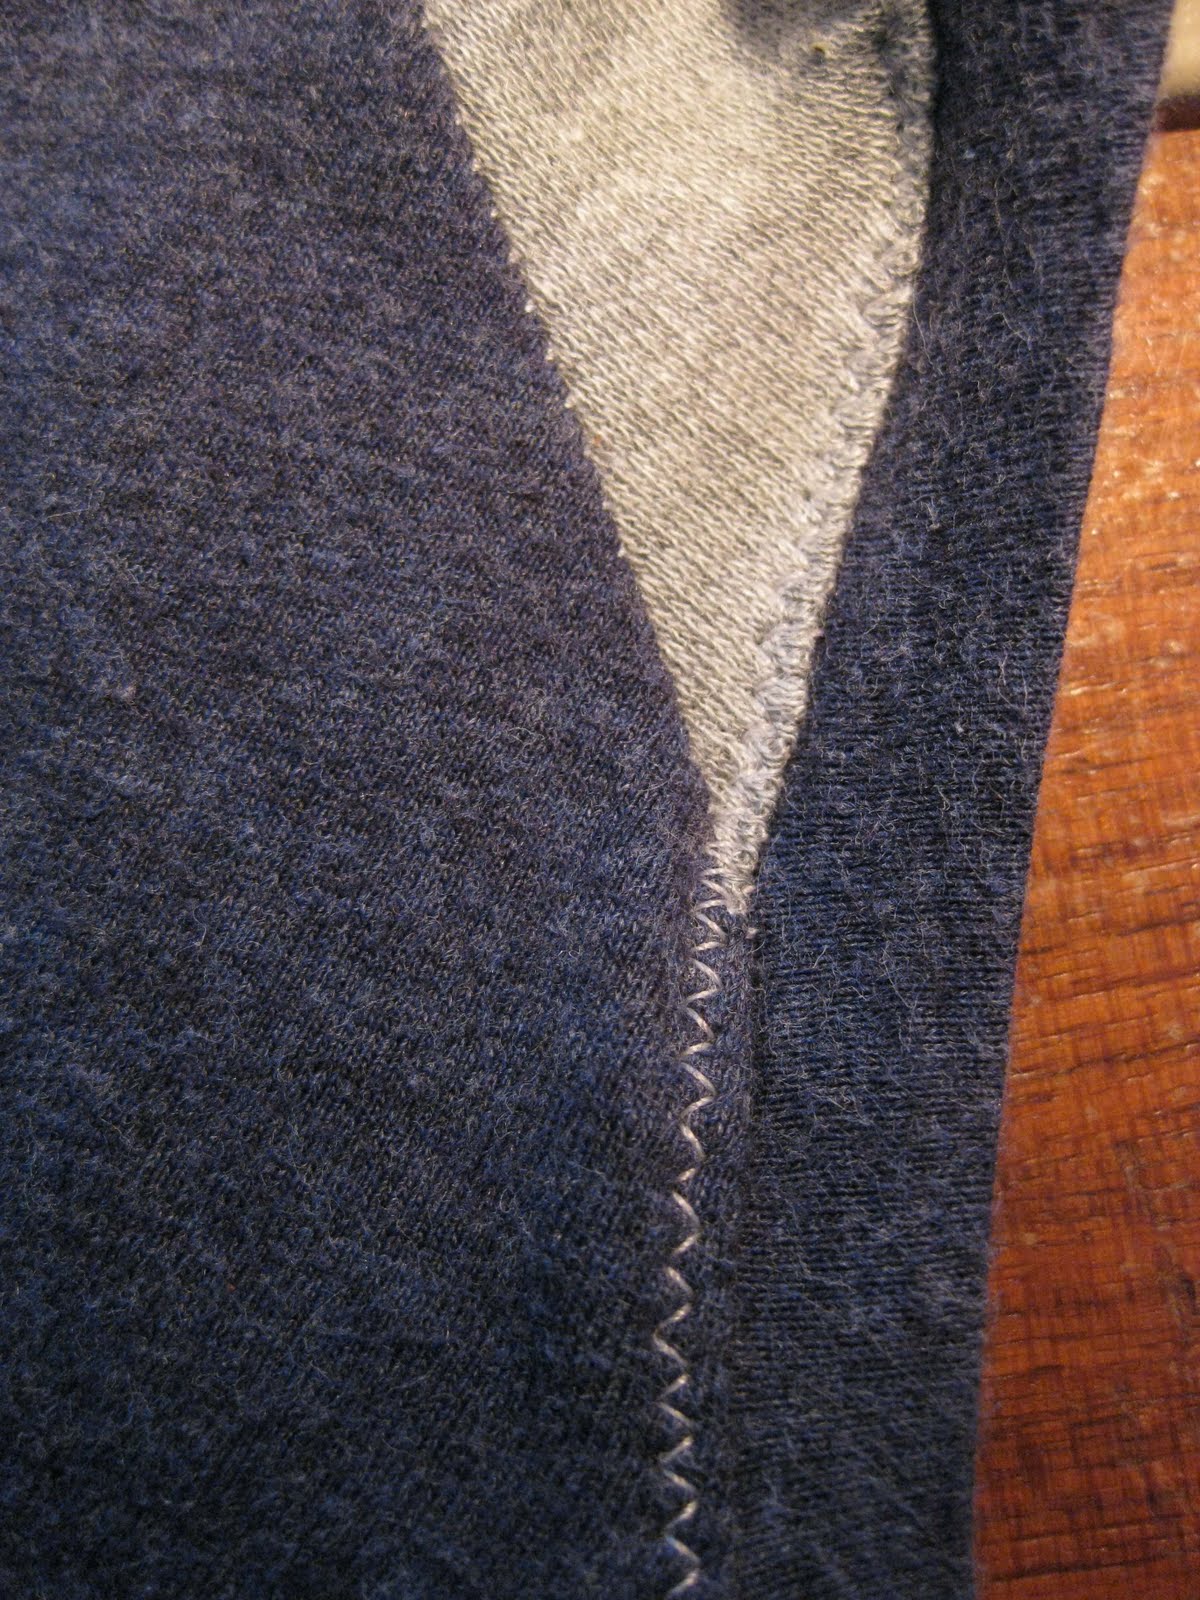
However, with my freshly trimmed armholes, adding width is exactly what I needed. So I cut two strips of fabric 1 1/2 inches wide and as long as my armhole, and ironed those in half with wrong sides facing so i had two 3/4 inch strips. Hint: if you upcycle t-shirts, you can carefully cut off the hem of a sleeve or the bottom just below the stitching line and you will get 3/4 pieces already creased for you.
I sewed the short ends of the strips together, then turned them inside out and pinned them onto my shirt, which was right side out. Like this:


Jessica at Me Sew Crazy
Lol – I remember when I first started sewing with knits, everything came out ‘wavy’. I just called it lettuce trim. hahhaha – great job fixing it up Mama!
Melissa
Thanks for looking! Yeah, lettuce trim on boys doesn’t work so well, though…